
Renovering 3.0
Hvad nåede vi egentlig i løbet af sommeren 2024? Altså, vi kom bestemt ikke ud at sejle — ikke engang for at teste vores nye navigationsudstyr. Vi vidste, det ikke ville blive en sommer som den året før i Sverige. Vi vidste, at Christian havde arbejde, og at vi havde projekter, der skulle færdiggøres, inden sommeren var forbi.
Men alligevel længdes vi sådan efter at komme rigtig på vandet…
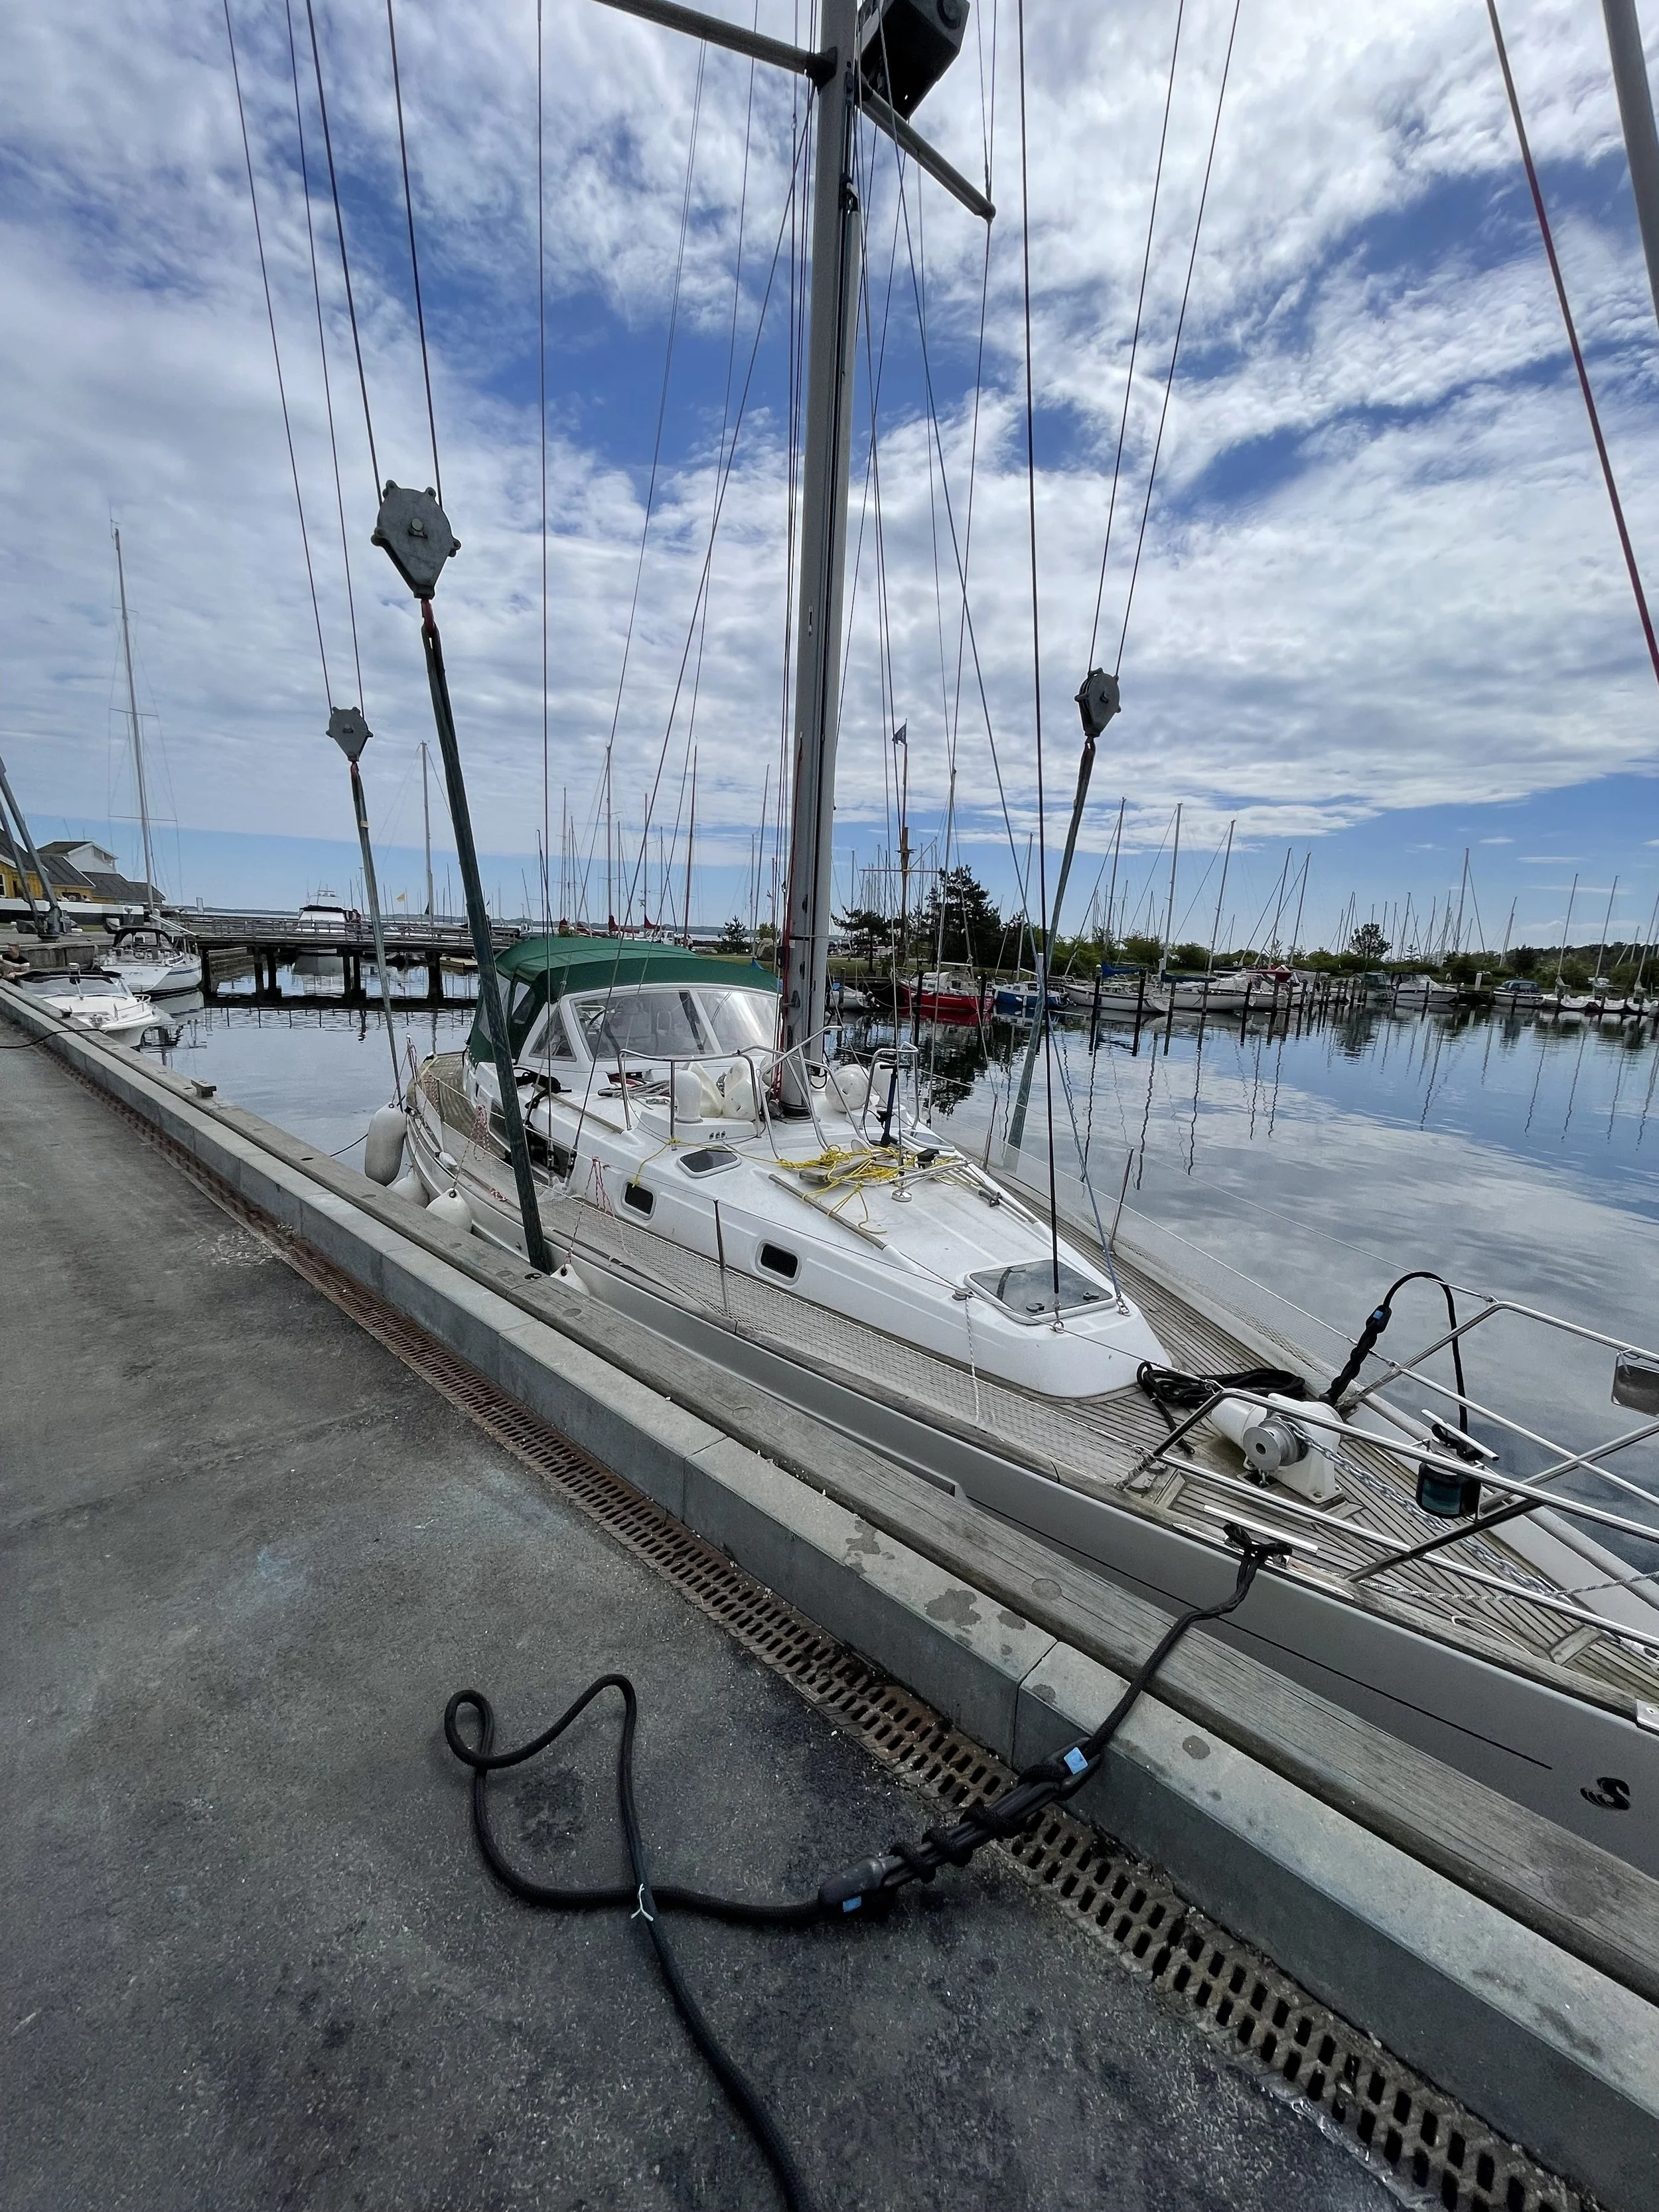
Vi søsatte Vela den 8. maj og sejlede til den nye marina, hvor vi havde sikret os en plads frem til afgang den 1. juni 2025. Det viste sig at blive vores eneste sejlads i 2024. Da vi ankom til marinaen nogle timer senere, bemærkede vi, at lænsepumpen begyndte at køre. Selvom det ikke var usædvanligt på grund af vores stadig utætte mast, besluttede vi at tjekke sumpen for en sikkerheds skyld, og den bedste måde at sikre hvilken om du har hul i båden er at smage på det — og det smagte salt.
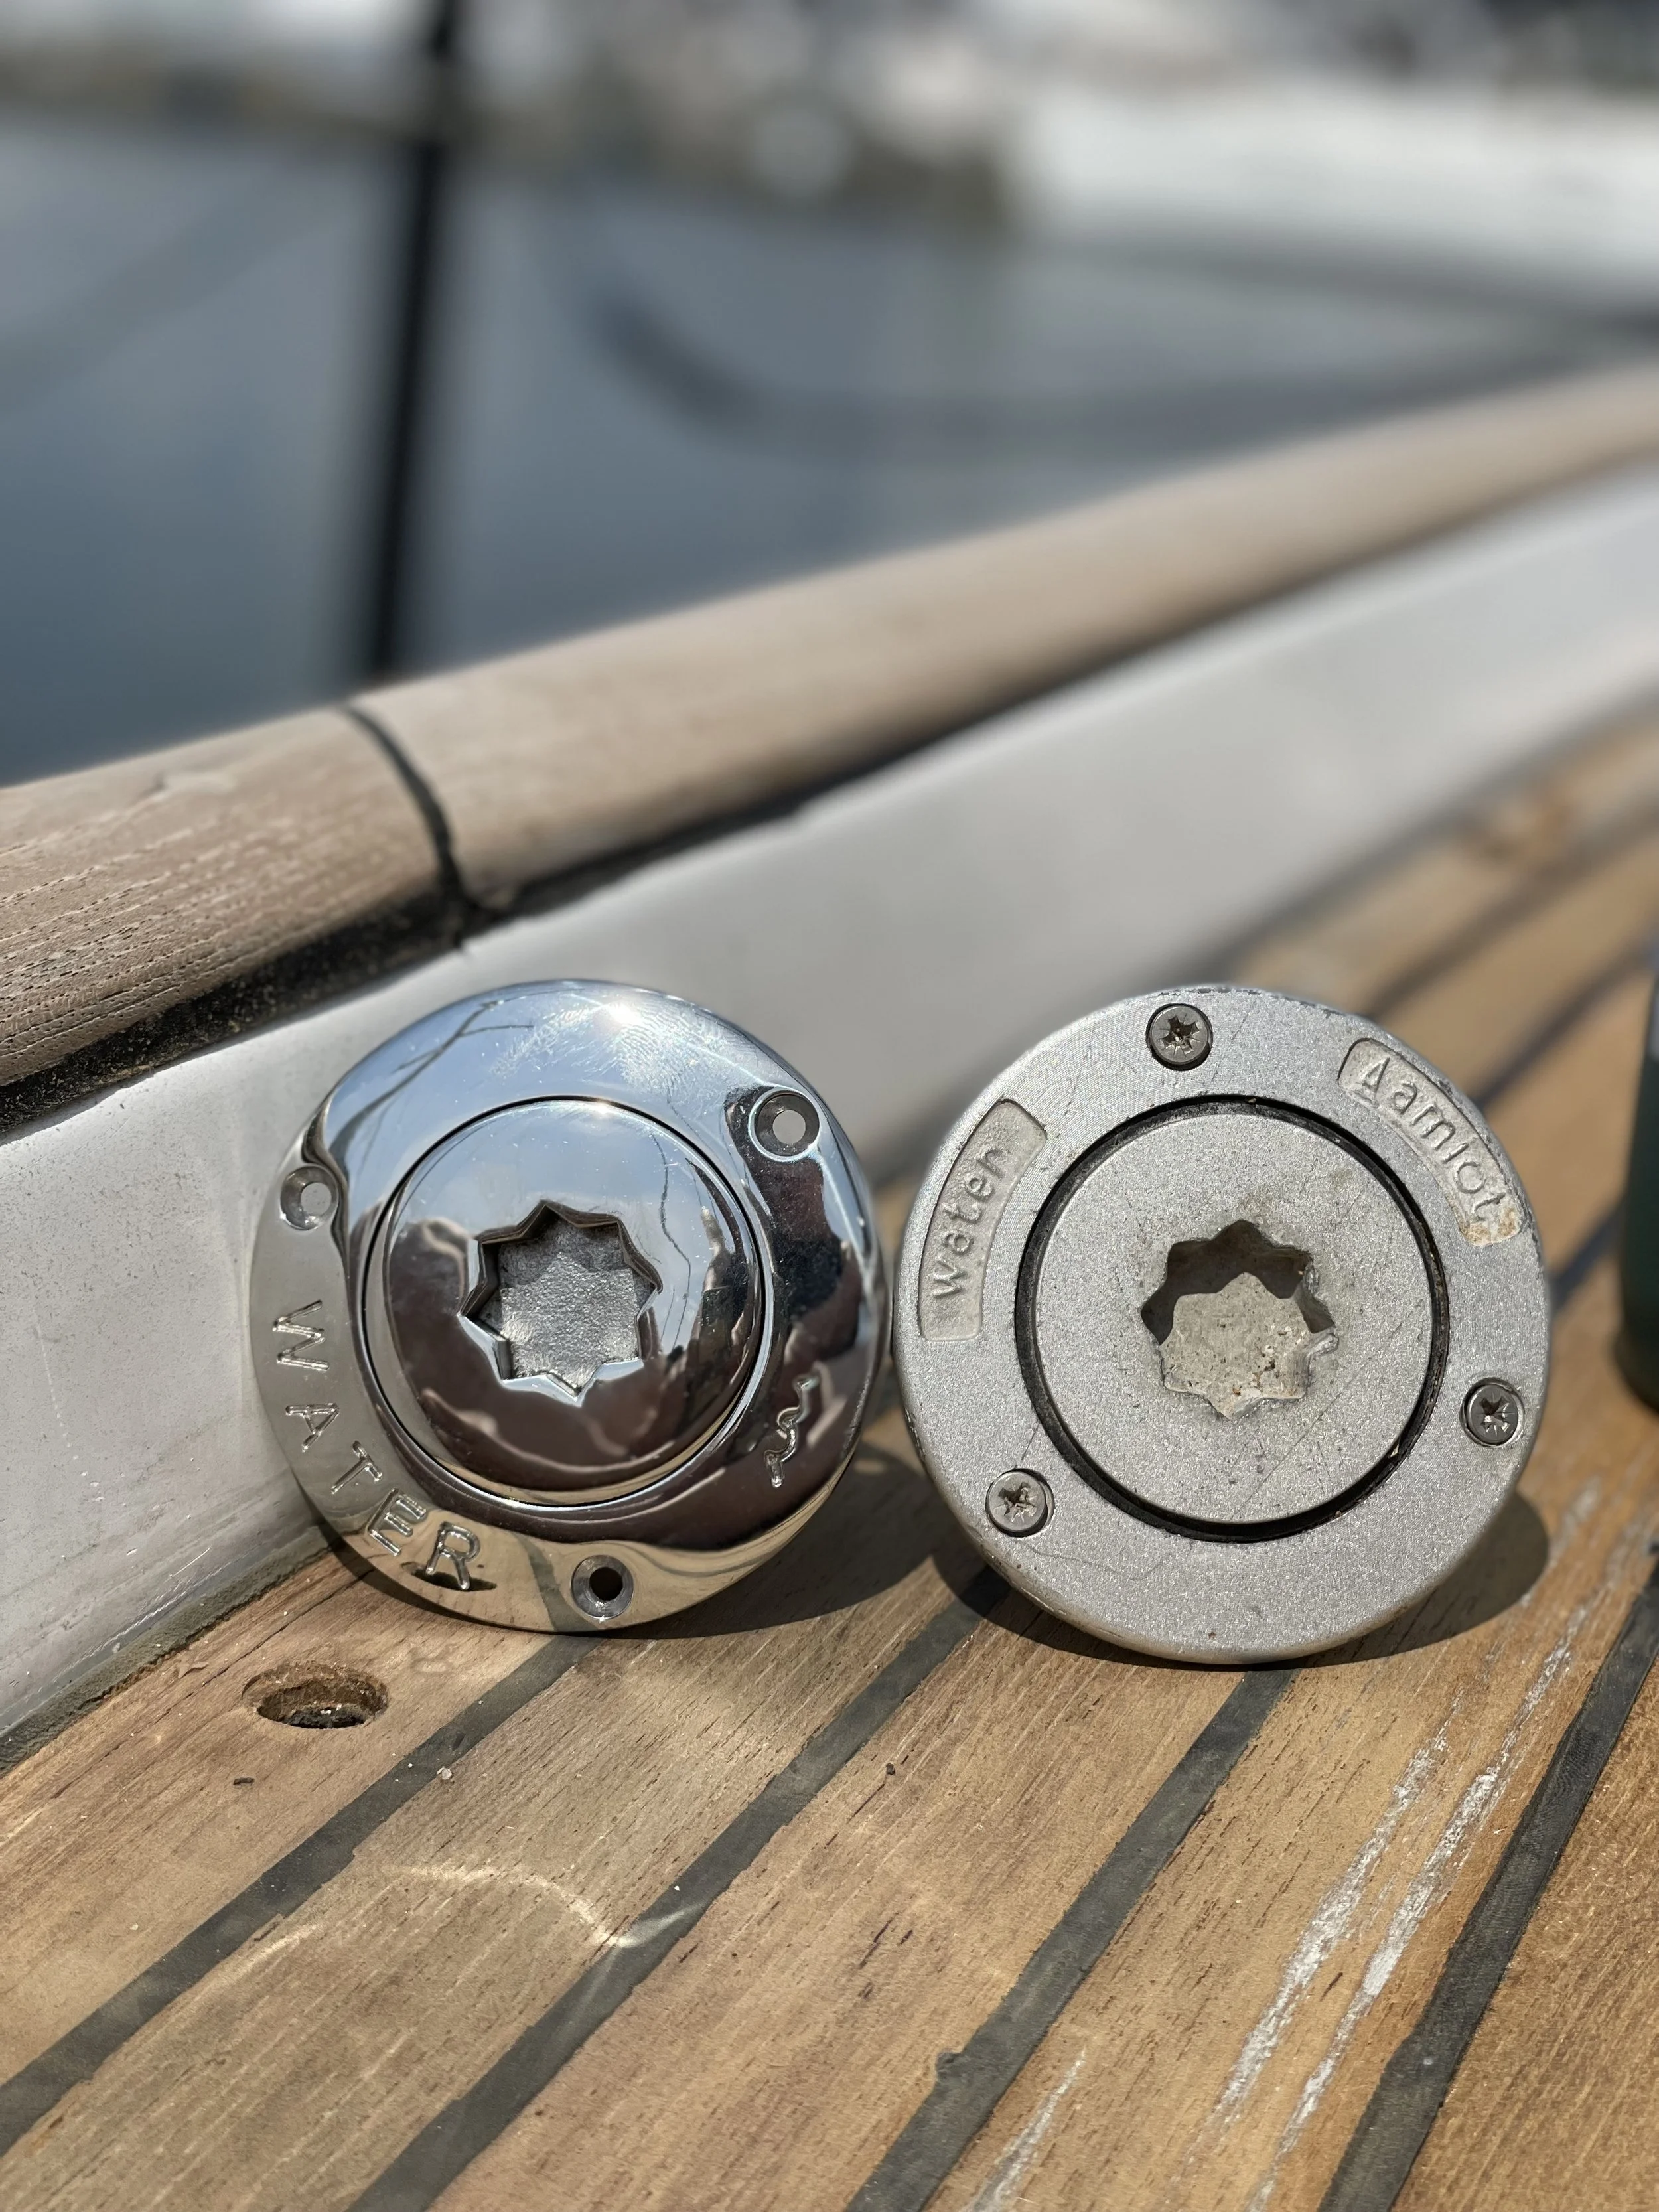
Selvfølgelig havde vi inspiceret alle gennemføringerne for lækager, da Vela blev søsat, men ved nærmere eftersyn opdagede vi en lille lækage ved en gennemføring i maskinrummet. Vi diskuterede længe, om vi skulle tage båden op med det samme for at reparere den eller vente til Vela skulle op i vinterens planlagte optagning. Vi forsøgte en midlertidig løsning med Tec7, som reducerede vandindtrængningen, men ikke nok til, at vi følte os trygge ved at vente.
Alligevel gik der en måned før Vela kom på land igen. Denne gang var hun kun oppe af vandet i 24 timer, og vi udskiftede gennemføringen på kun to timer! Selvfølgelig måtte vi vente på, at primeren og bundmalingen tørrede, hvilket tog længere tid end at skifte selv gennemføringen, men vi nåede at få alt færdigt inden søsætning dagen efter.
På det tidspunkt havde vi udskiftet 16 gennemføringer, så vi var efterhånden blevet ret dygtige til det!
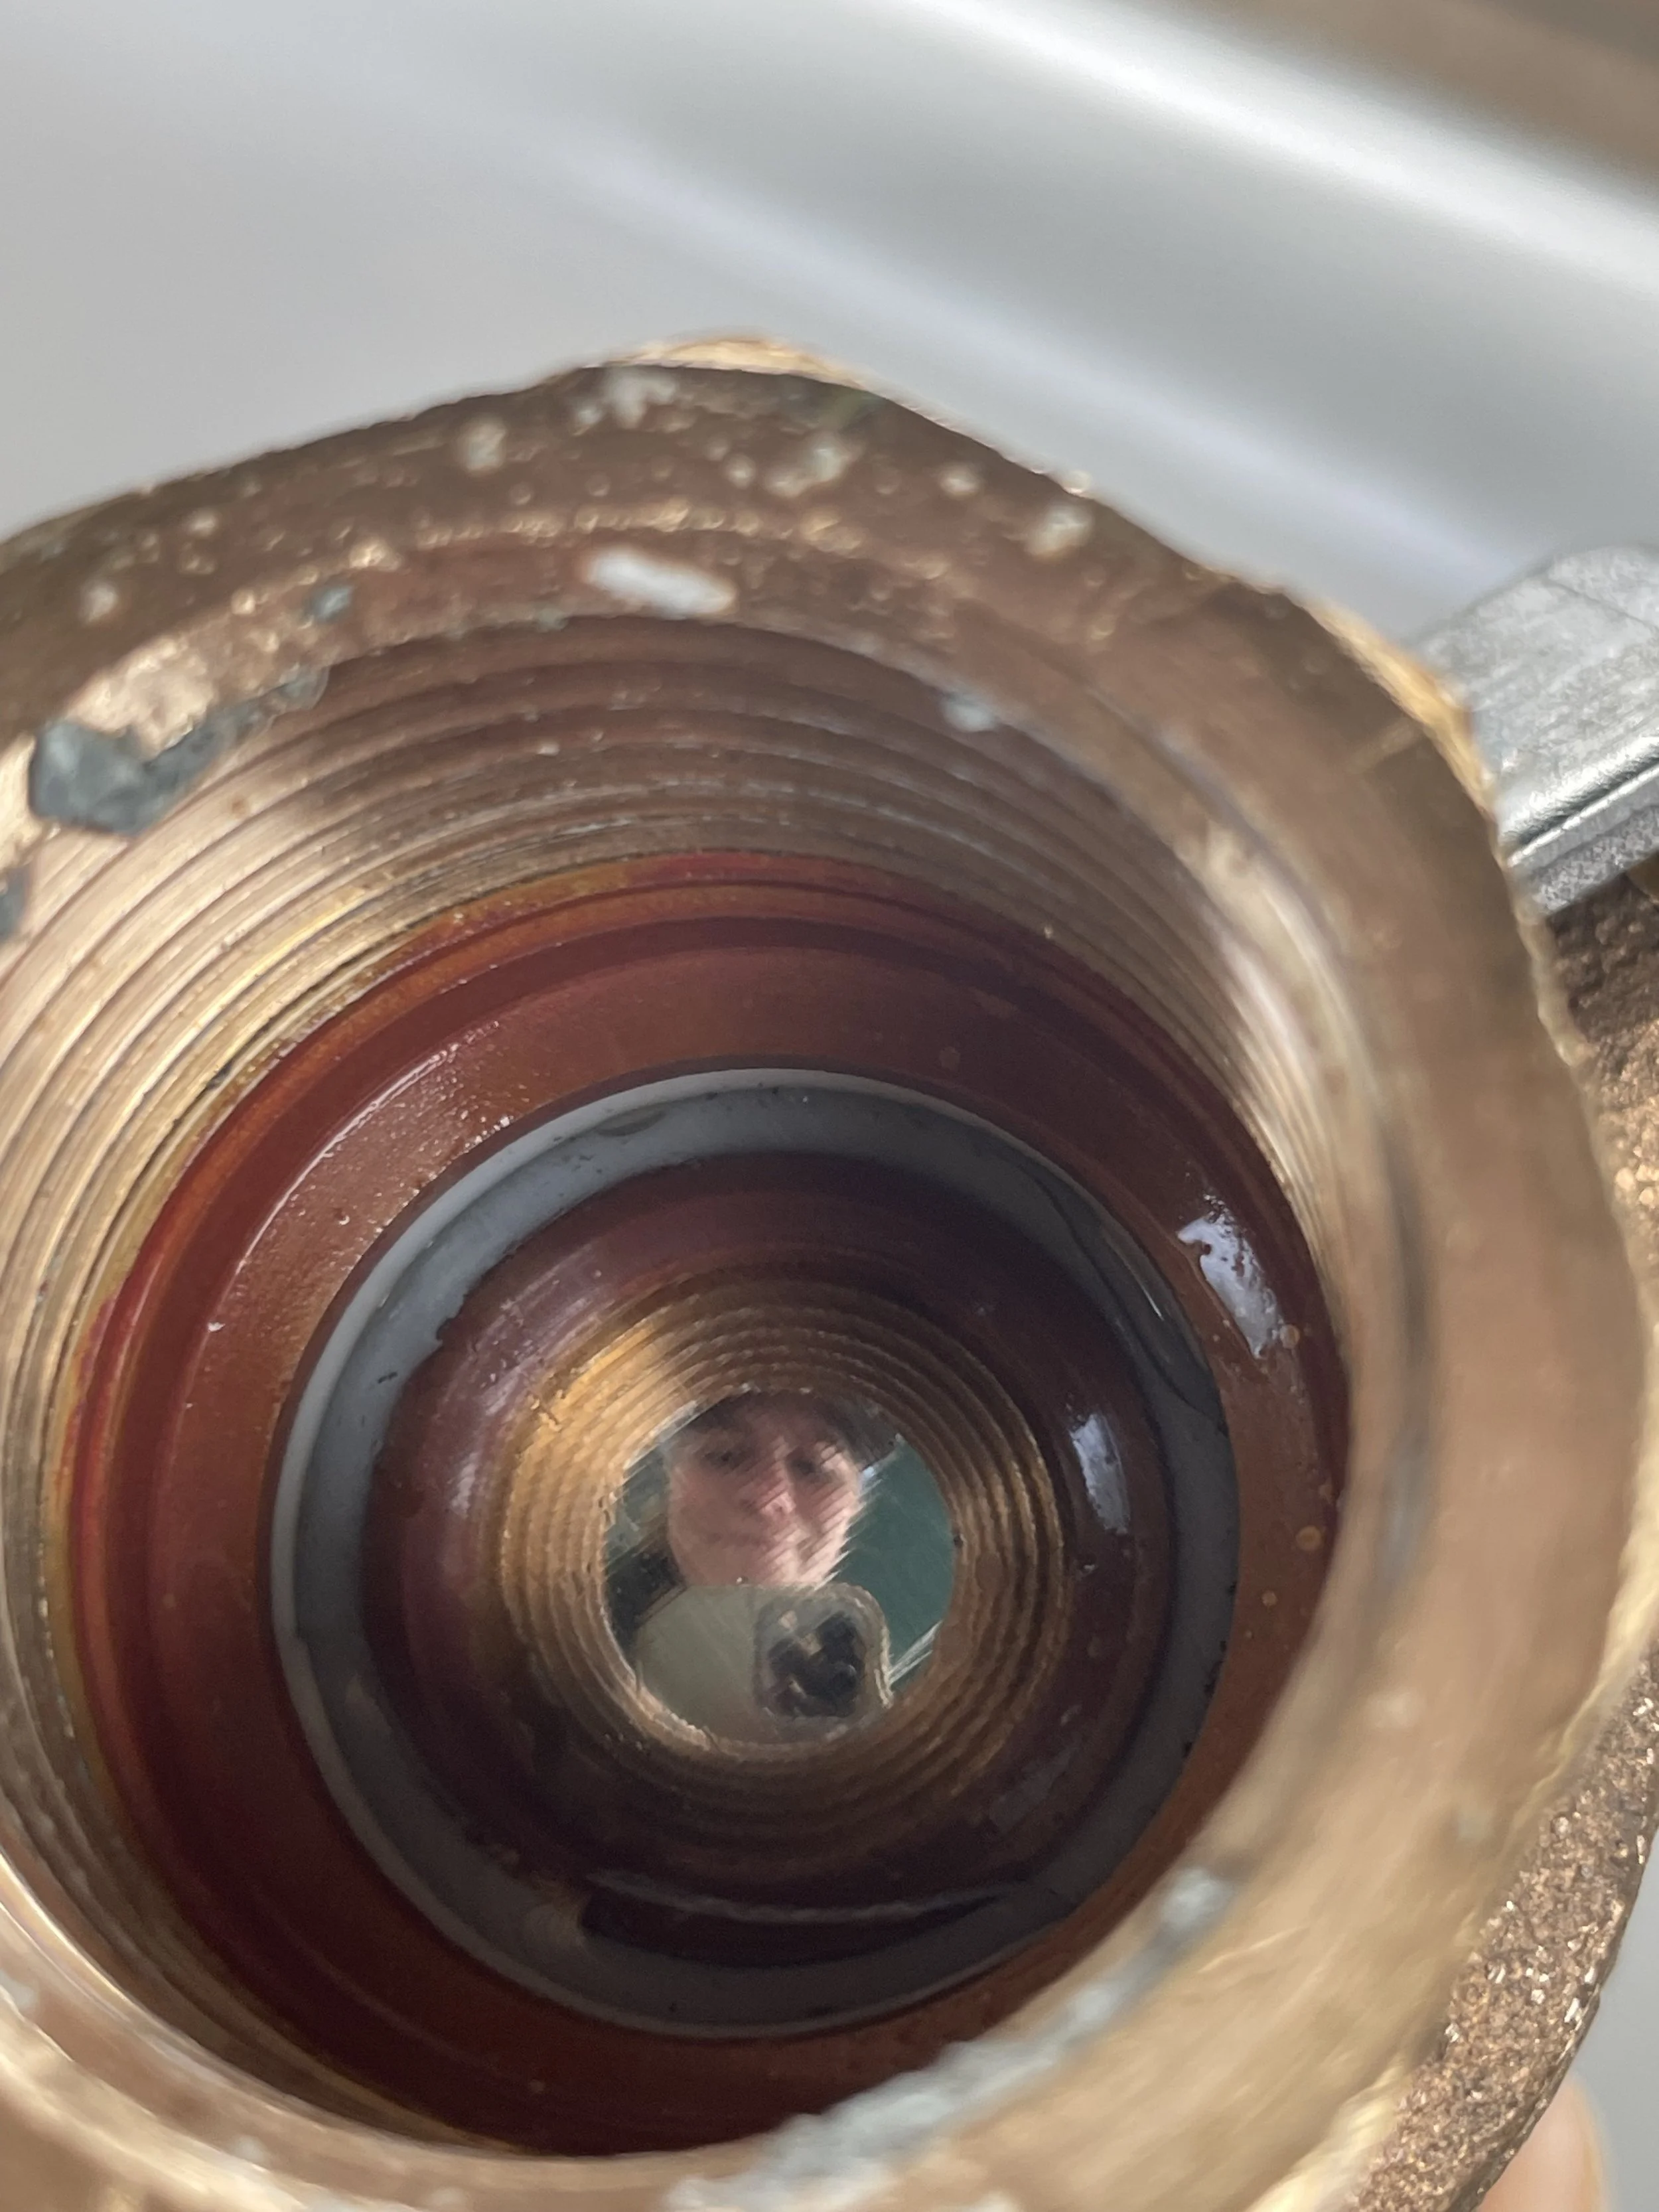
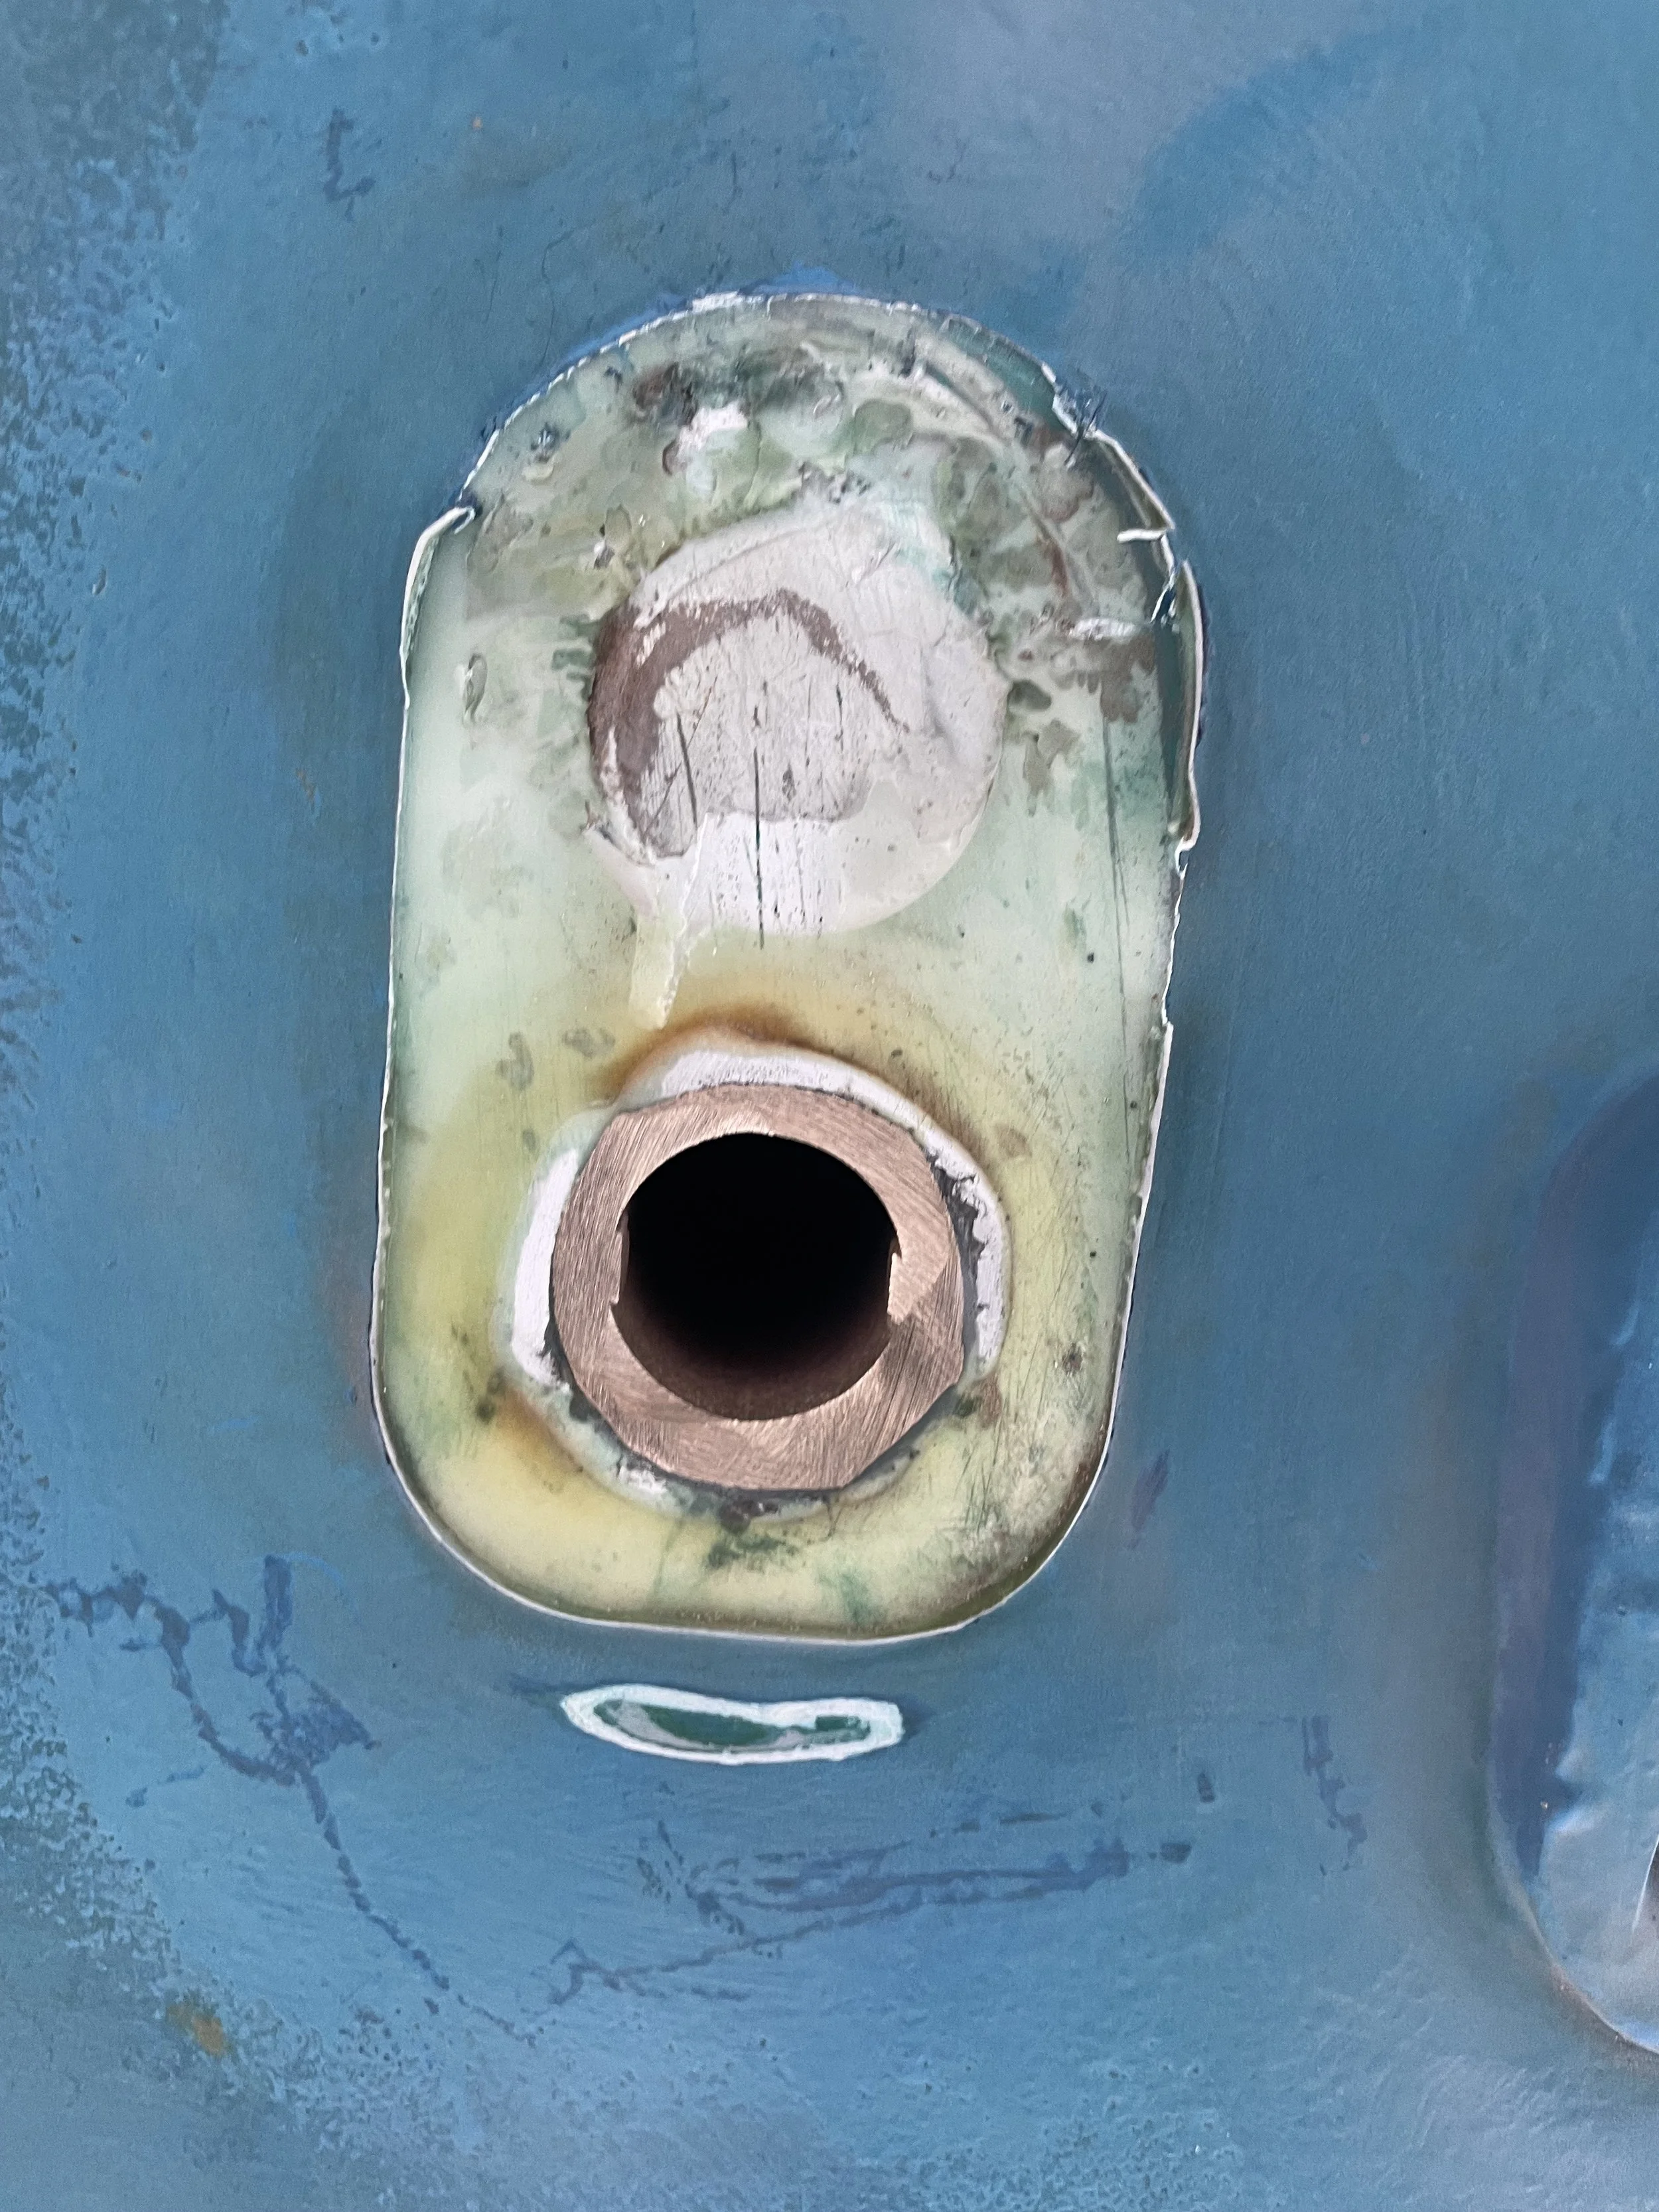
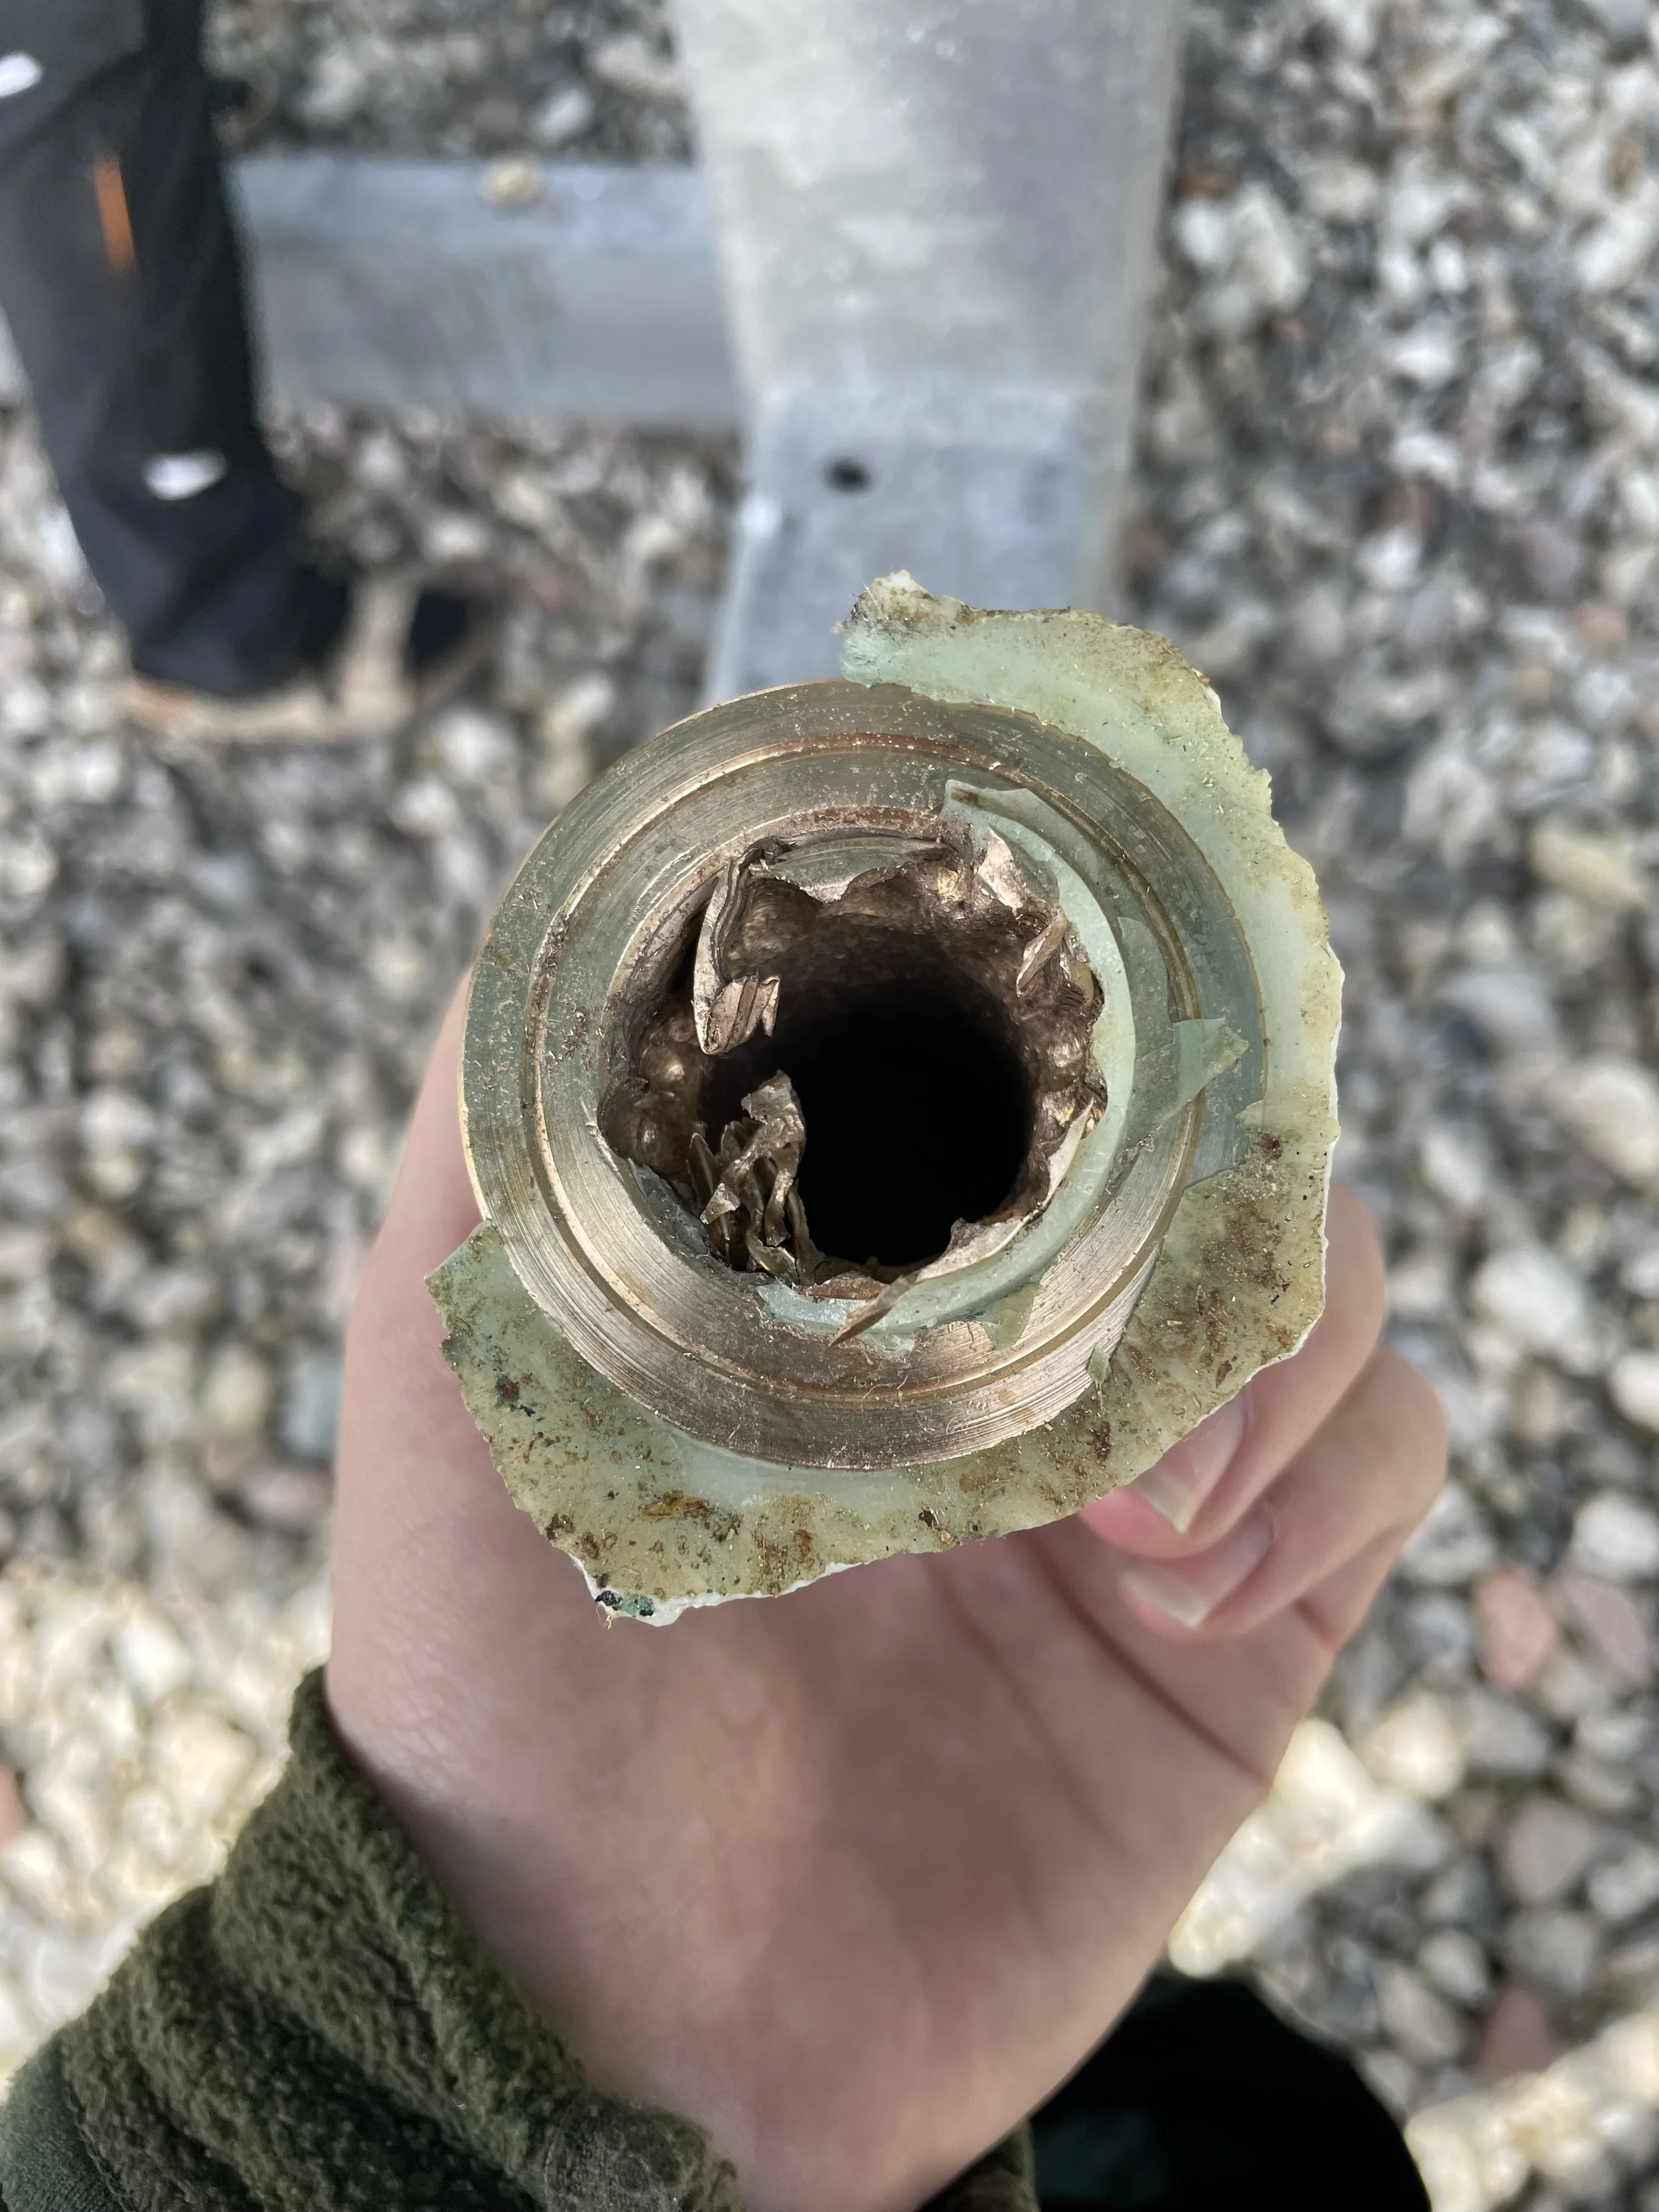
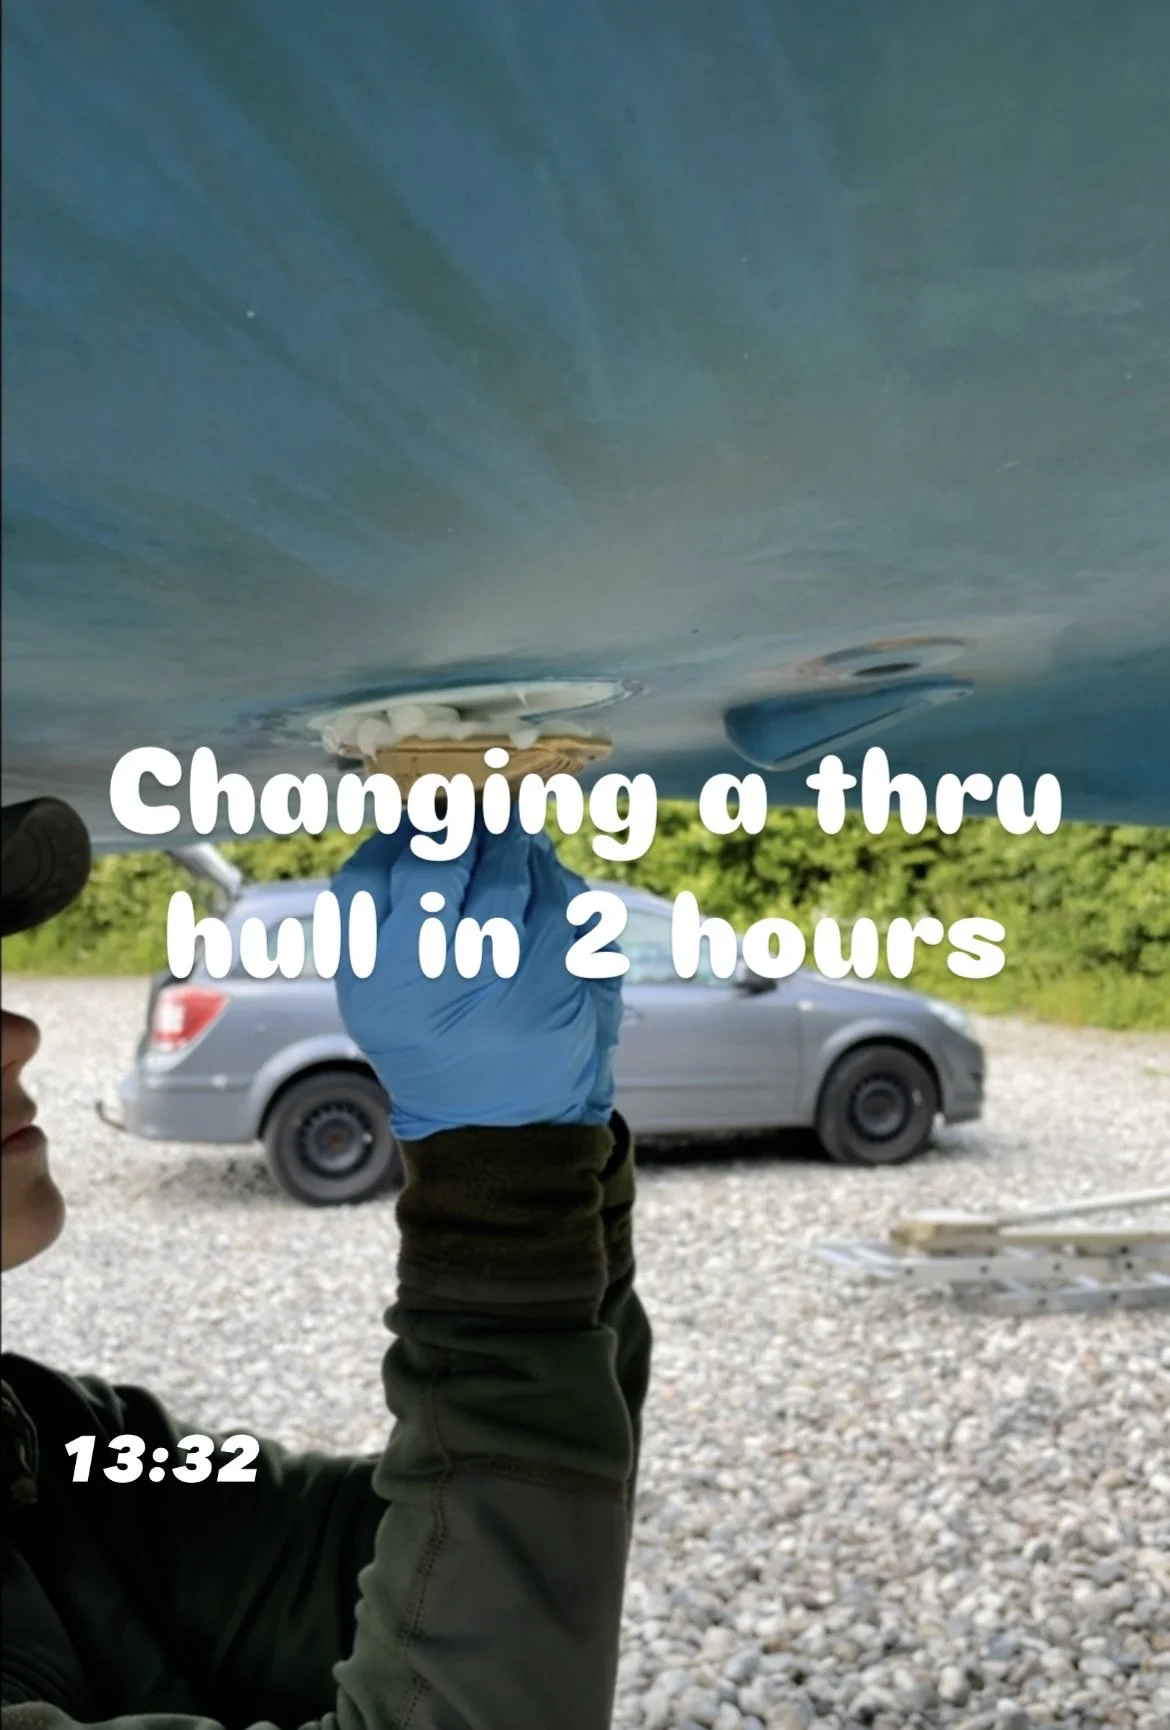
Da vi fjernede den utætte gennemføring, kunne vi se, at det sandsynligvis skyldtes, at vi ikke havde rengjort den grundigt nok, og at snavs havde forårsaget utætheden. Nu er den vandtæt igen, og der kommer ikke mere saltvand ind!
Dog havde vi på det tidspunkt stadig lækager omkring masten — men det vender vi tilbage til!
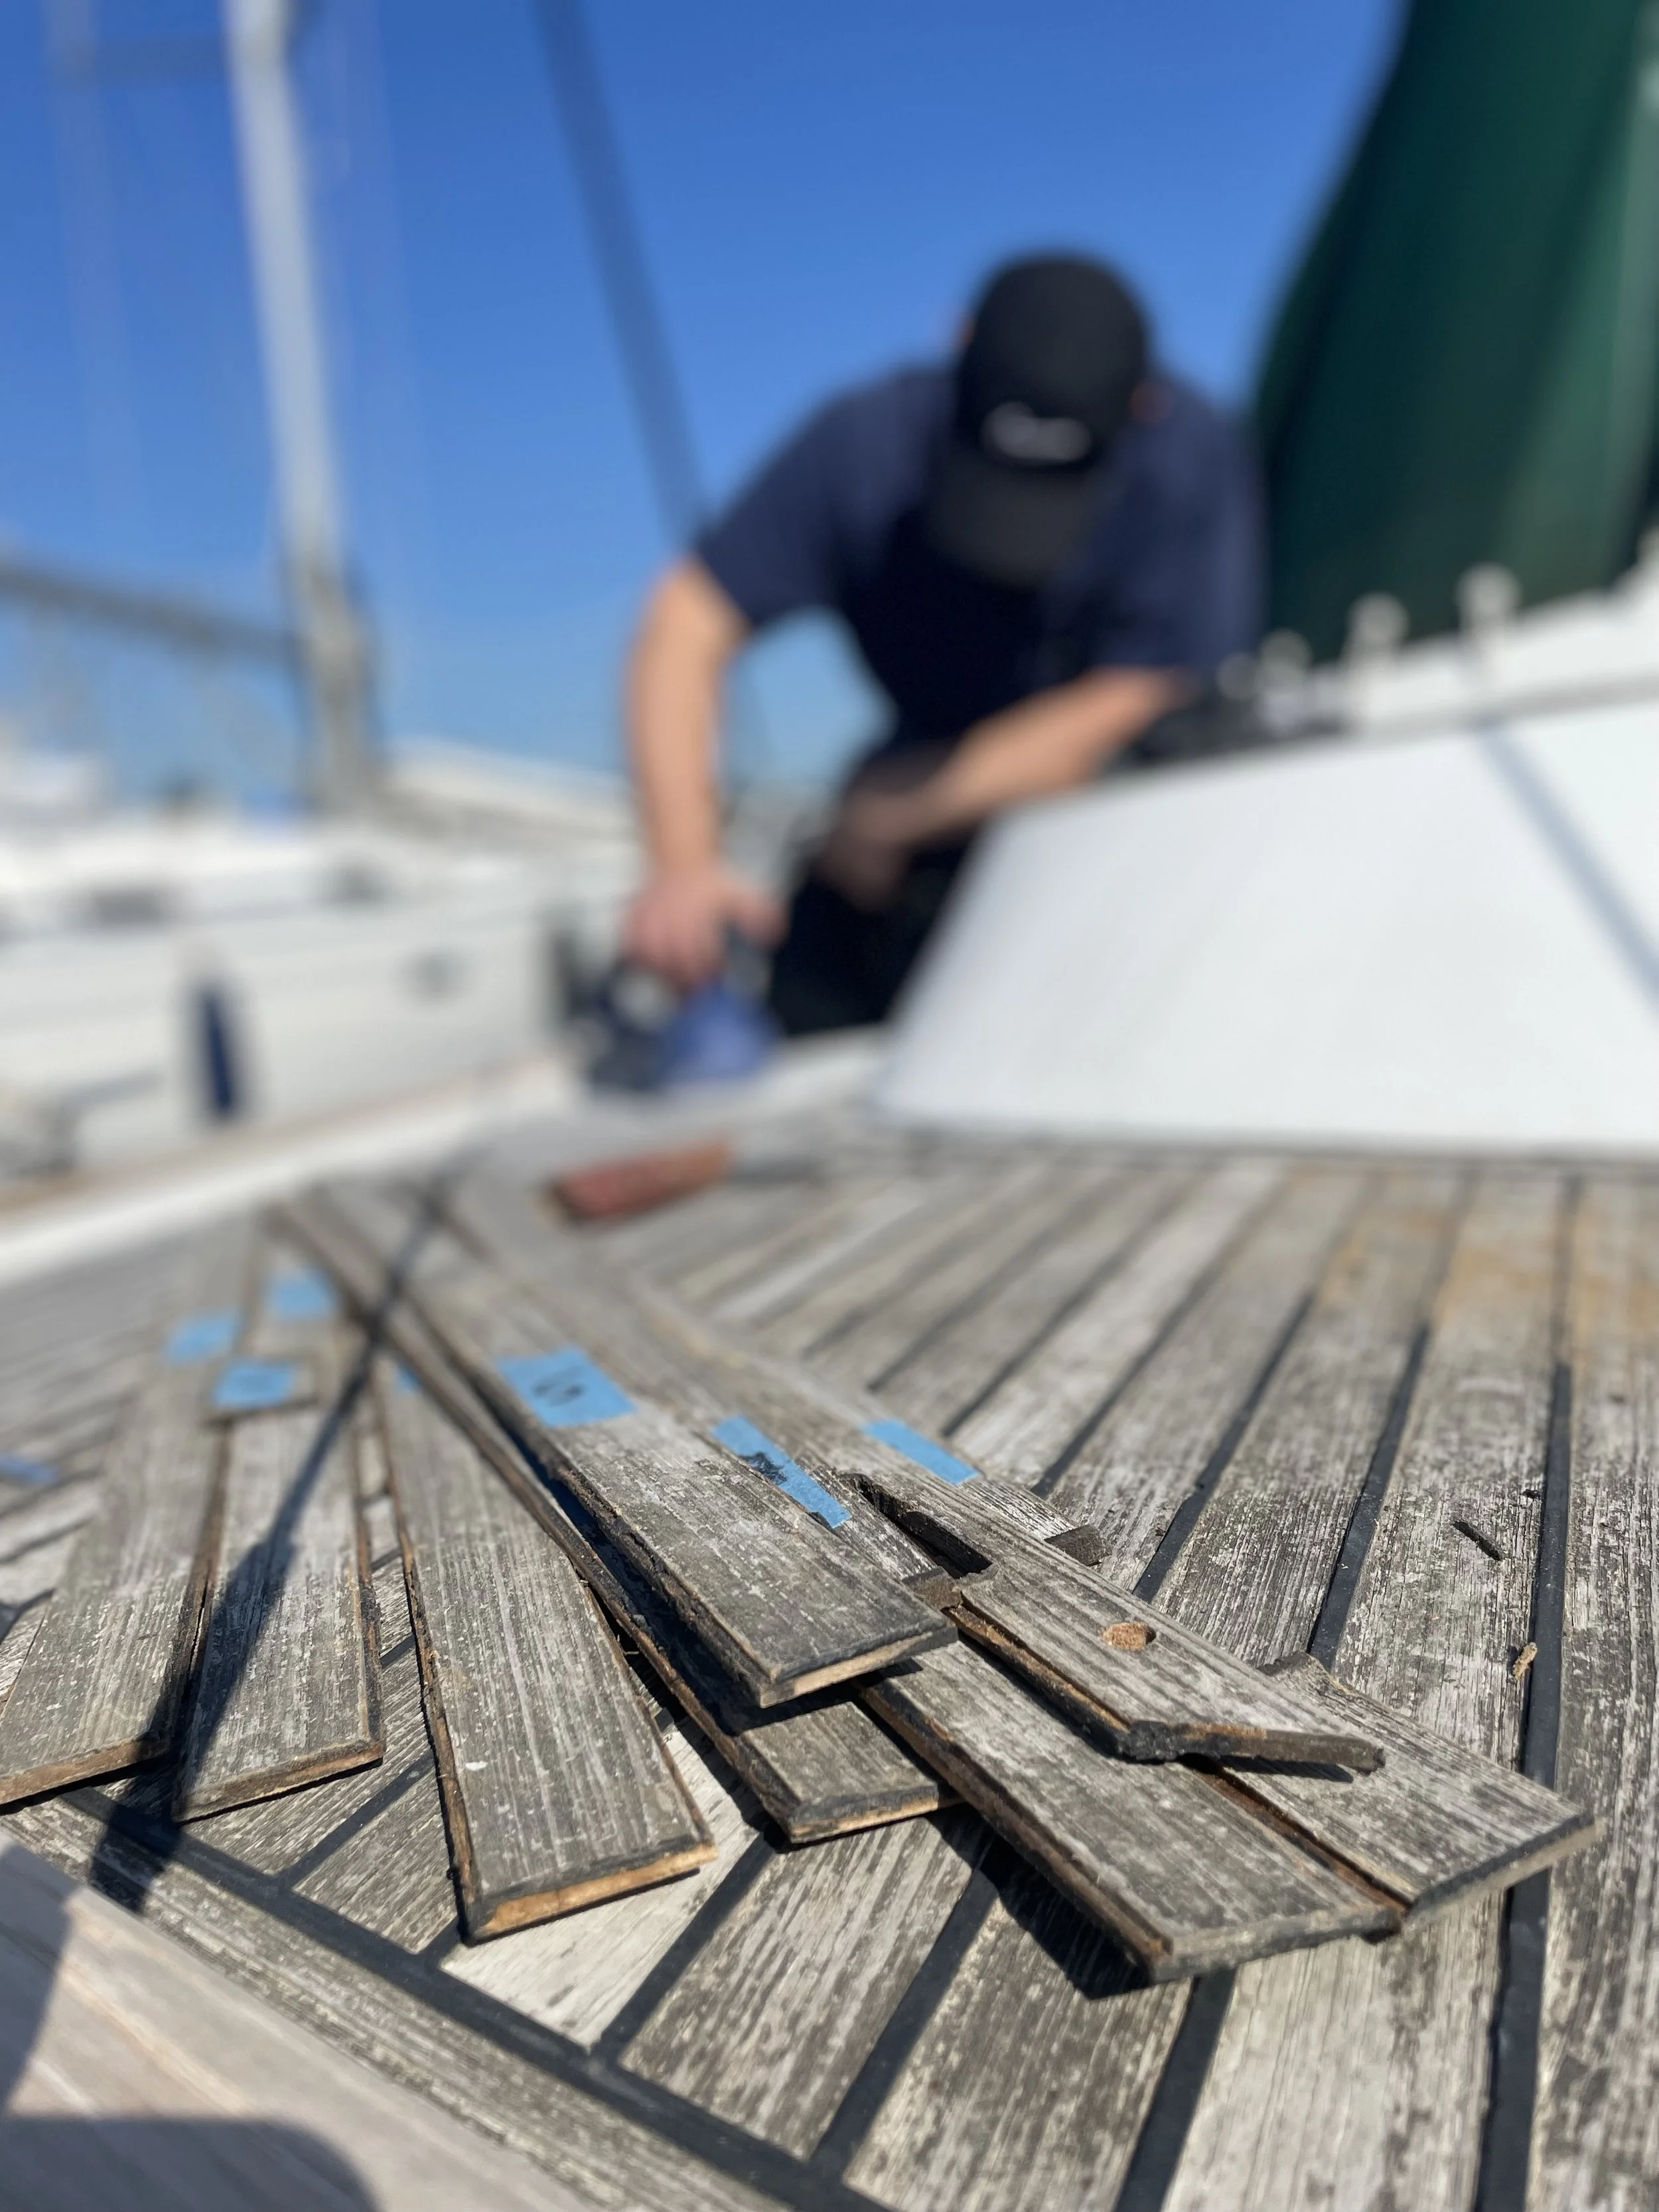
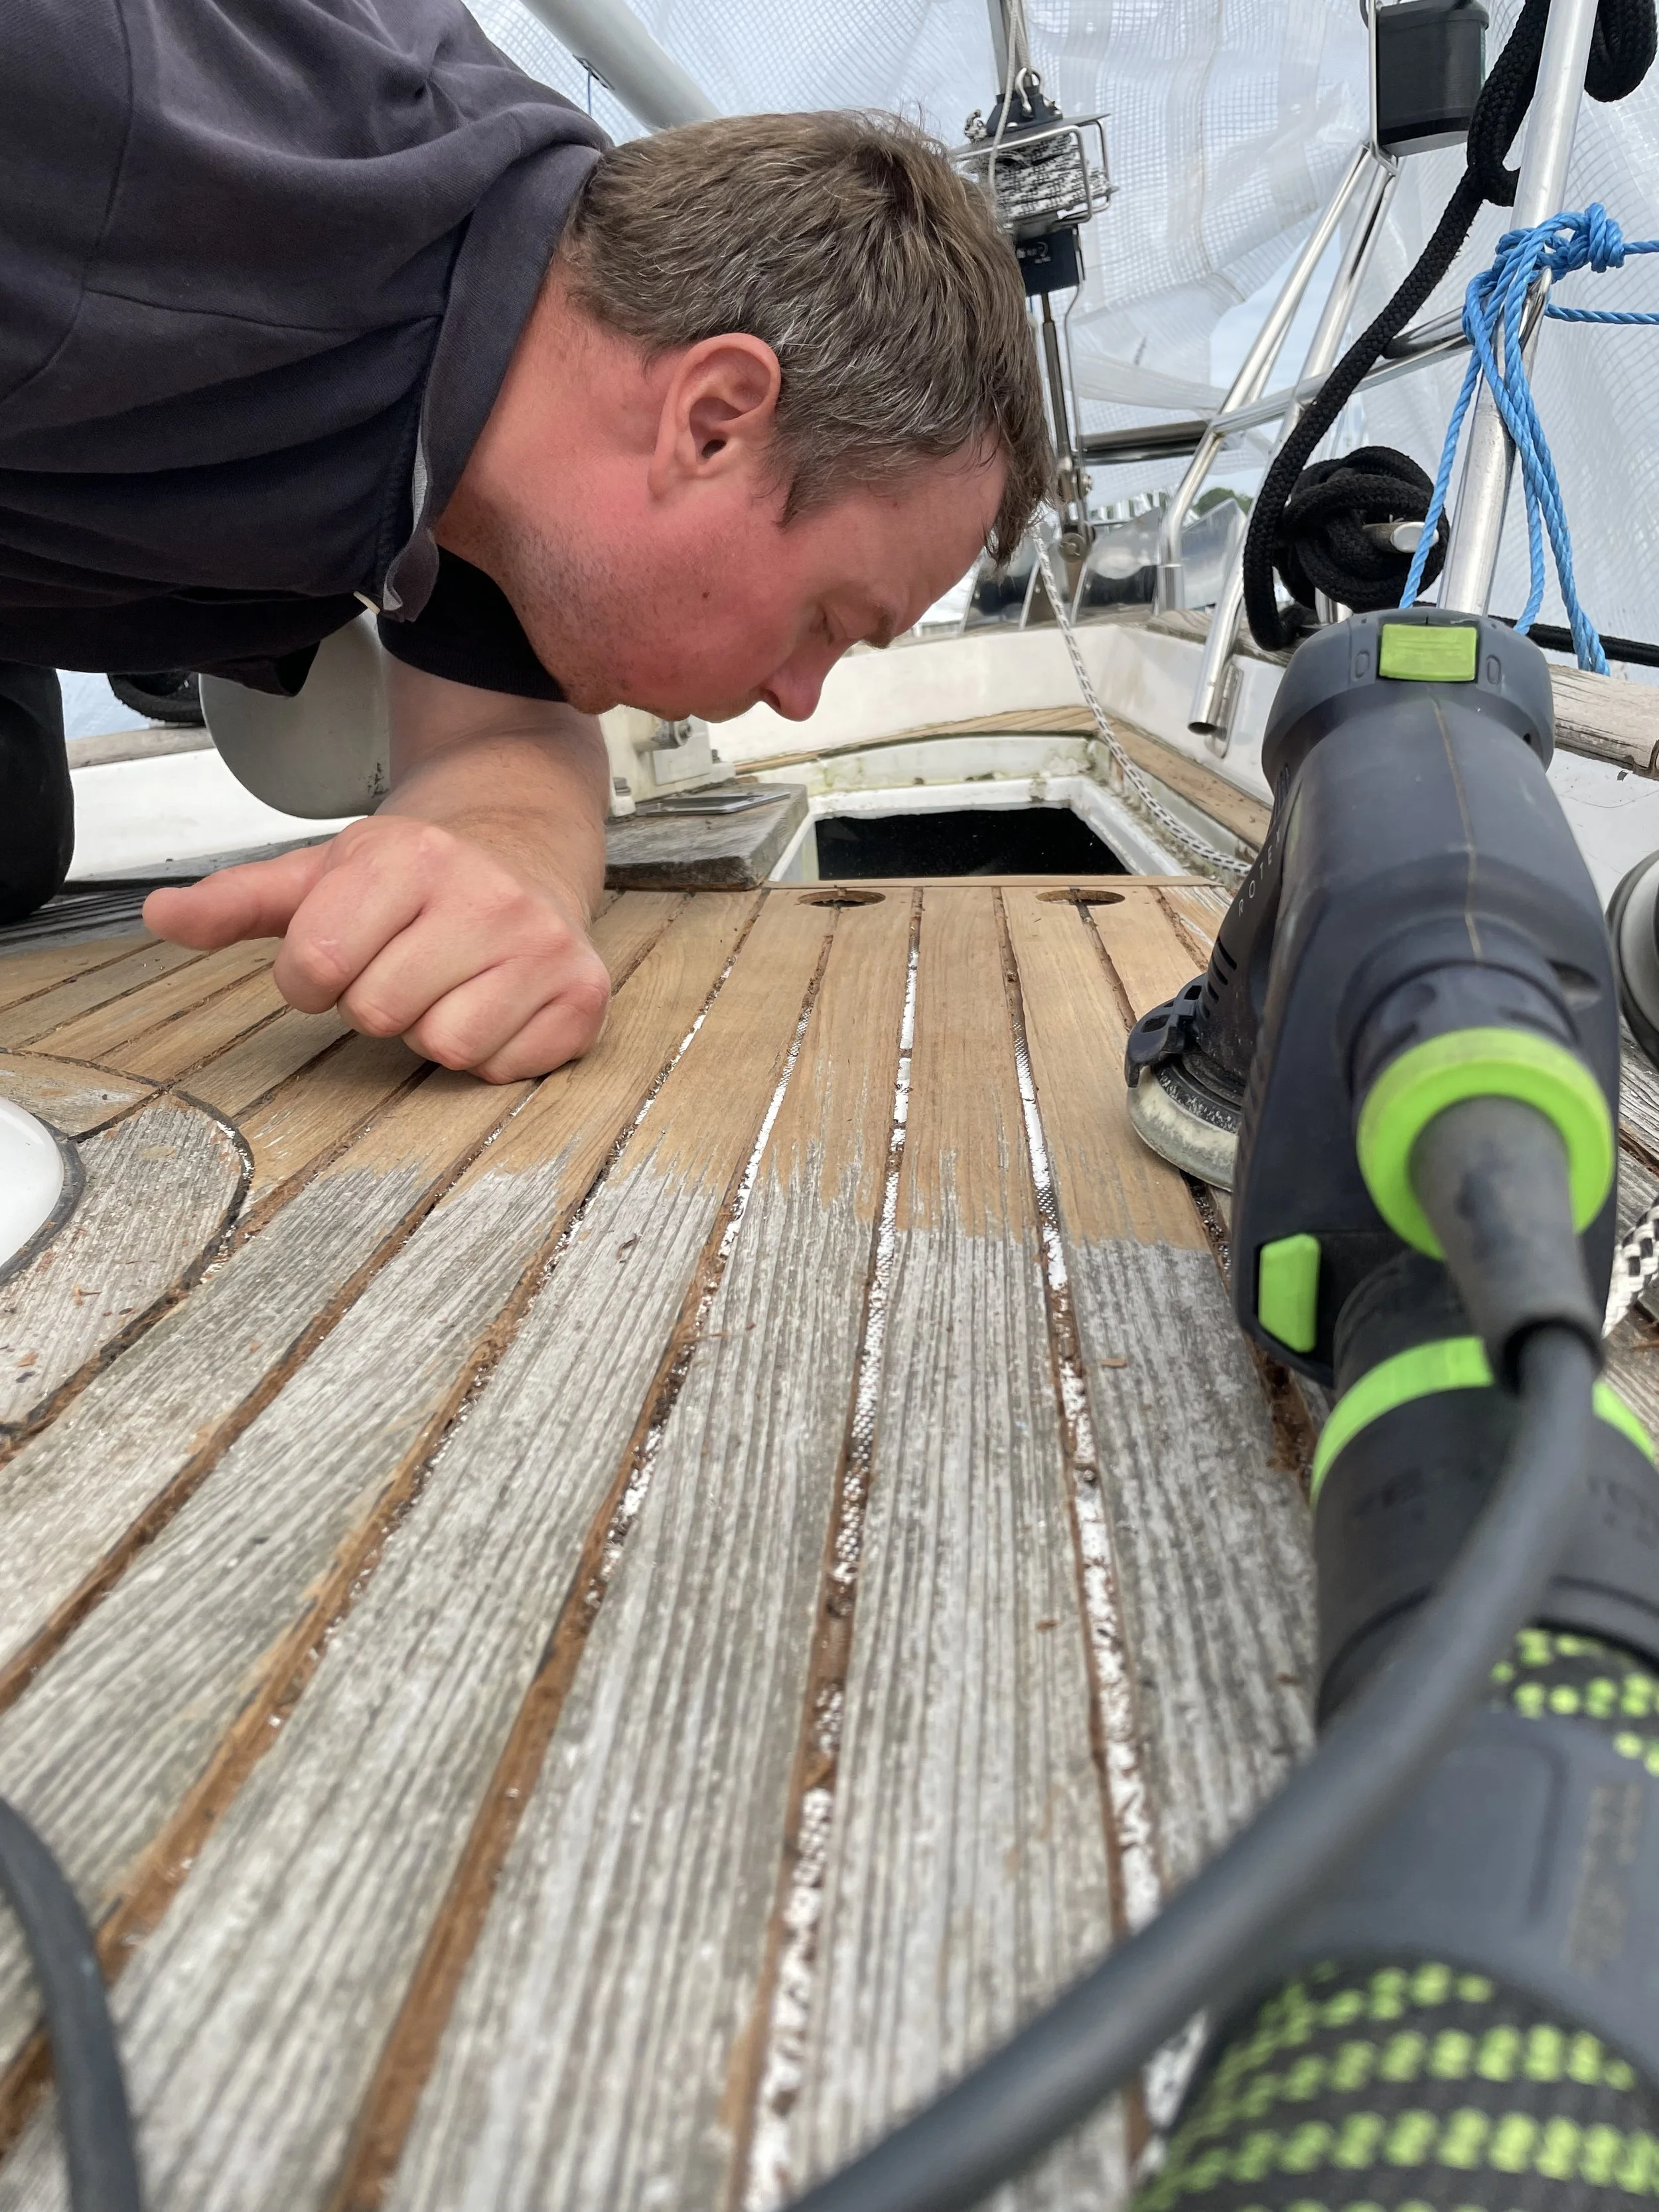
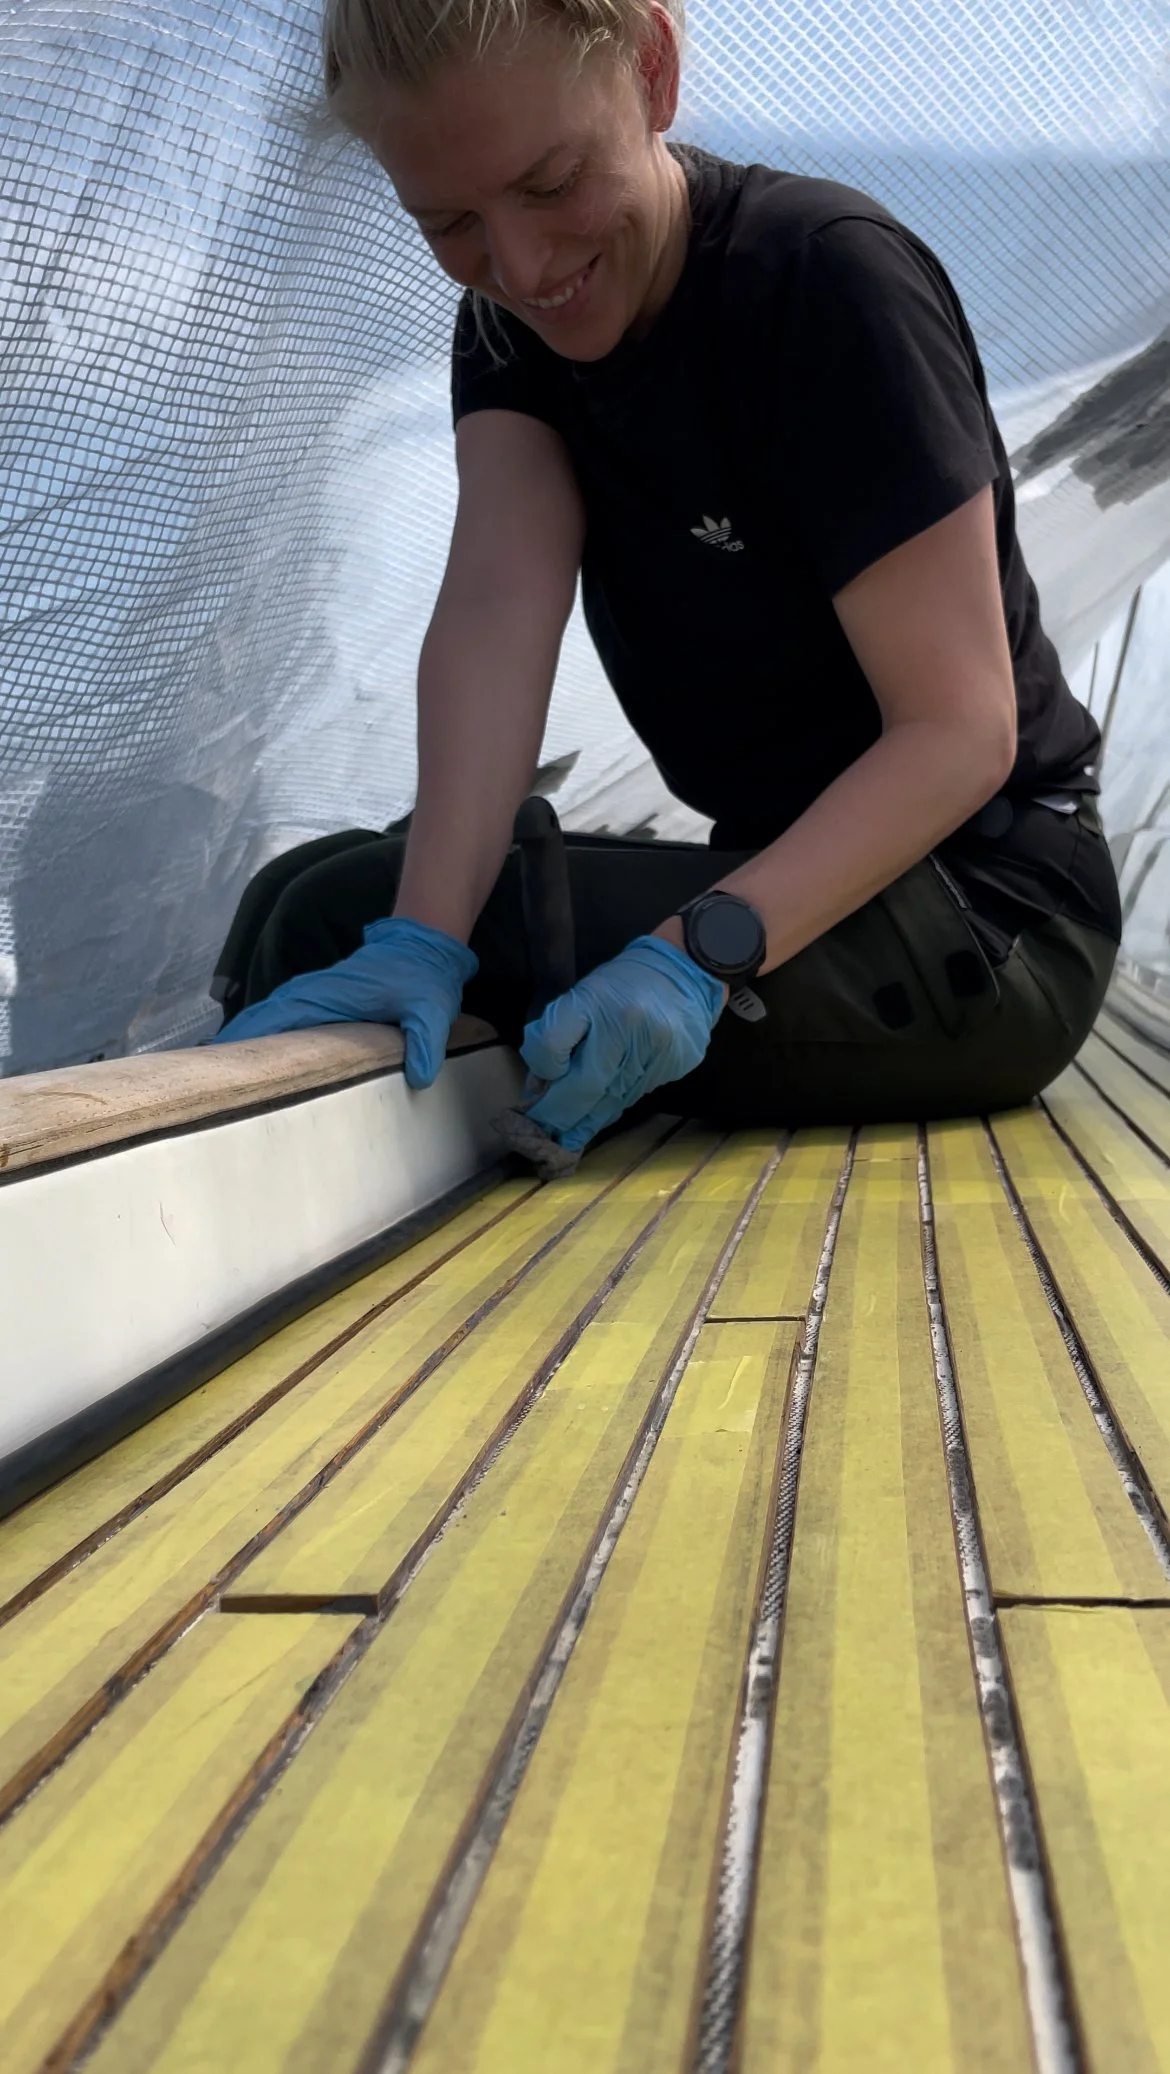
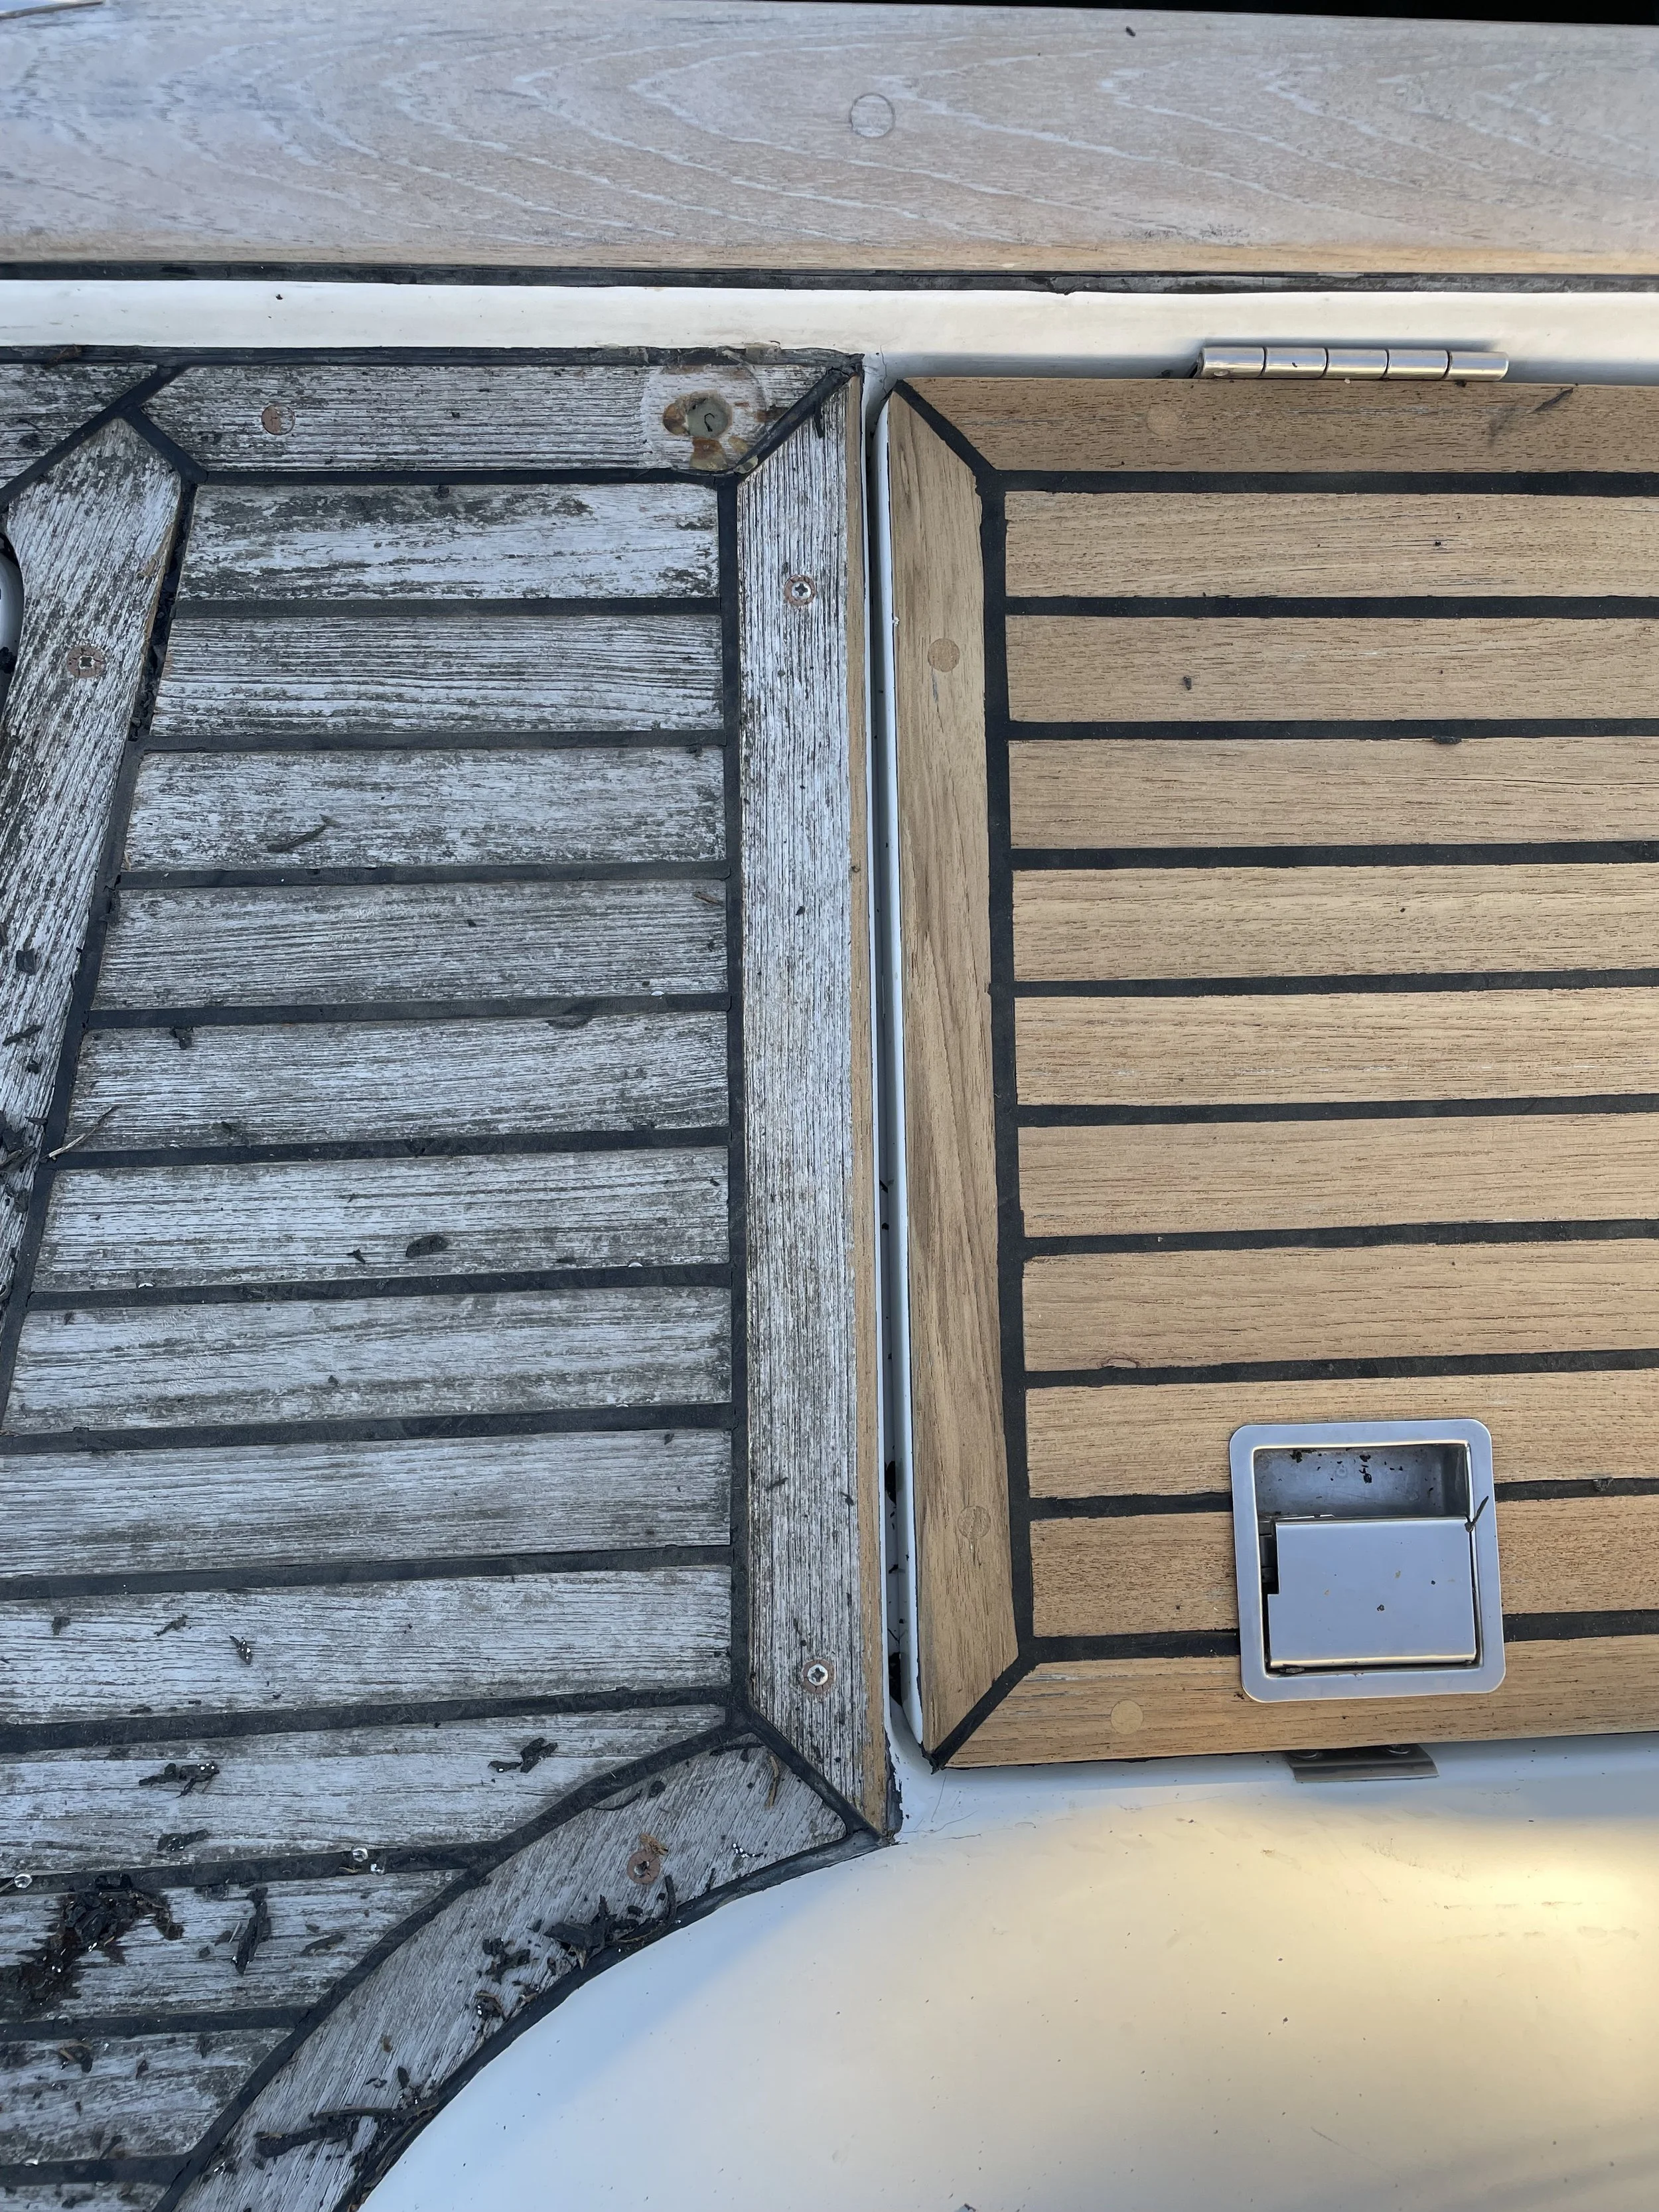
Det største projekt, vi tog fat på i sommer, var vores teakdæk. Hold da op – sikke et arbejde!
Først var vi under tidspres, fordi Christian skulle på arbejde, og det efterlod os kun to uger til at arbejde på det. Vi besluttede at prioritere sidedækket og forreste del af dæk og lade agterdækket vente til han kom tilbage. Men skæbnen havde andre planer – vi nåede faktisk at færdiggøre hele molevitten! Christians arbejdsfrist blev udskudt lige længe nok til, at vi kunne renovere HELE DÆKKET!
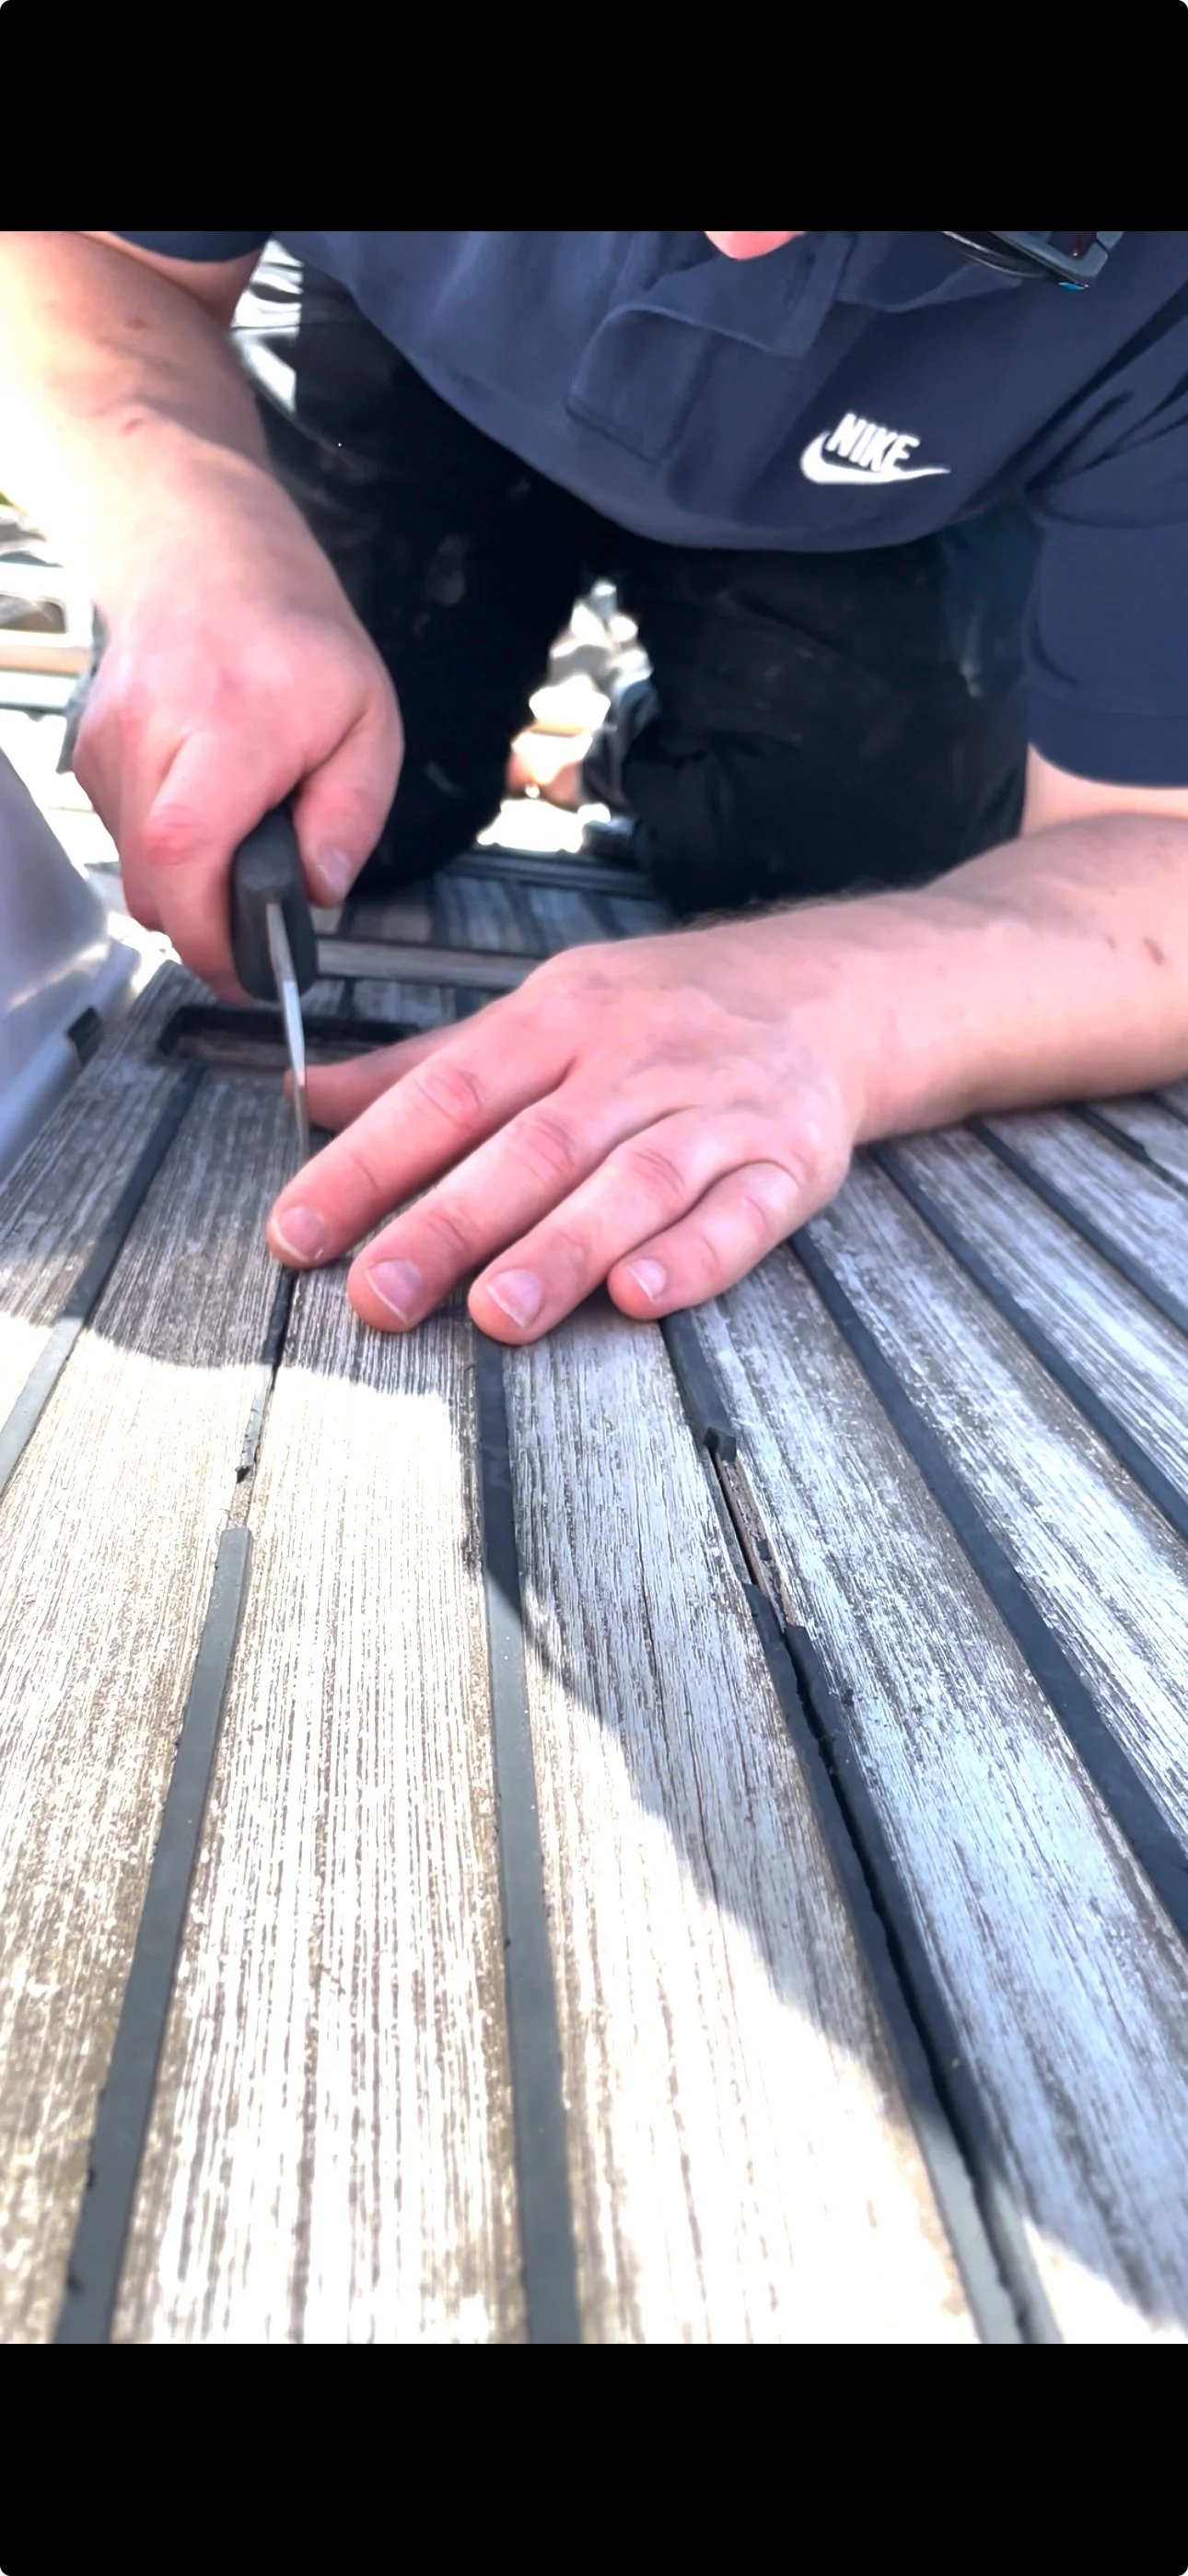
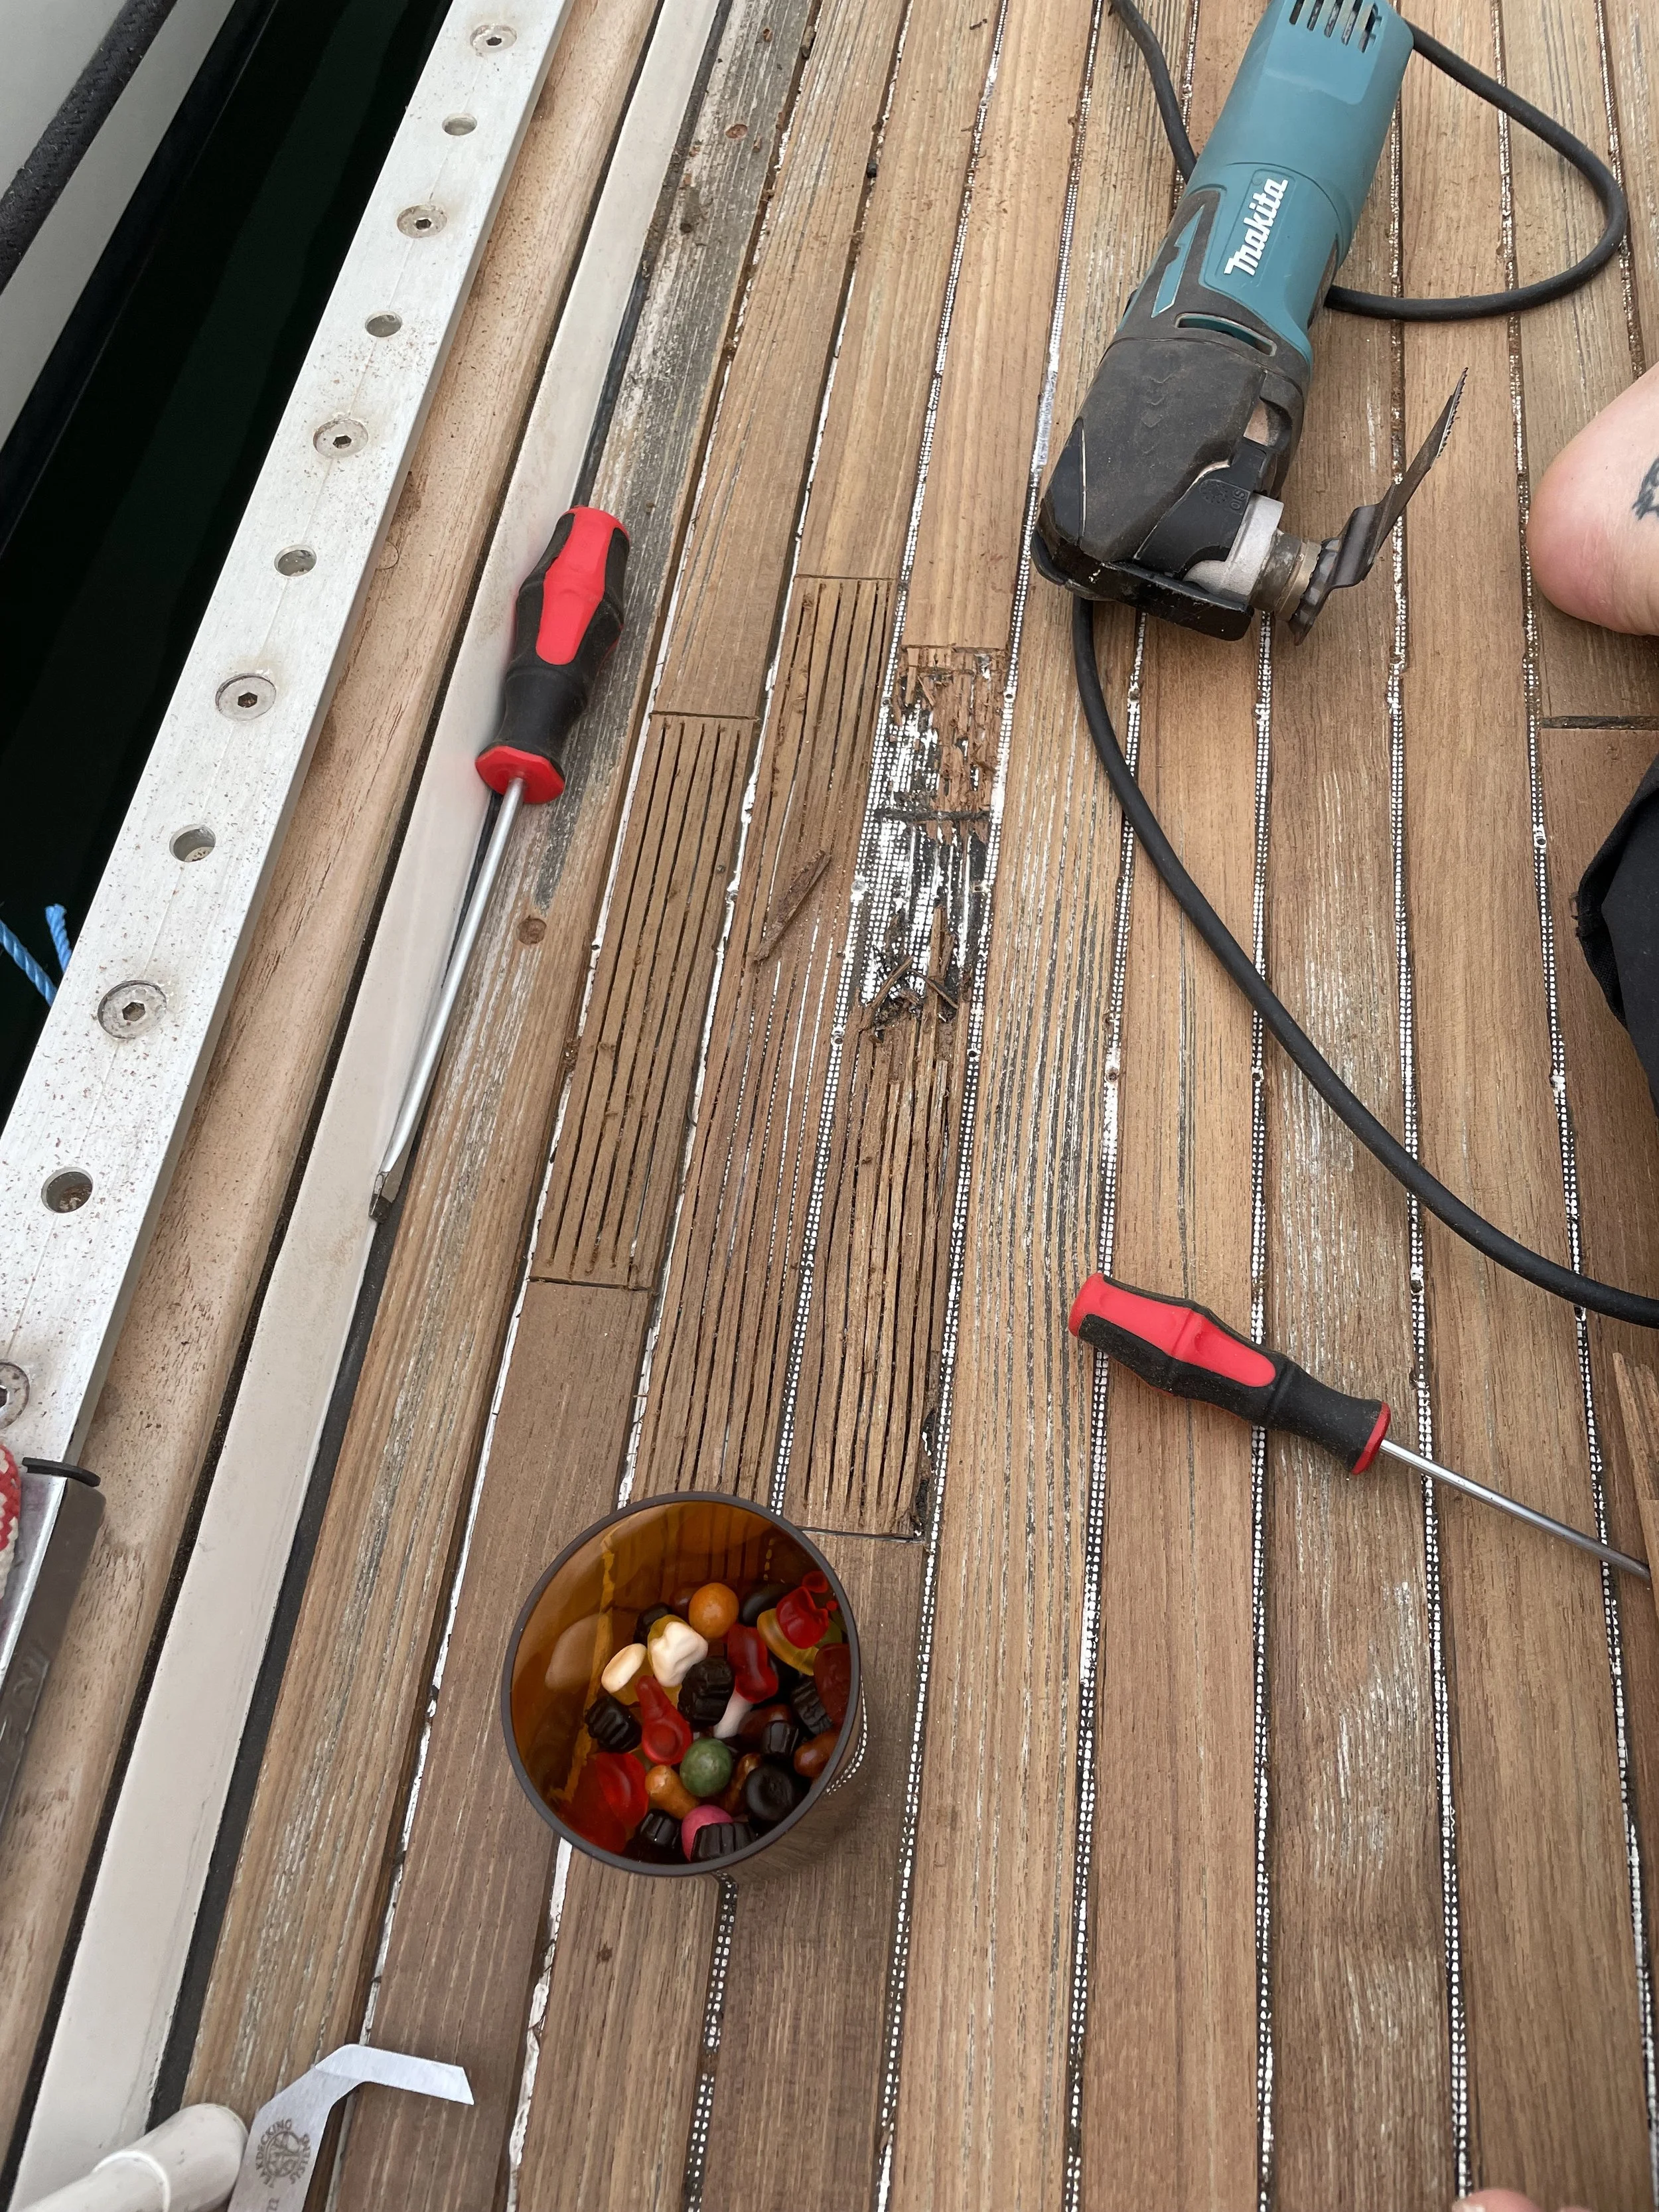
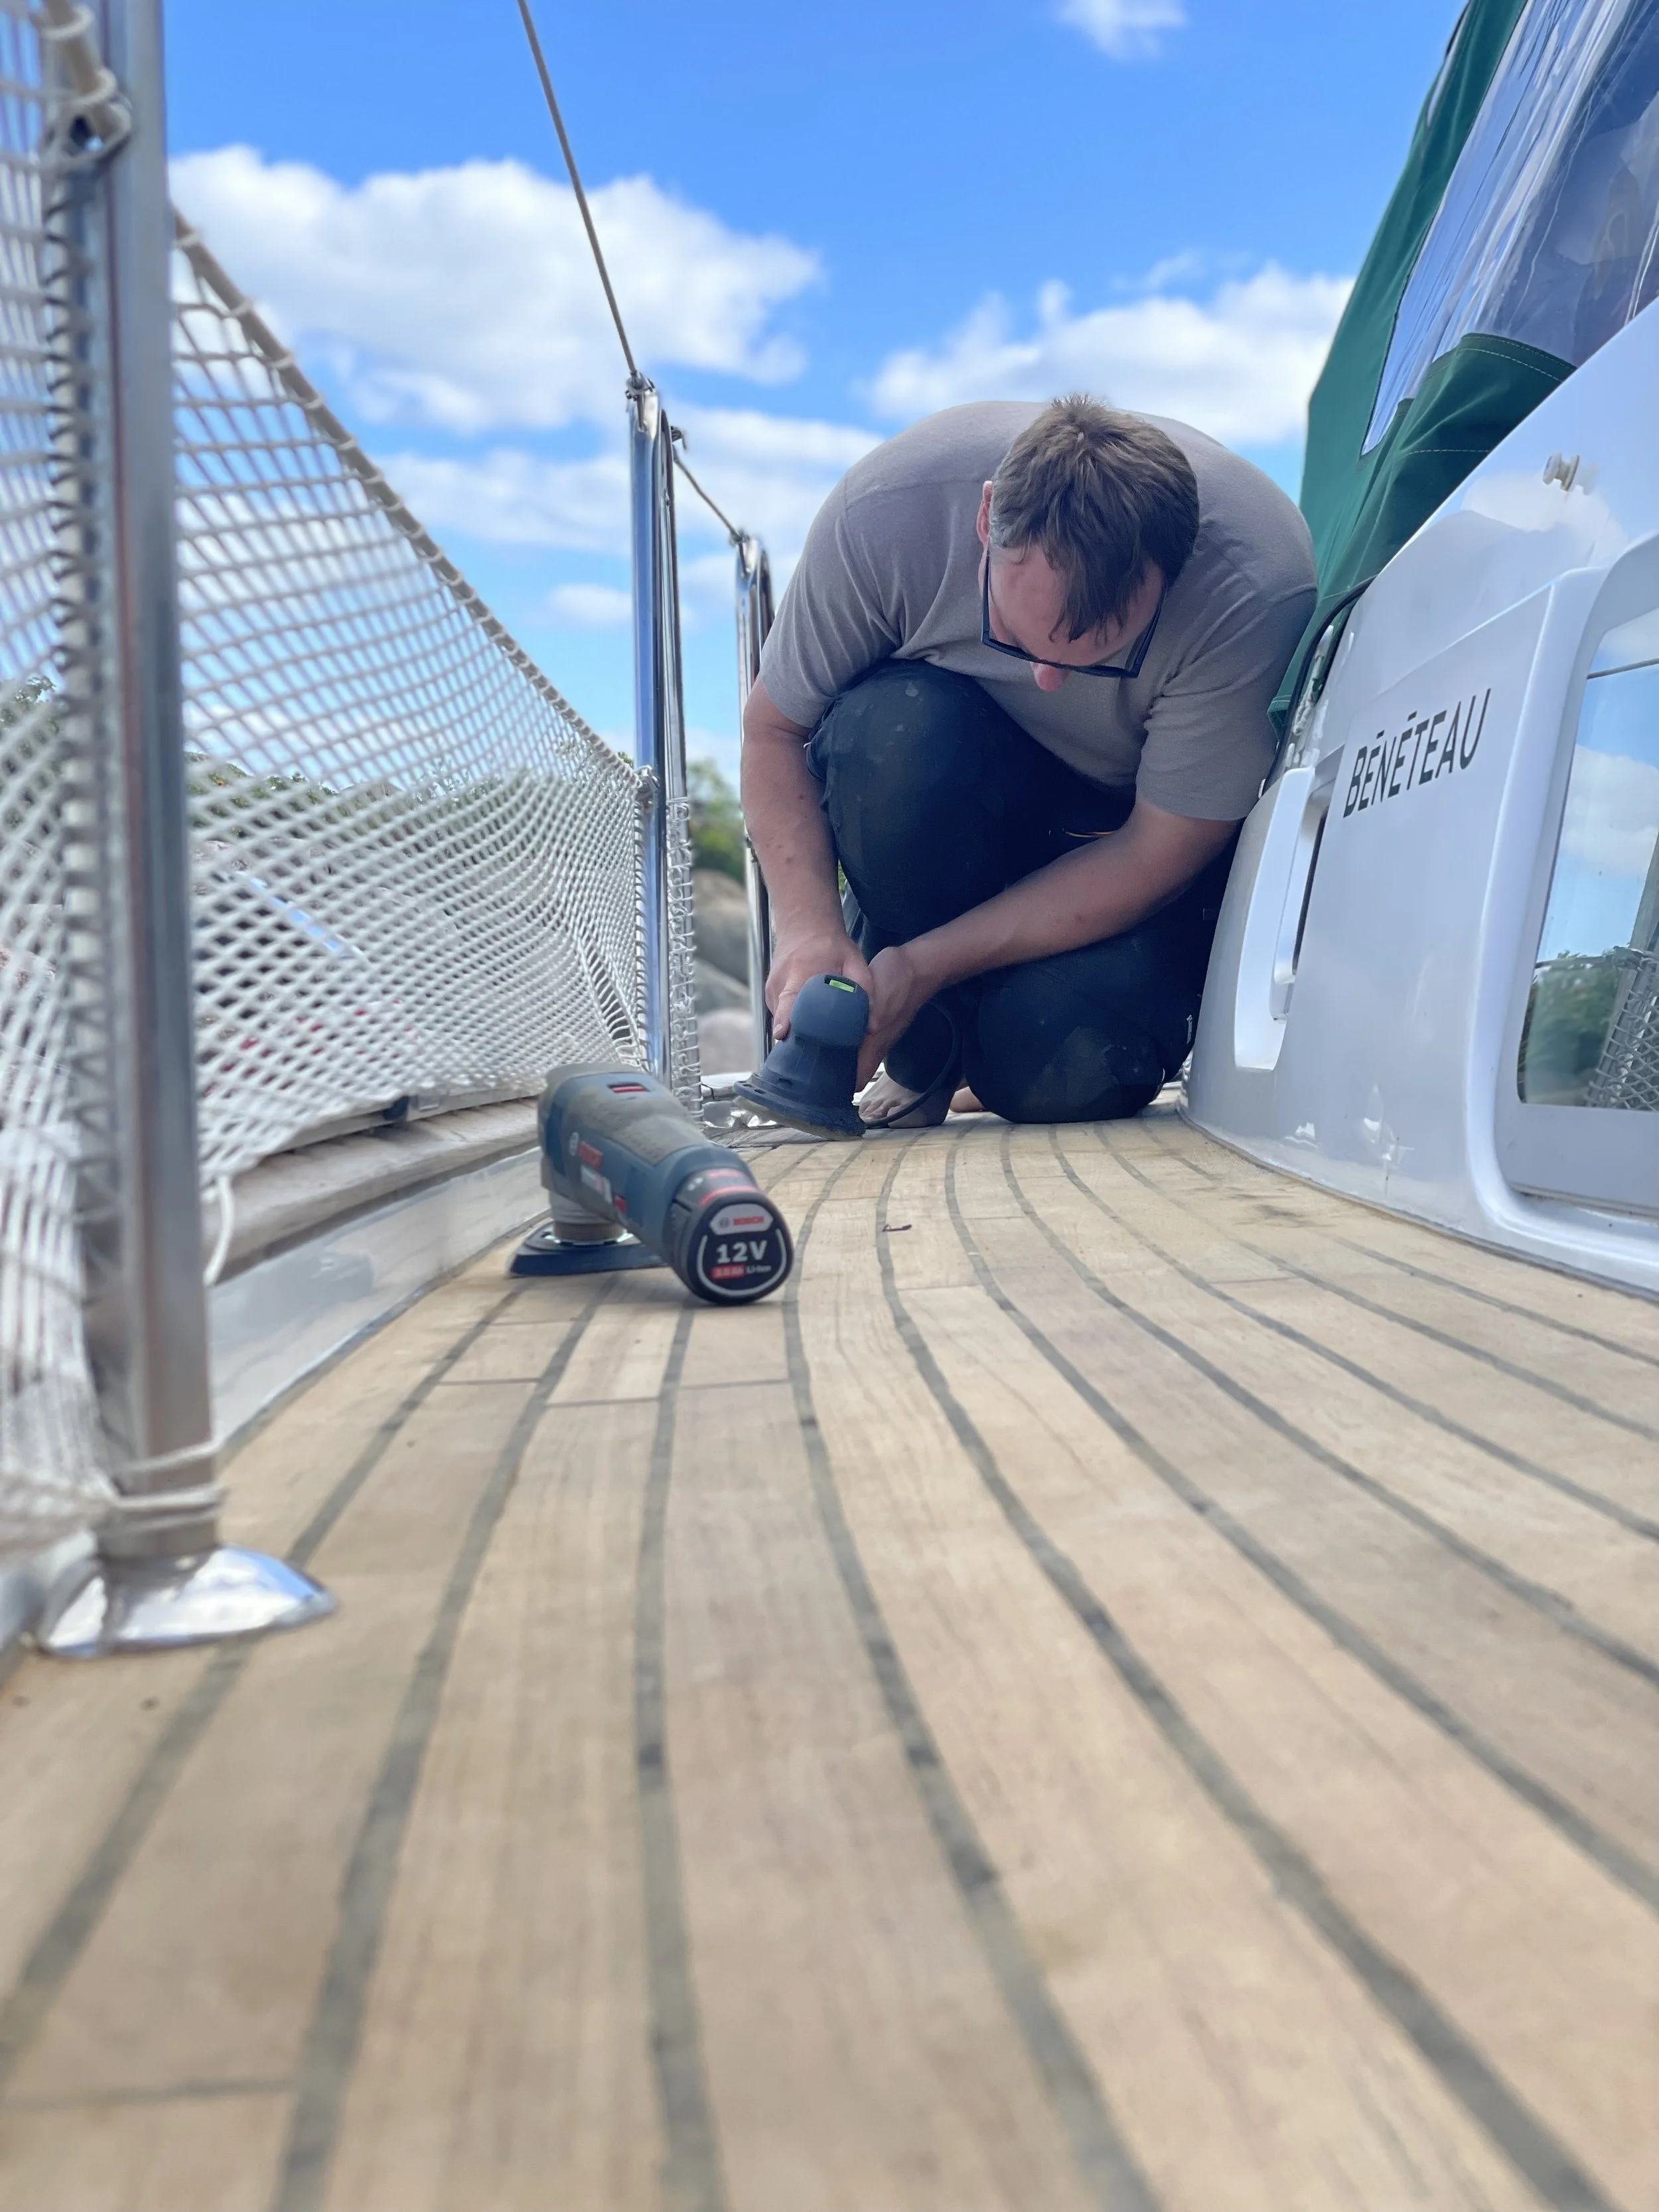
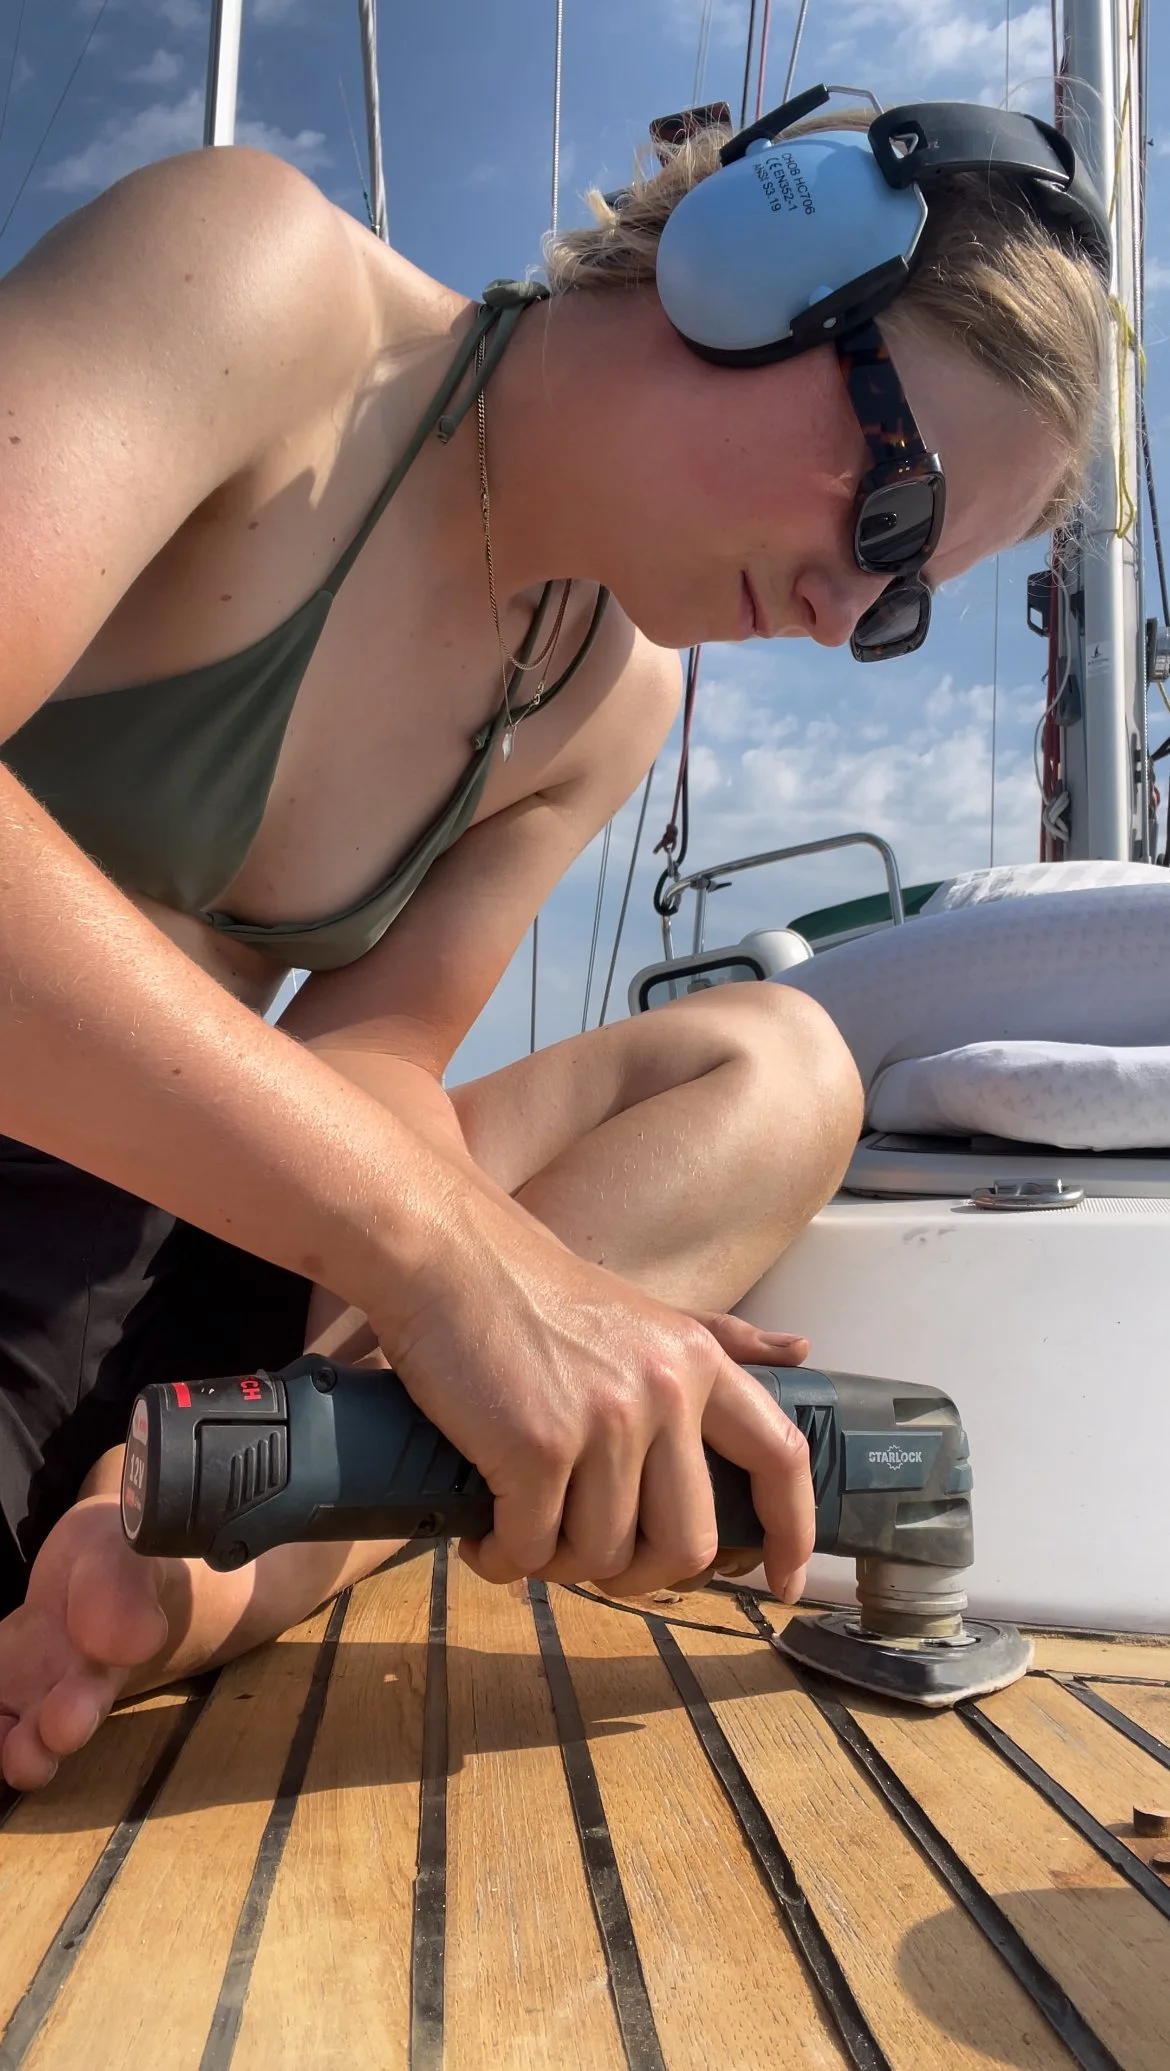
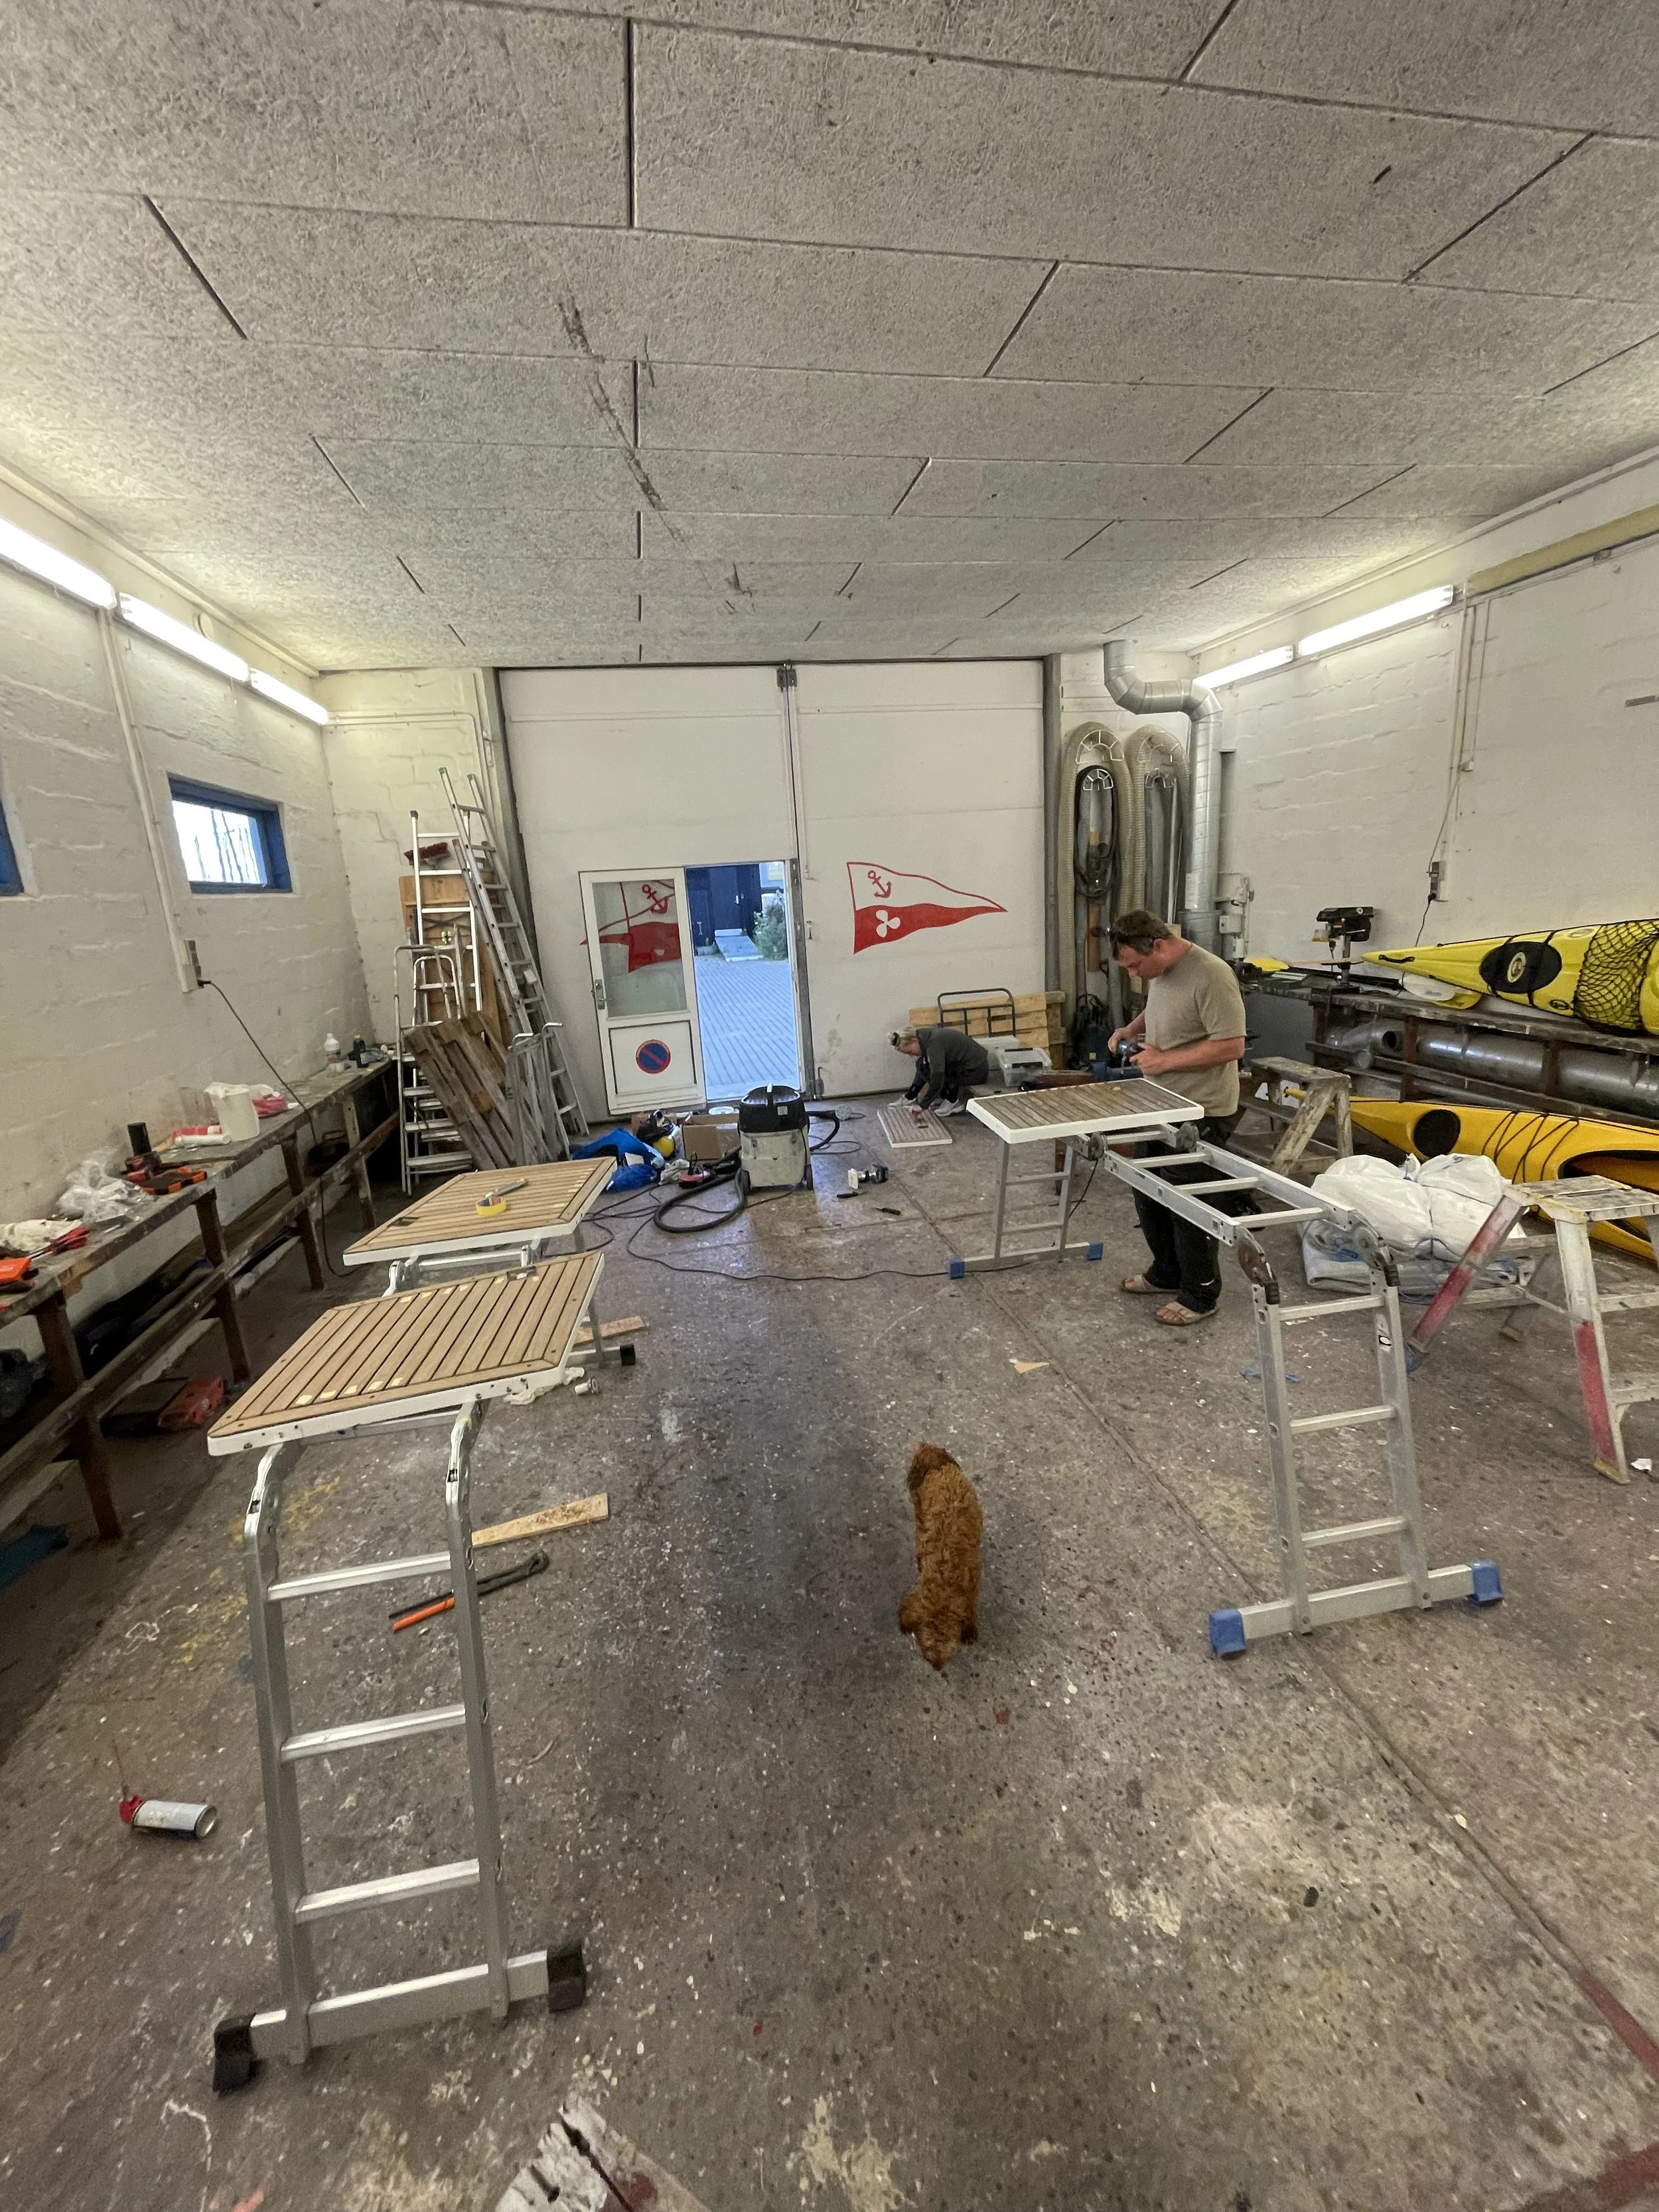
Vi begyndte med at teste vores færdigheder på en dæksluge, hvor teaken flere steder var sluppet helt. Med en multicutter fik vi løsnet resten uden at beskadige dem, så vi kunne genbruge plankerne.
Dernæst slibede vi den gamle fuge helt ned til gelcoaten og rengjorde den. Vi limede plankerne fast igen med Sikaflex 298fc – hvis vi skulle gøre det igen, nok ville vælge epoxy i stedet.
Sikaflex 298fc skal holdes under konstant, jævnt tryk i cirka tre dage, og vi havde ikke ligefrem perfekte forhold til det. Nogle steder havde det brug for ekstra tryk, så der hvor det var nødvendigt, gav vi et ekstra lag epoxy efter hærdning.


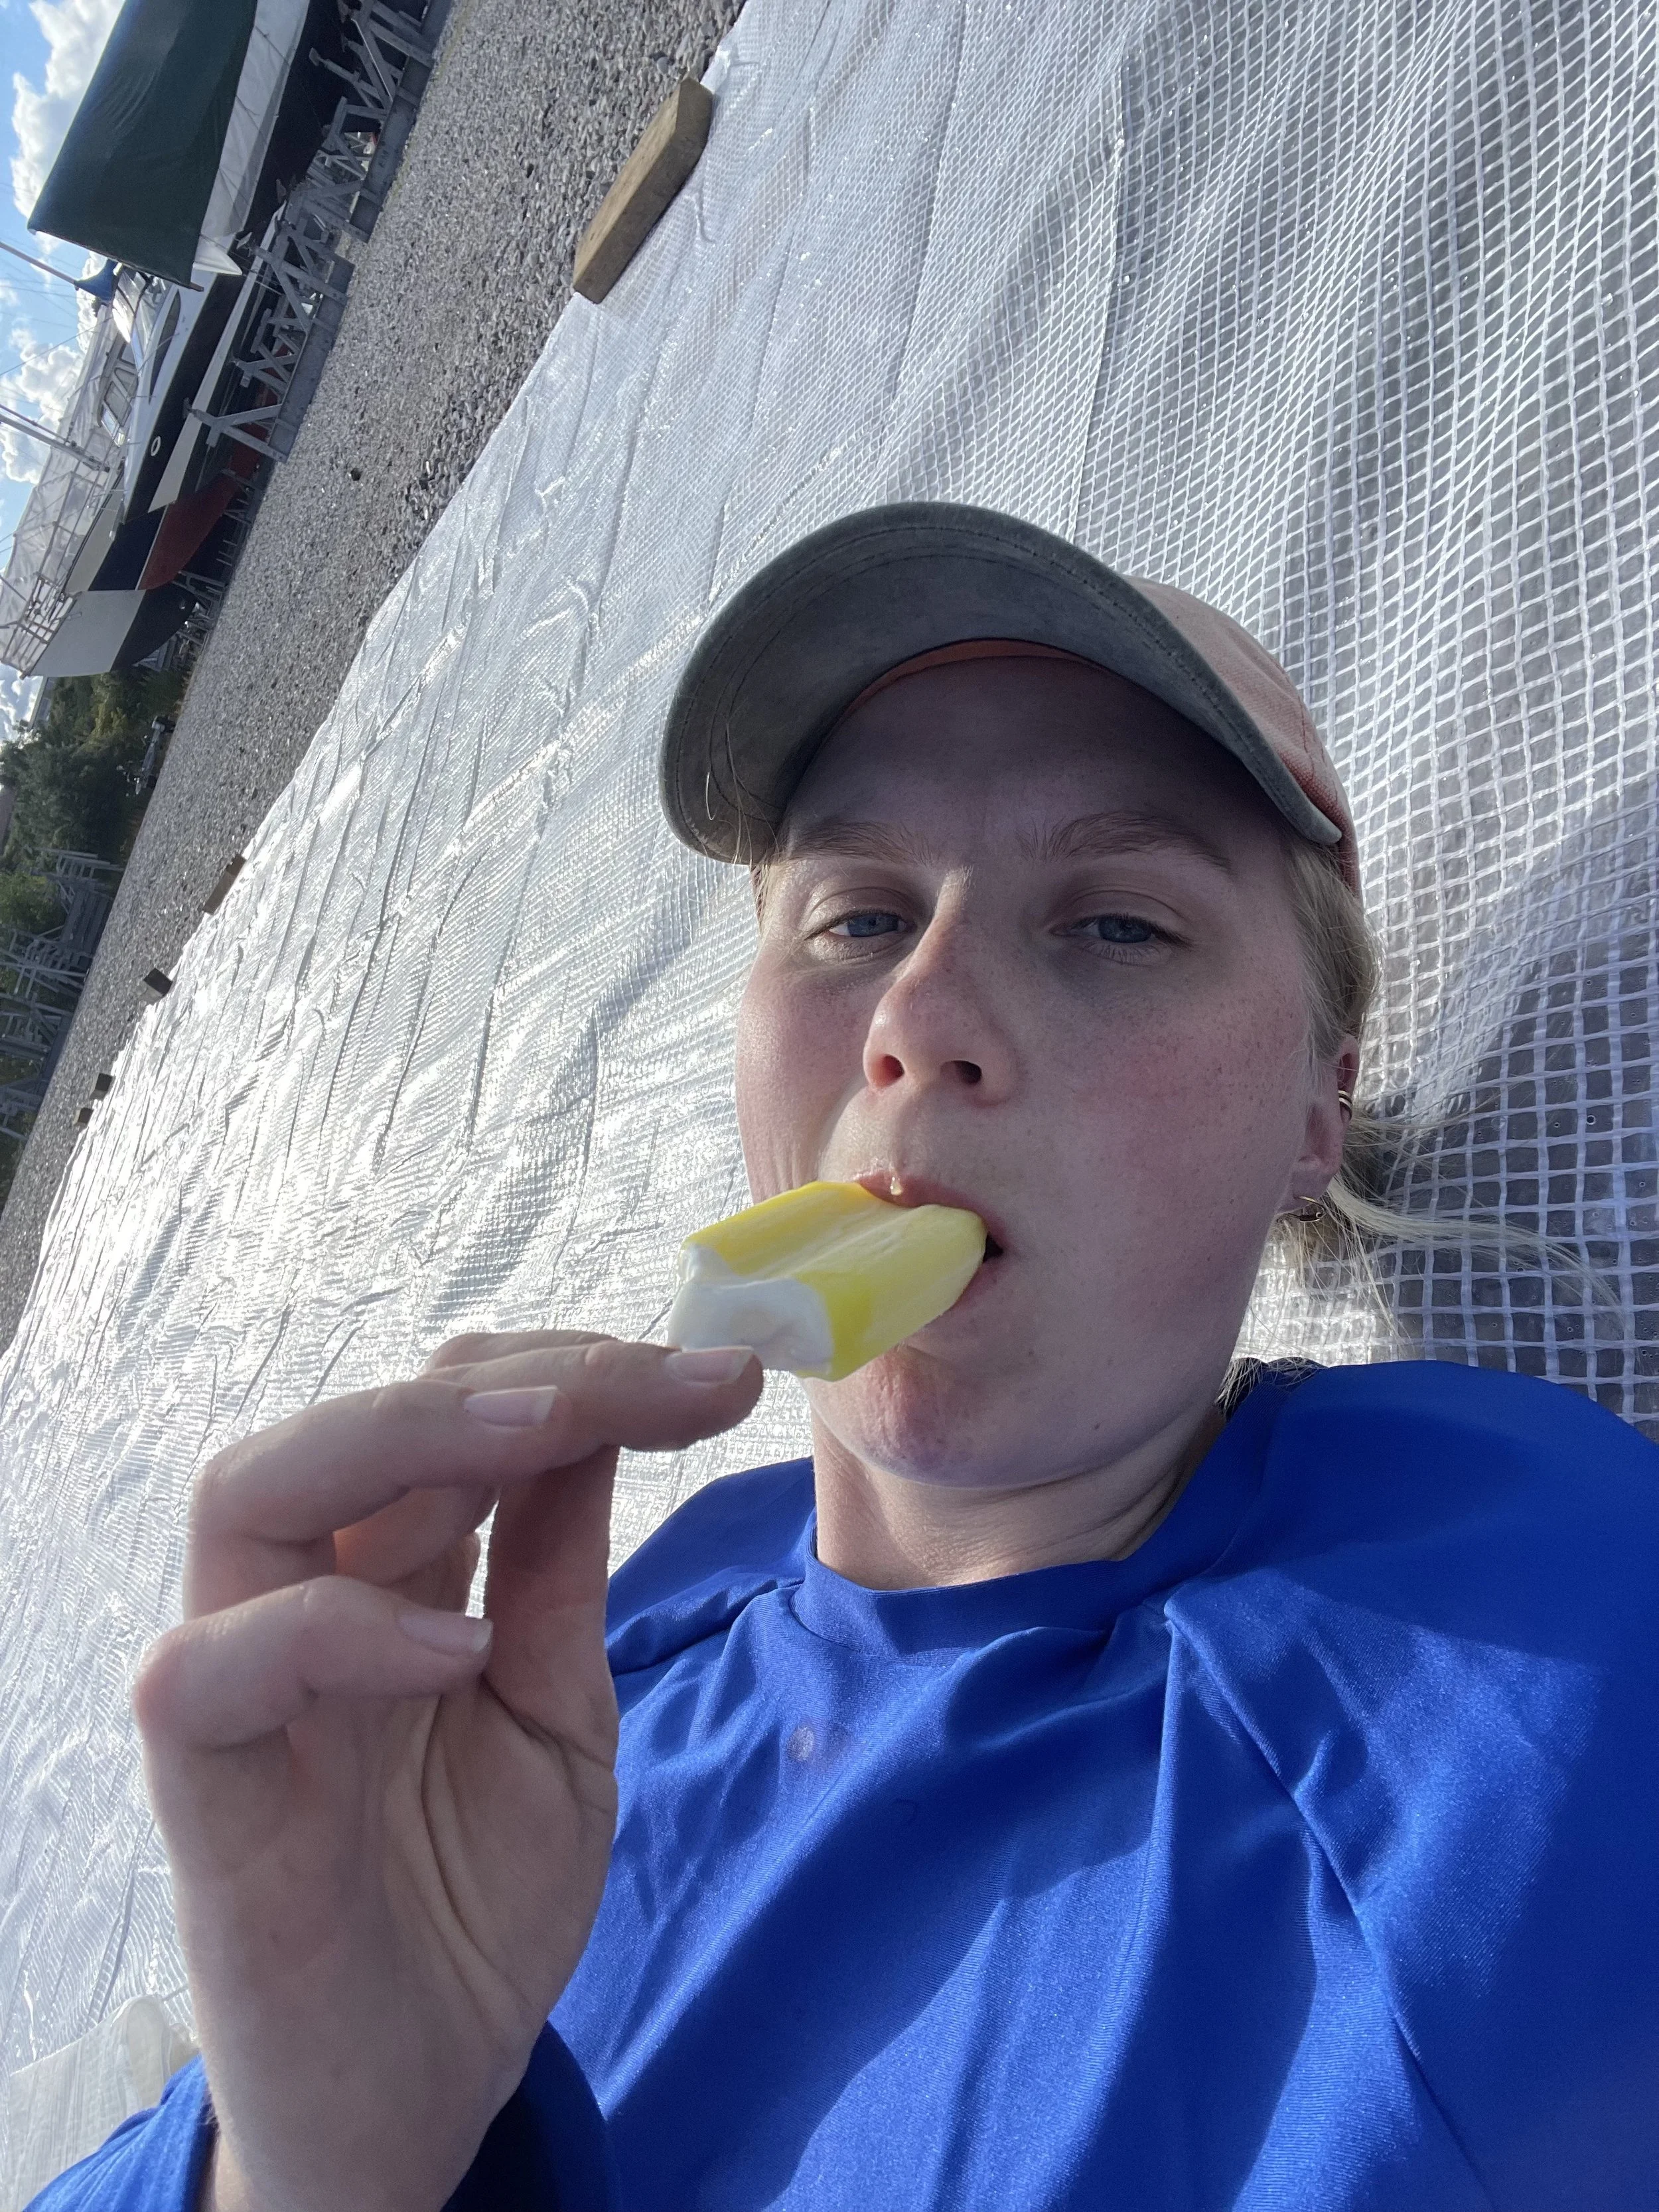
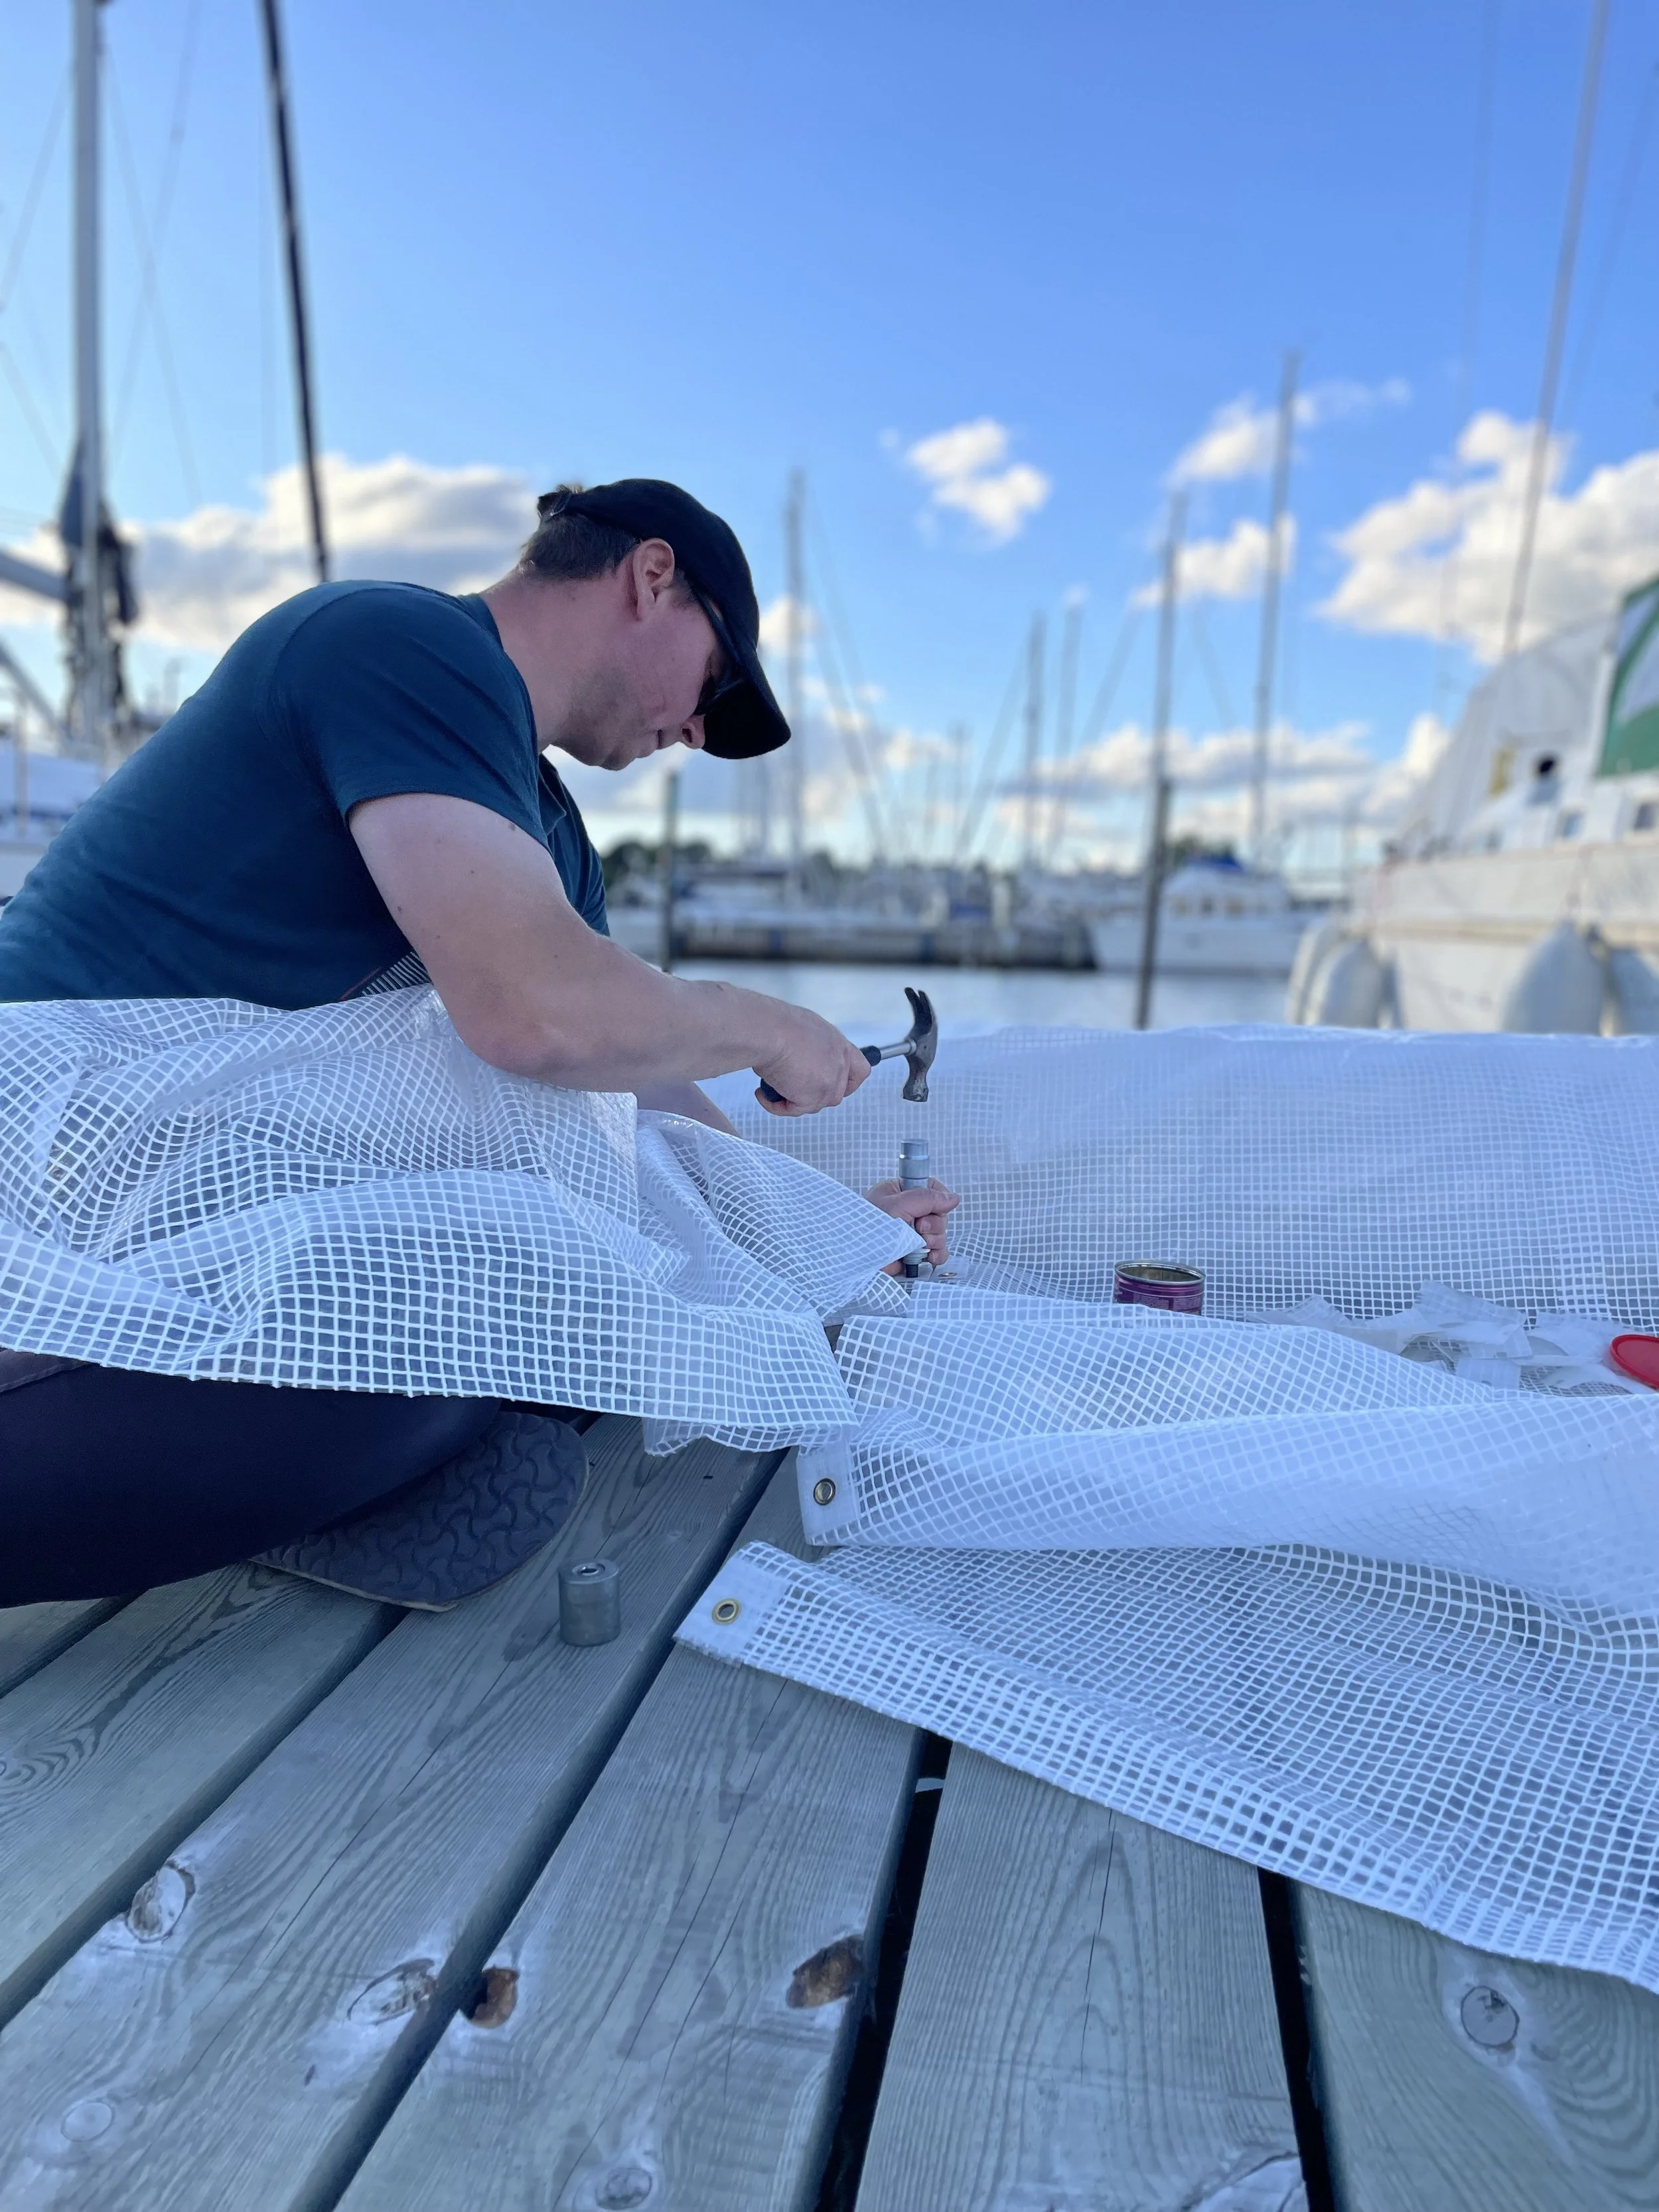
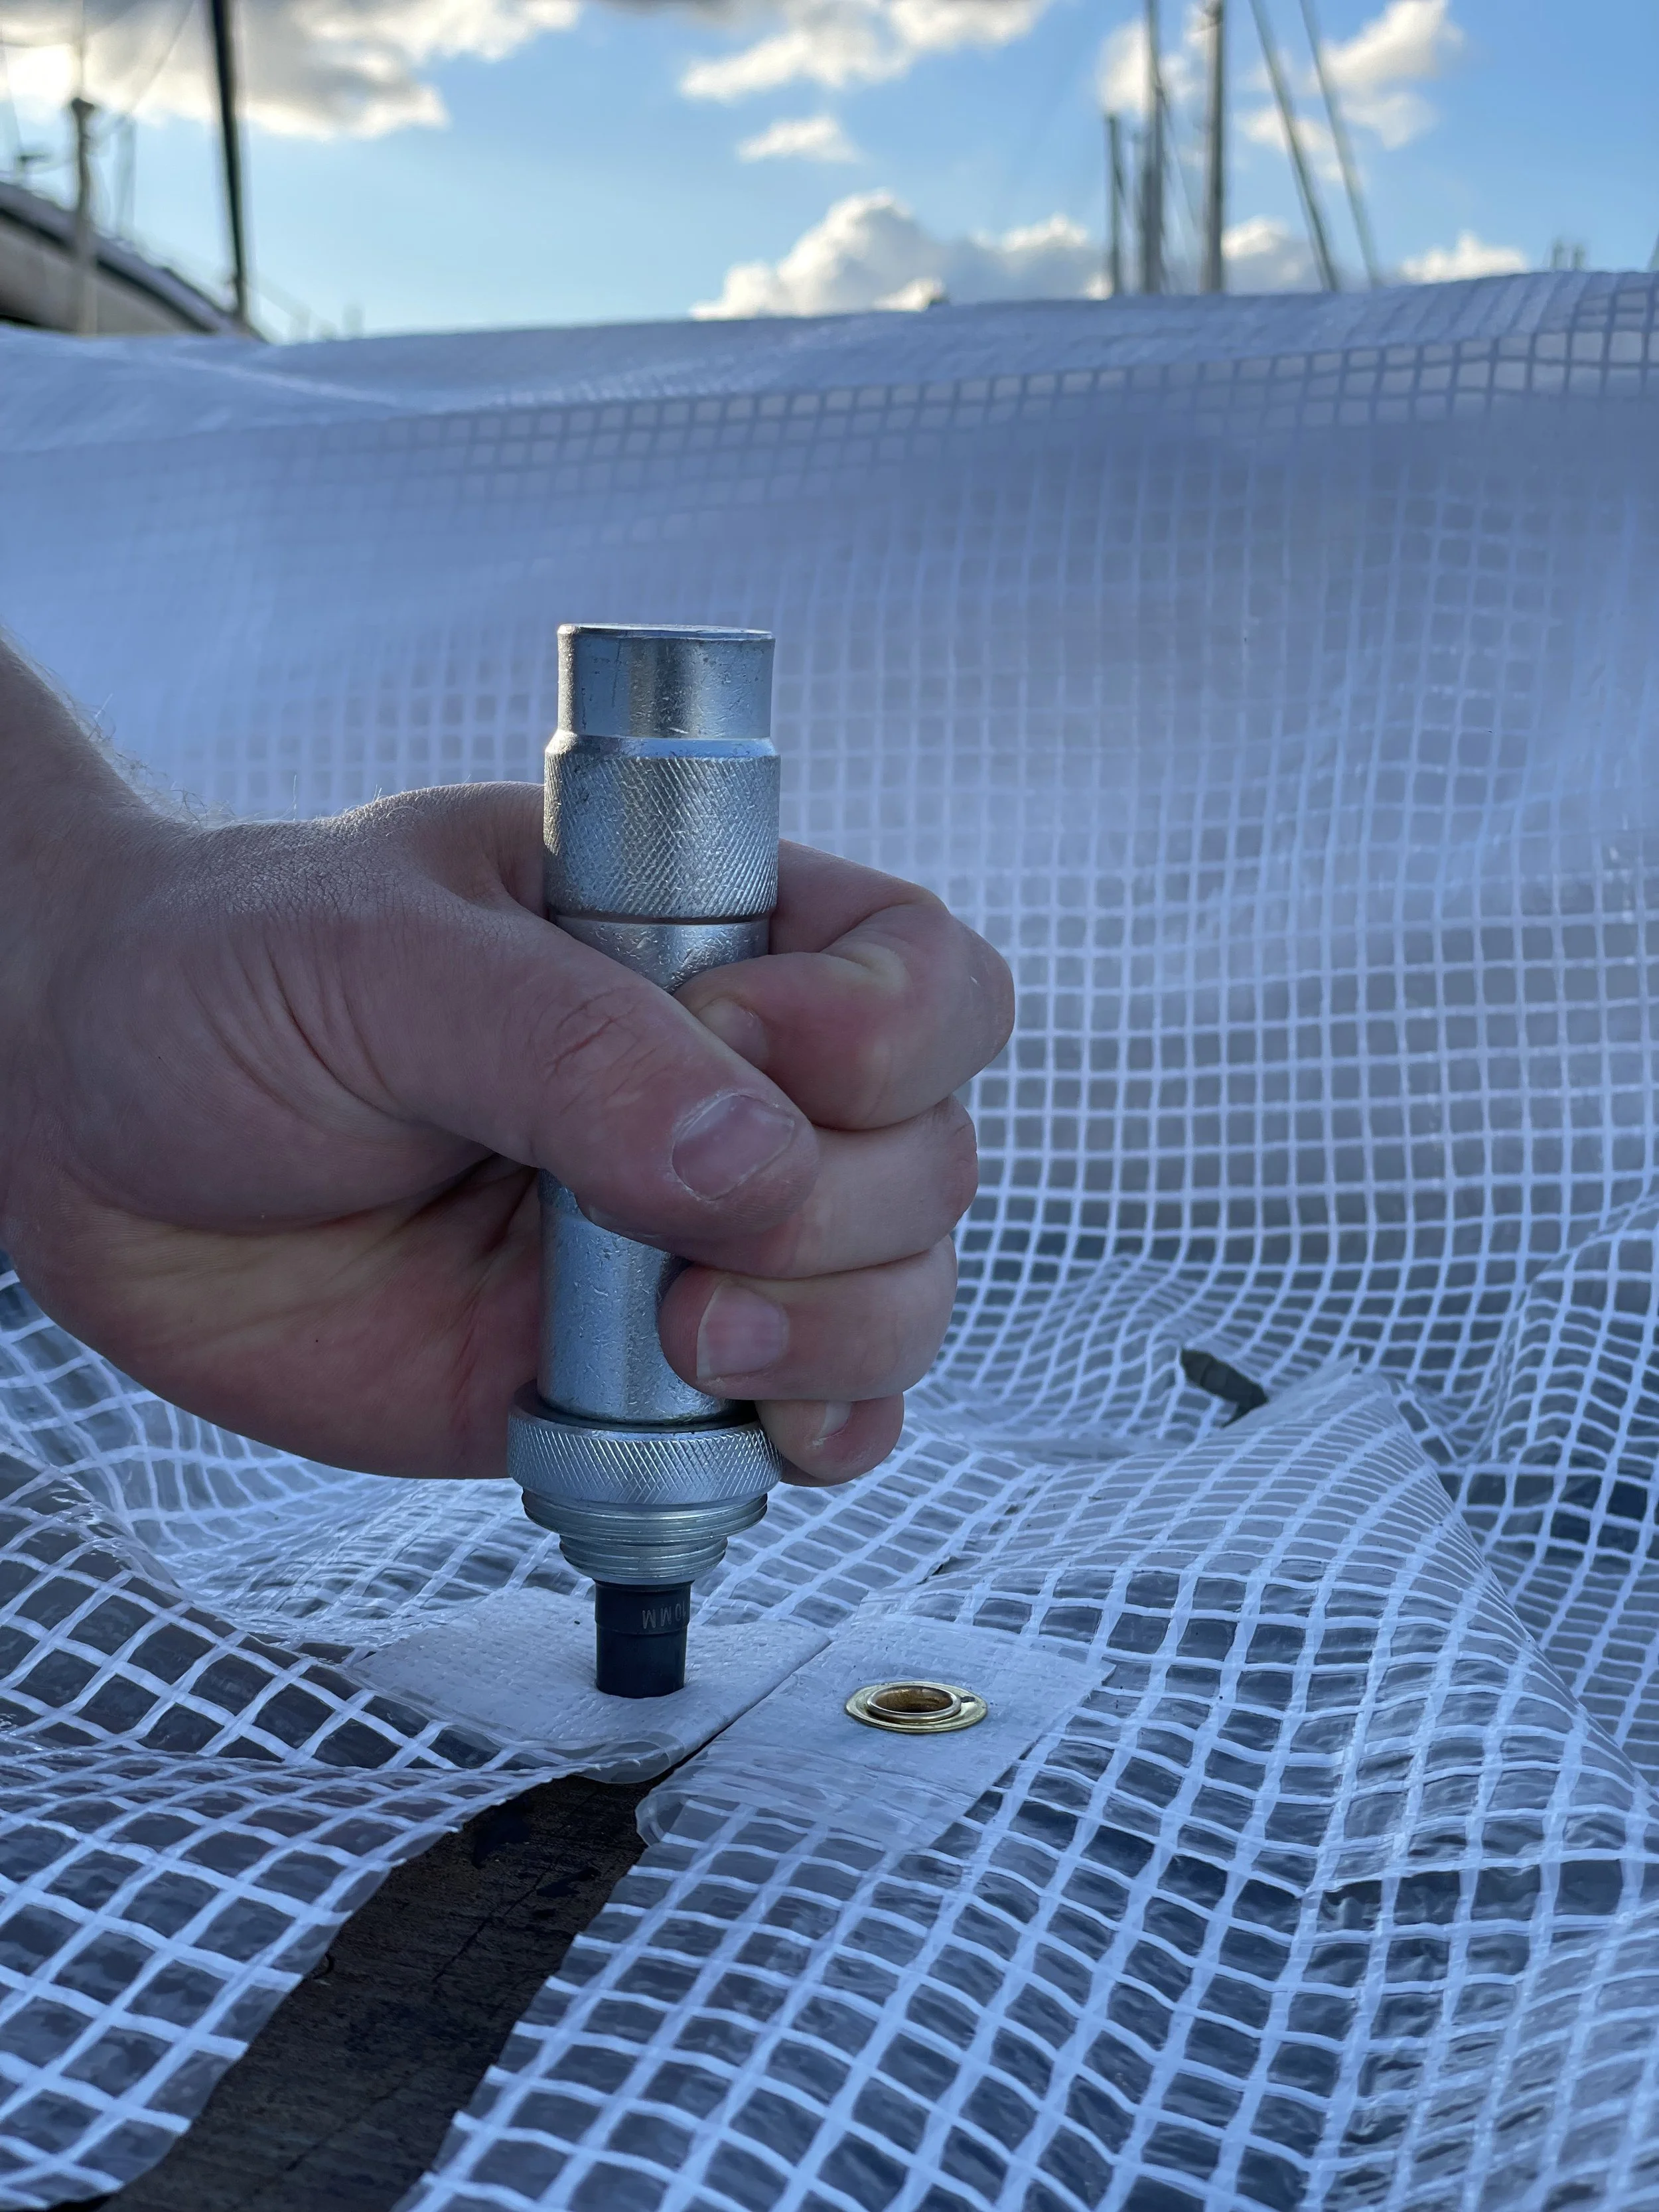
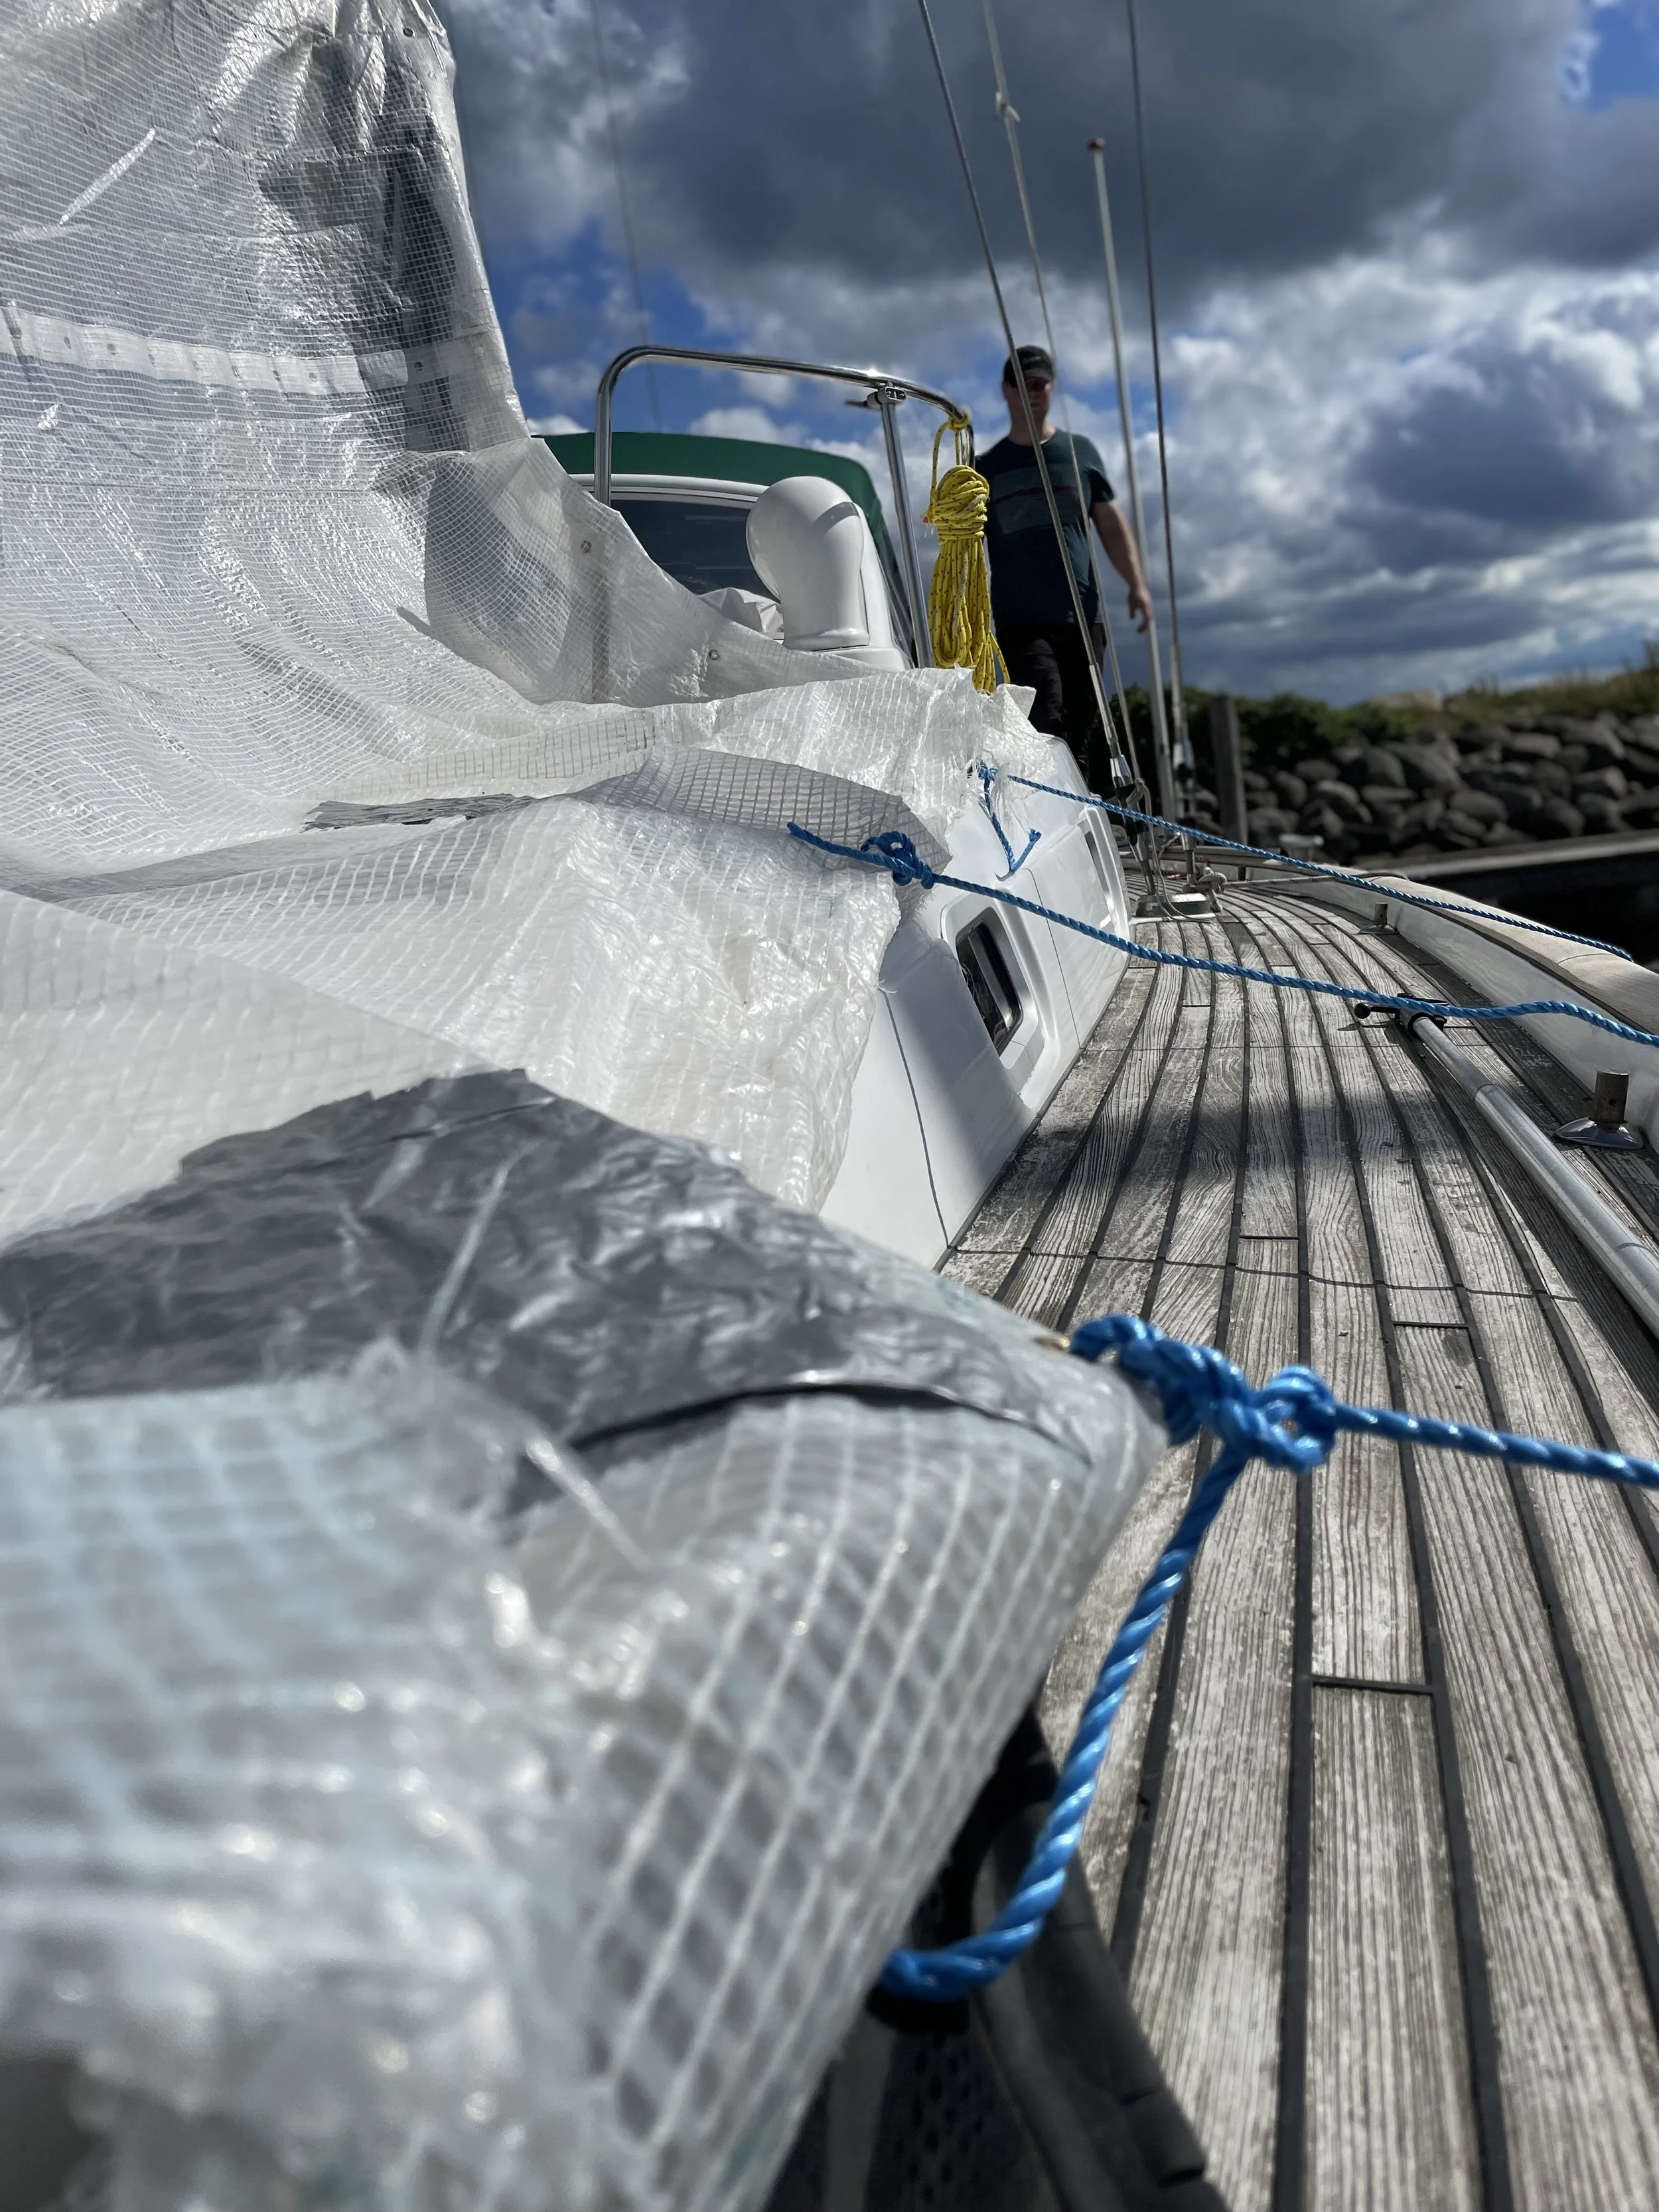
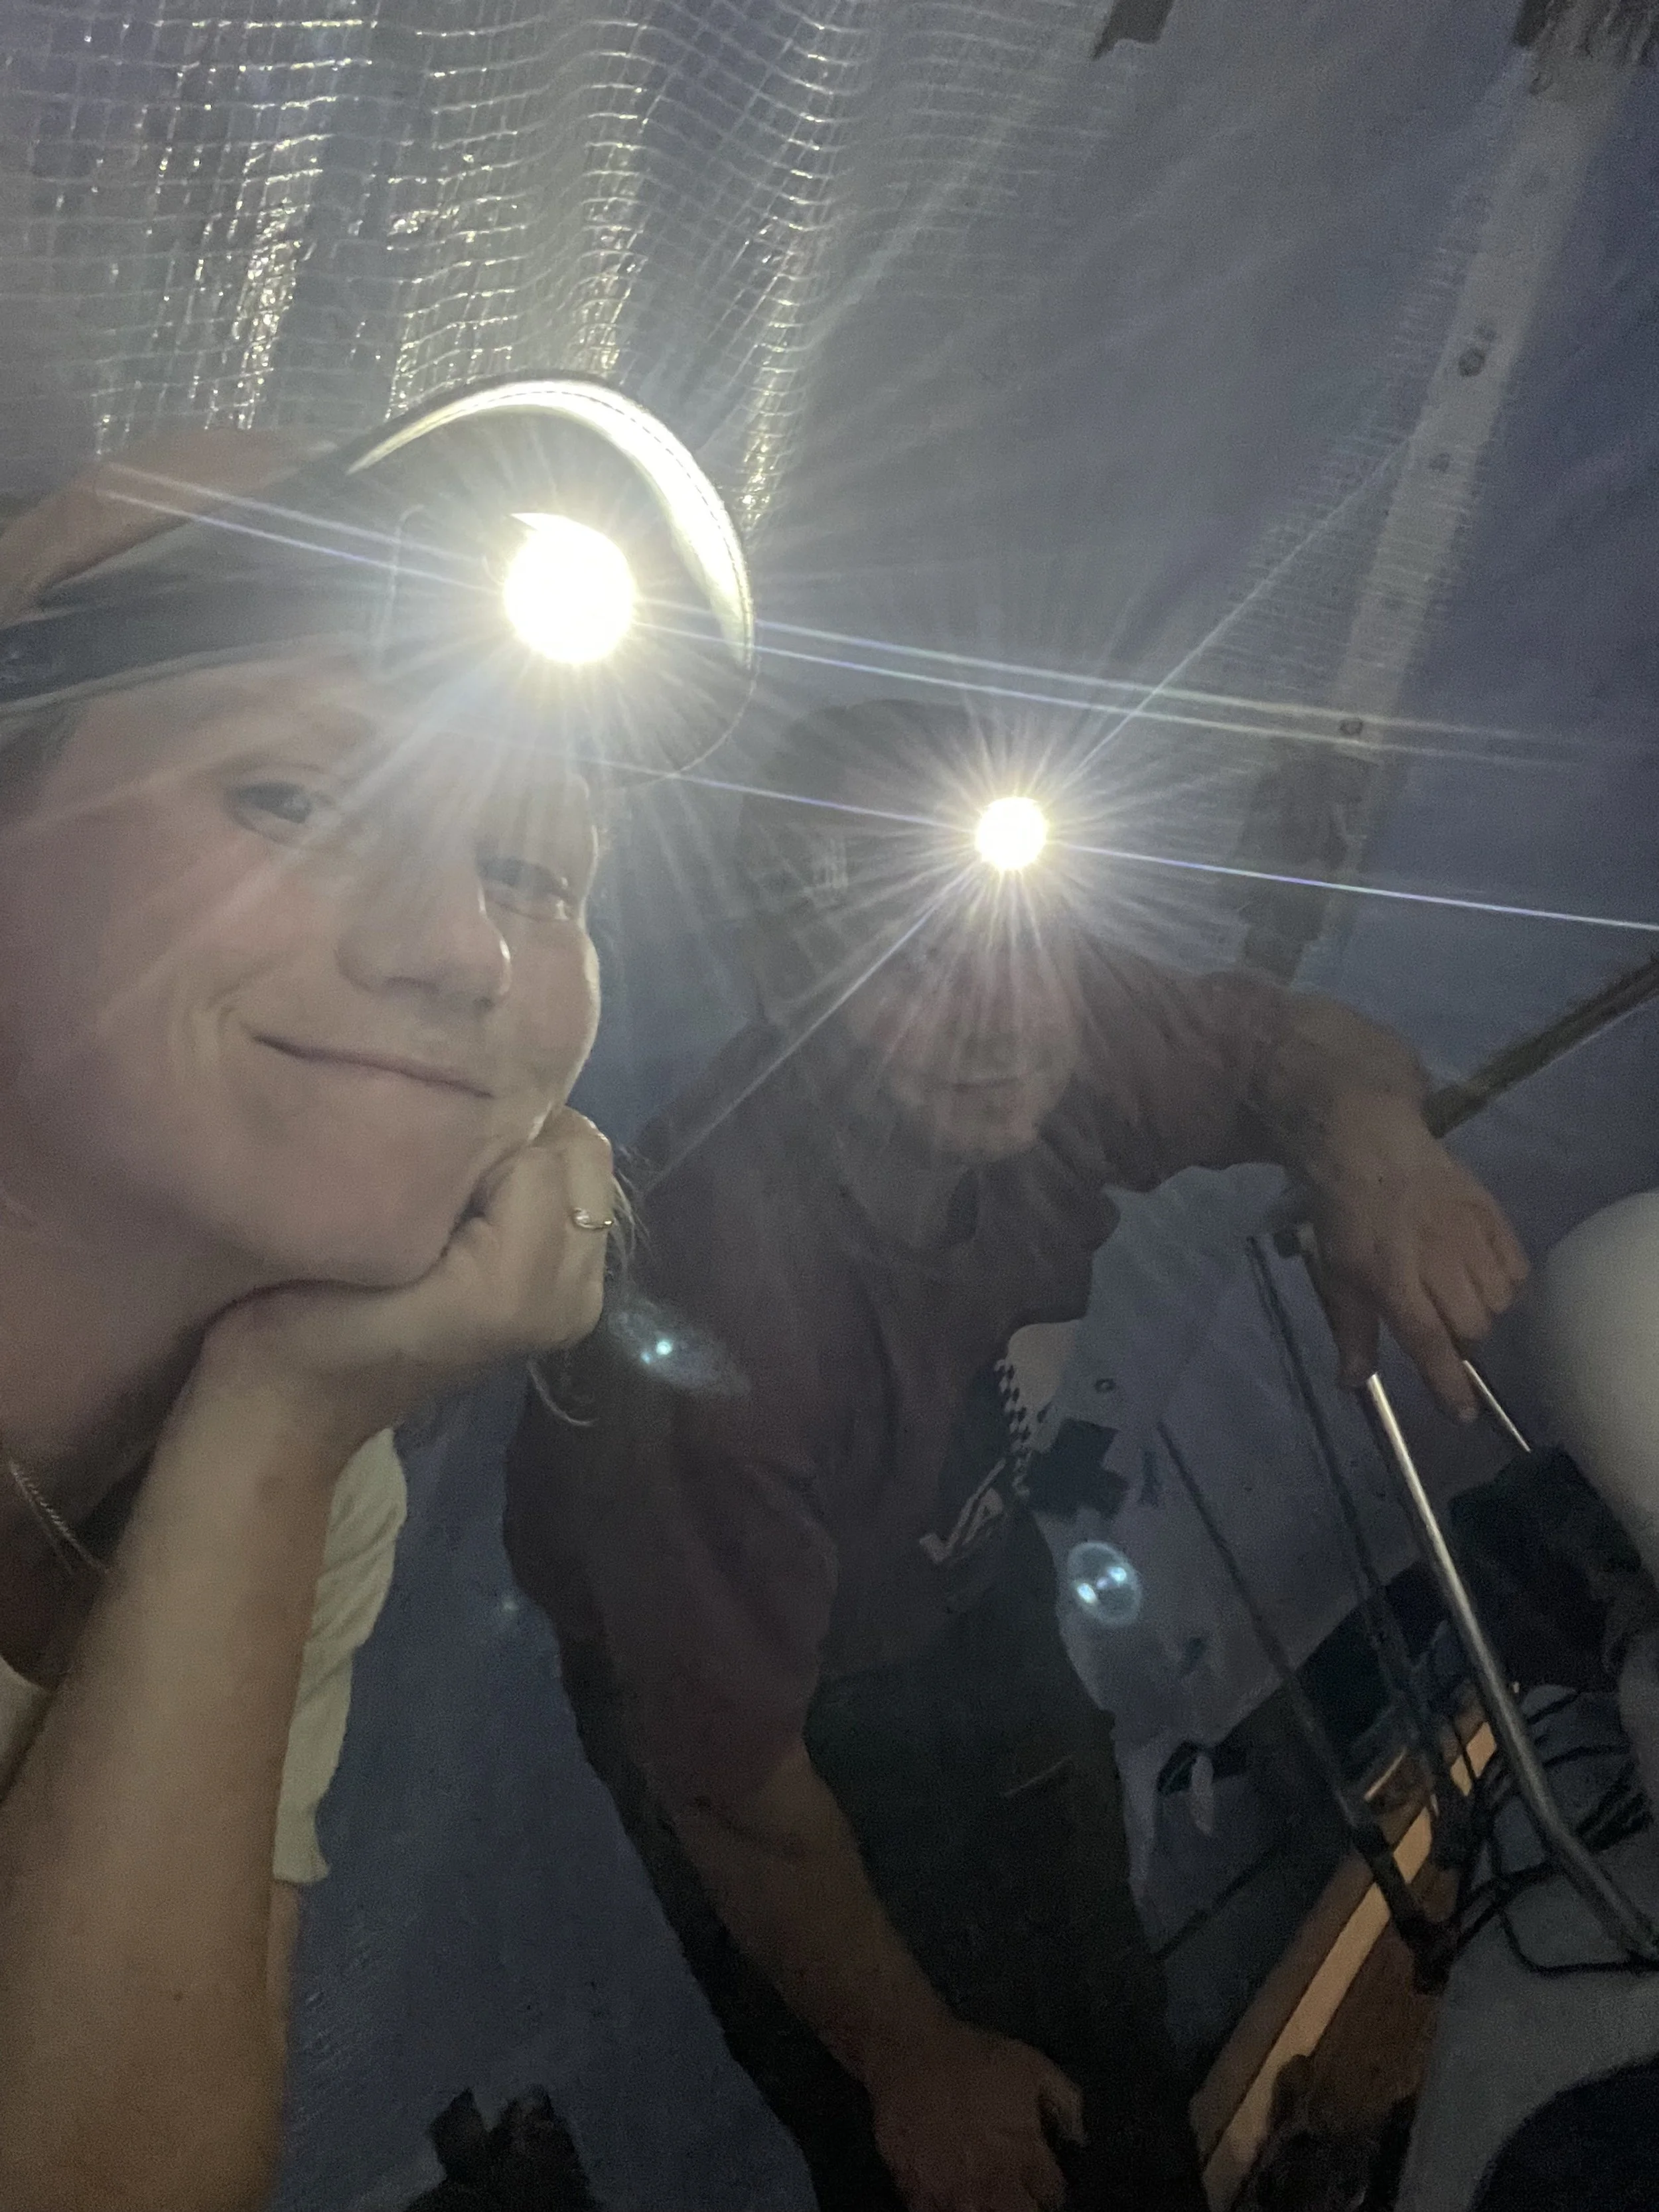
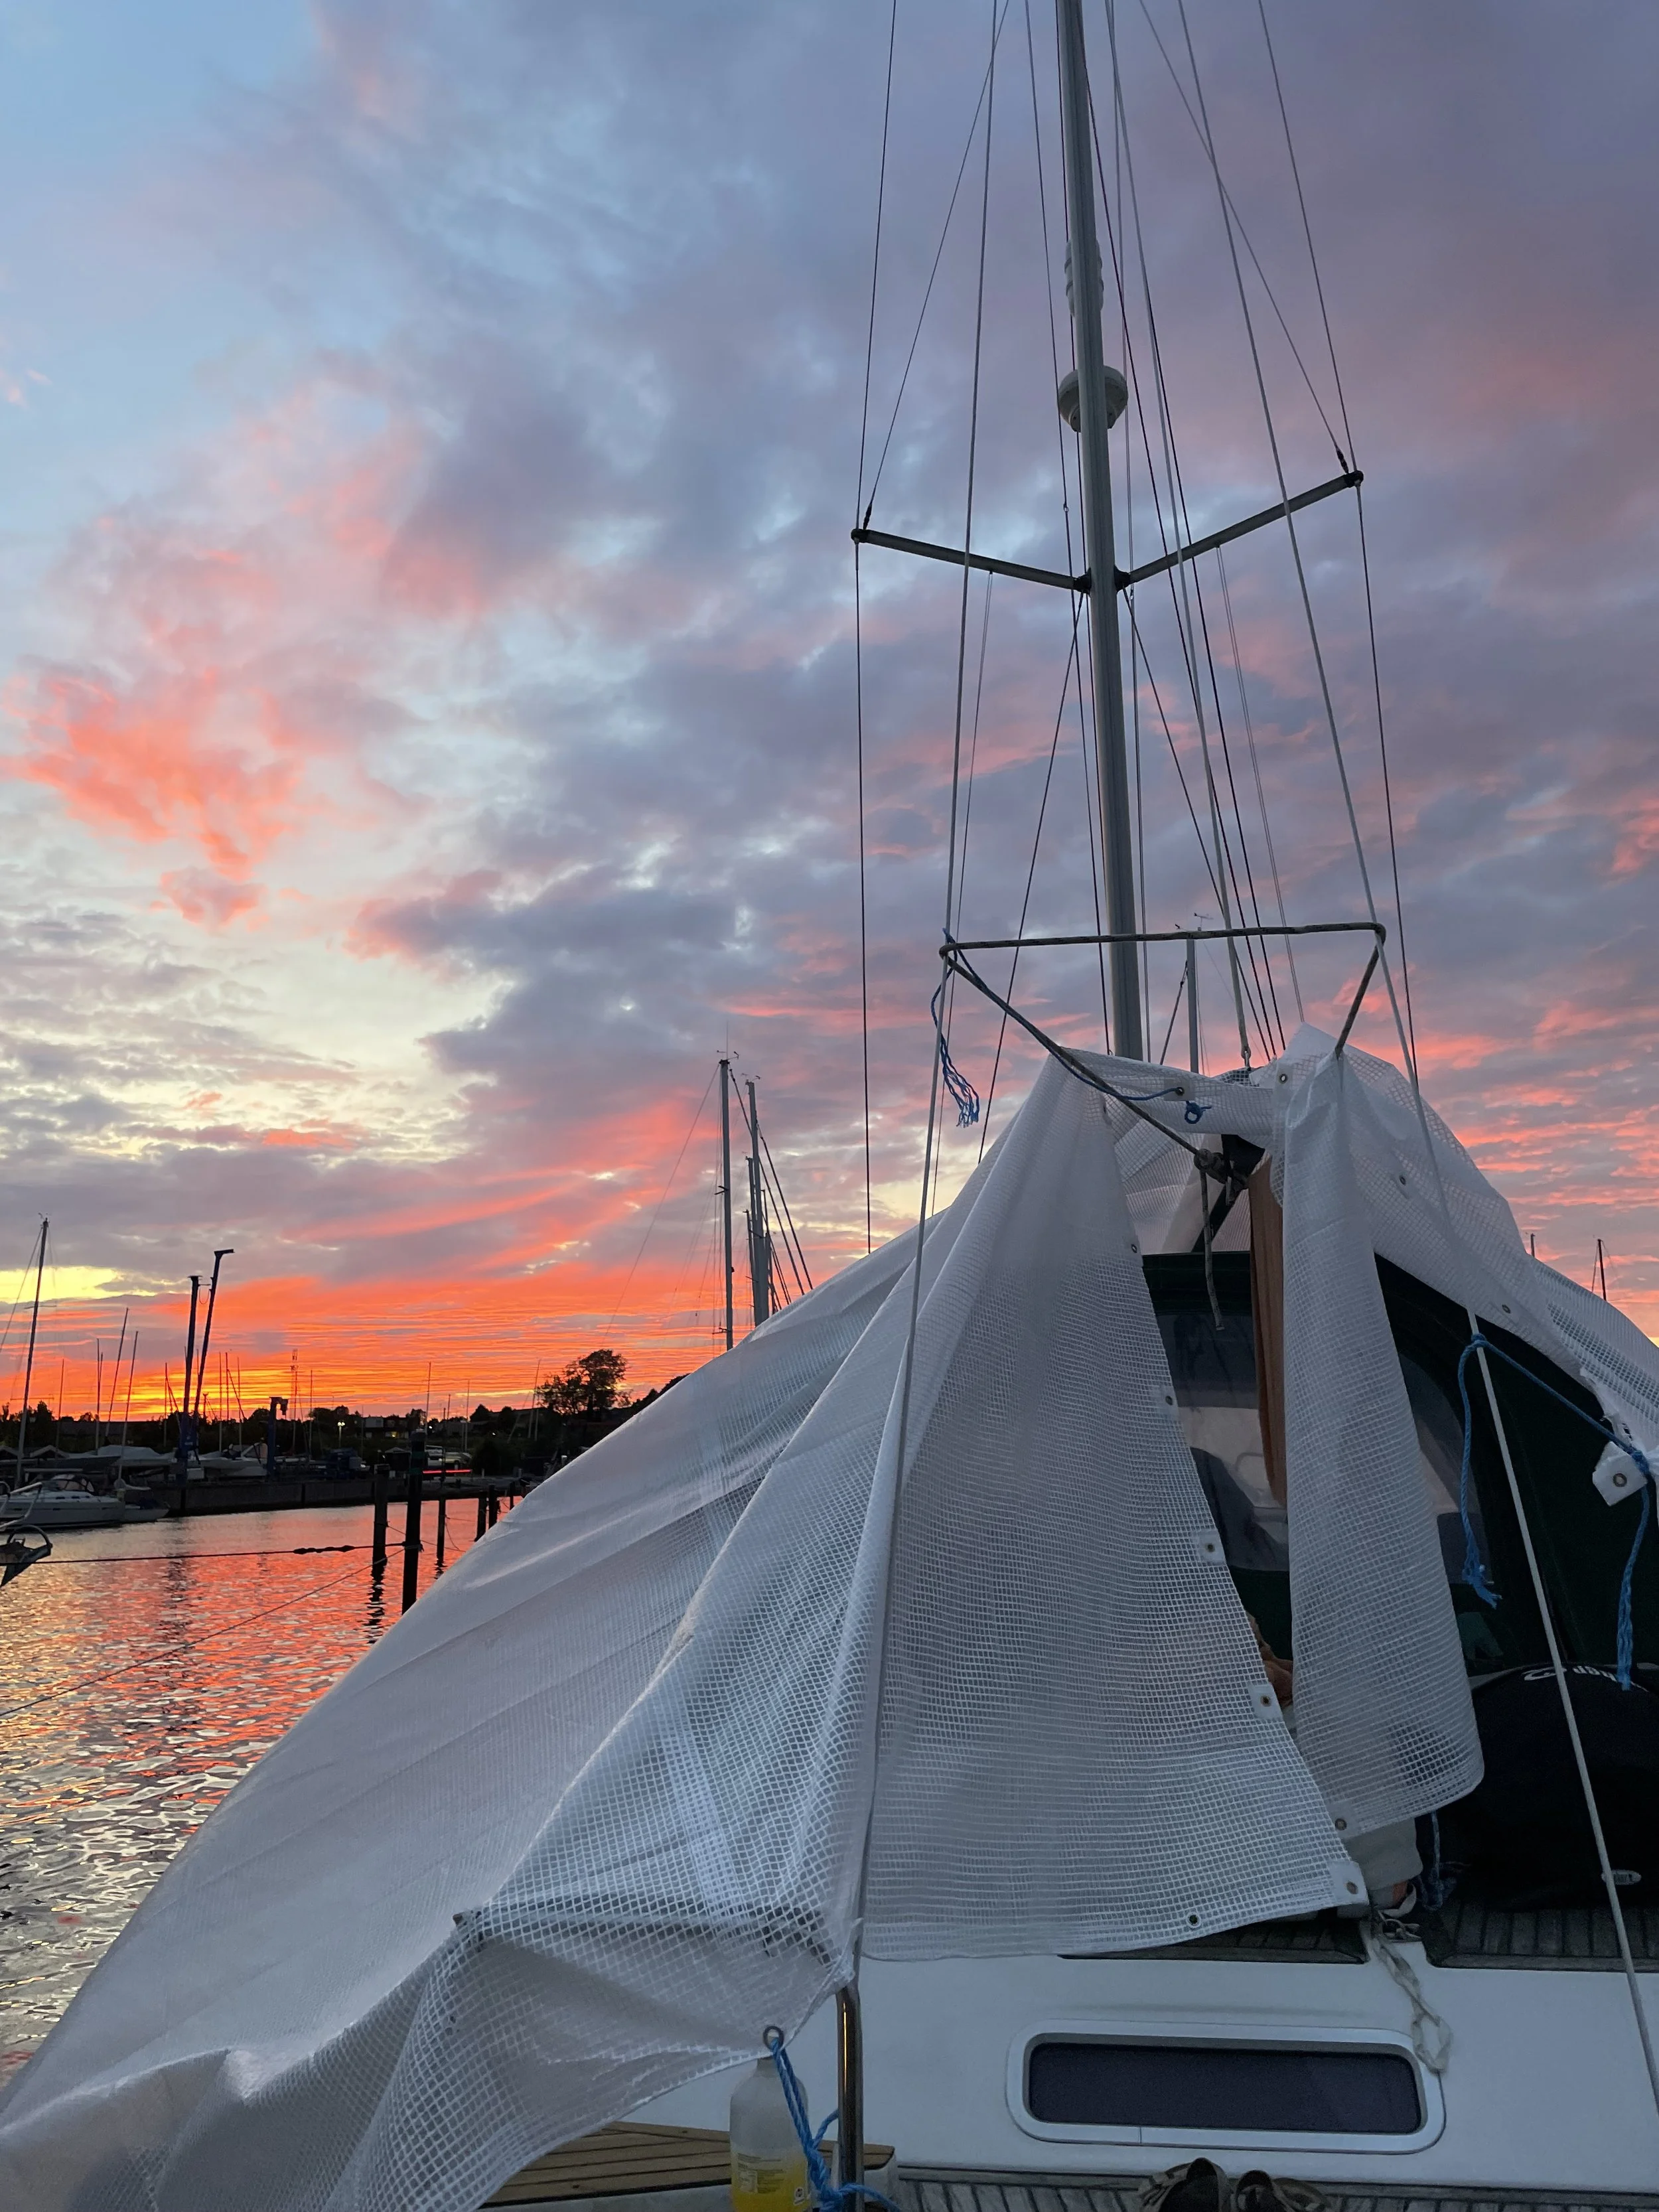
En uge senere gik vi i gang med det store arbejde! Vi havde kun ét problem… den danske sommer. Regnen kom og gik uden varsel, vejrudsigten var ubrugelig, og vi skulle bare nå det! Vi købte to forstærkede presenninger for at beskytte os så meget som muligt mod regnen. Derefter brugte vi en hel dag på at skære til og forberede Vela, så vi kunne klare det uforudsigelige vejr.

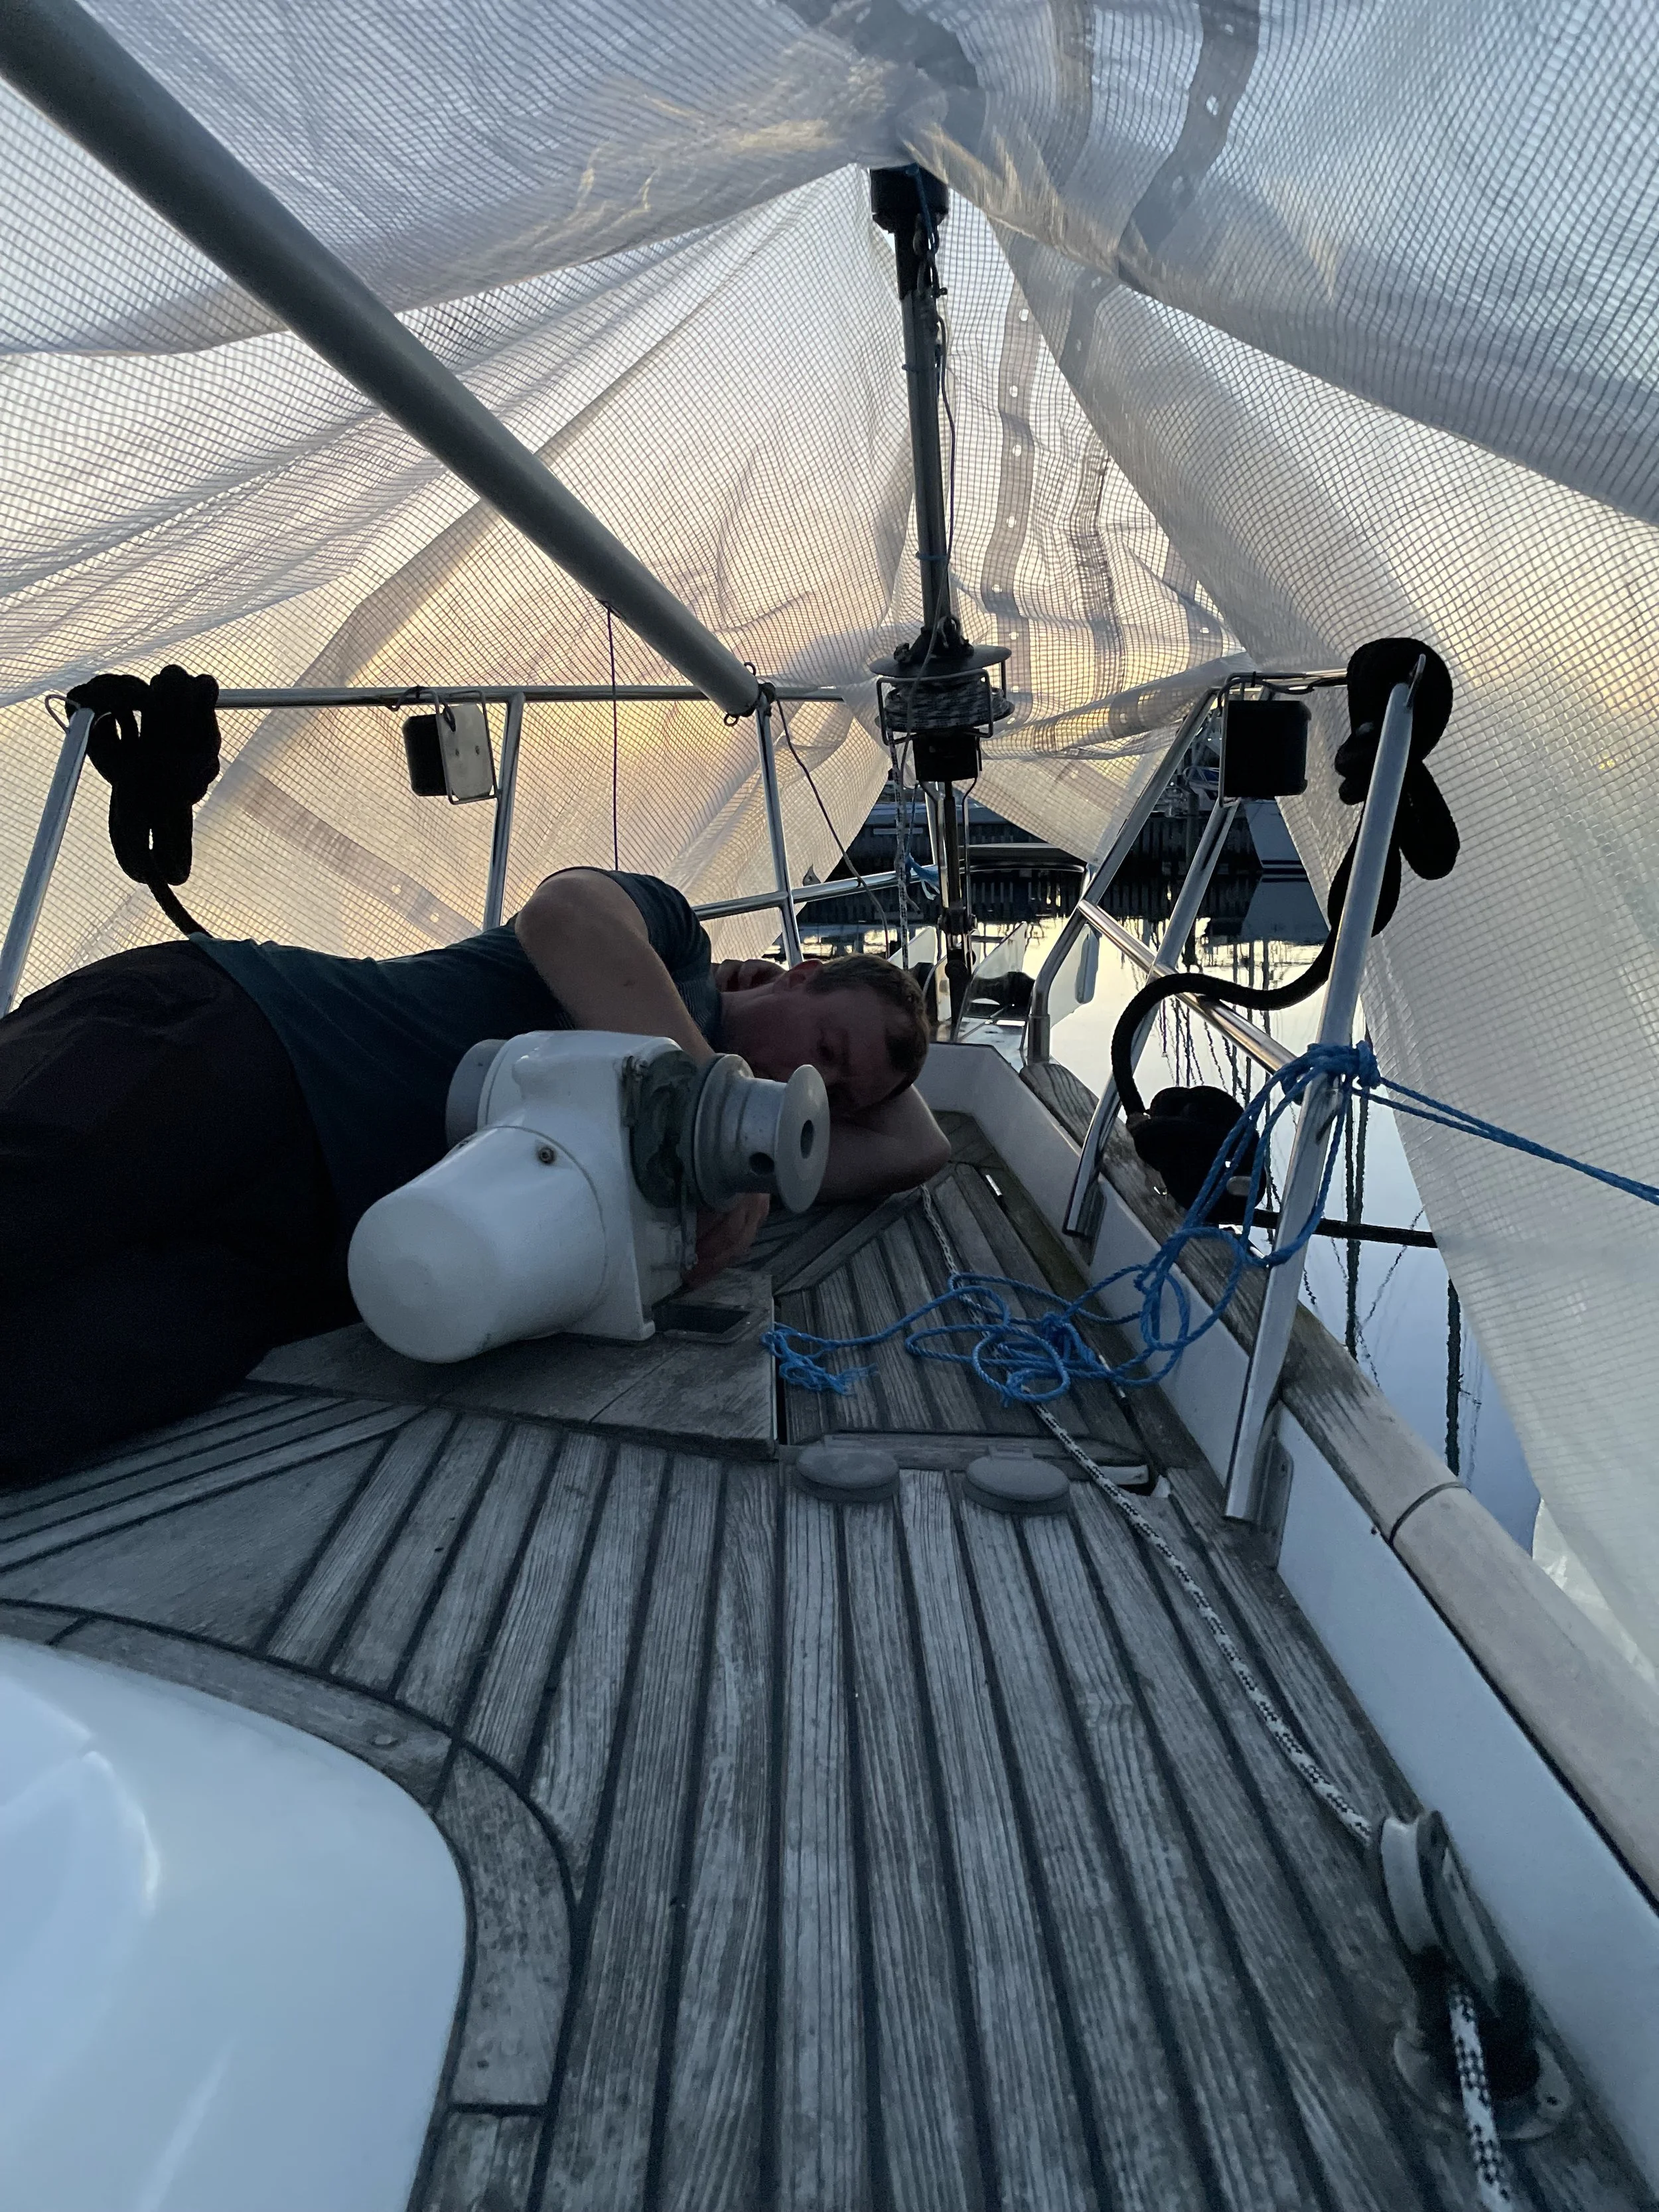
I tre uger arbejdede vi i gennemsnit 12 timer om dagen med at jævne dækket, ligge nye nåder/fuger, genmontere beslag og forsegle hver eneste sted hvor dækket havde være skruet fast.
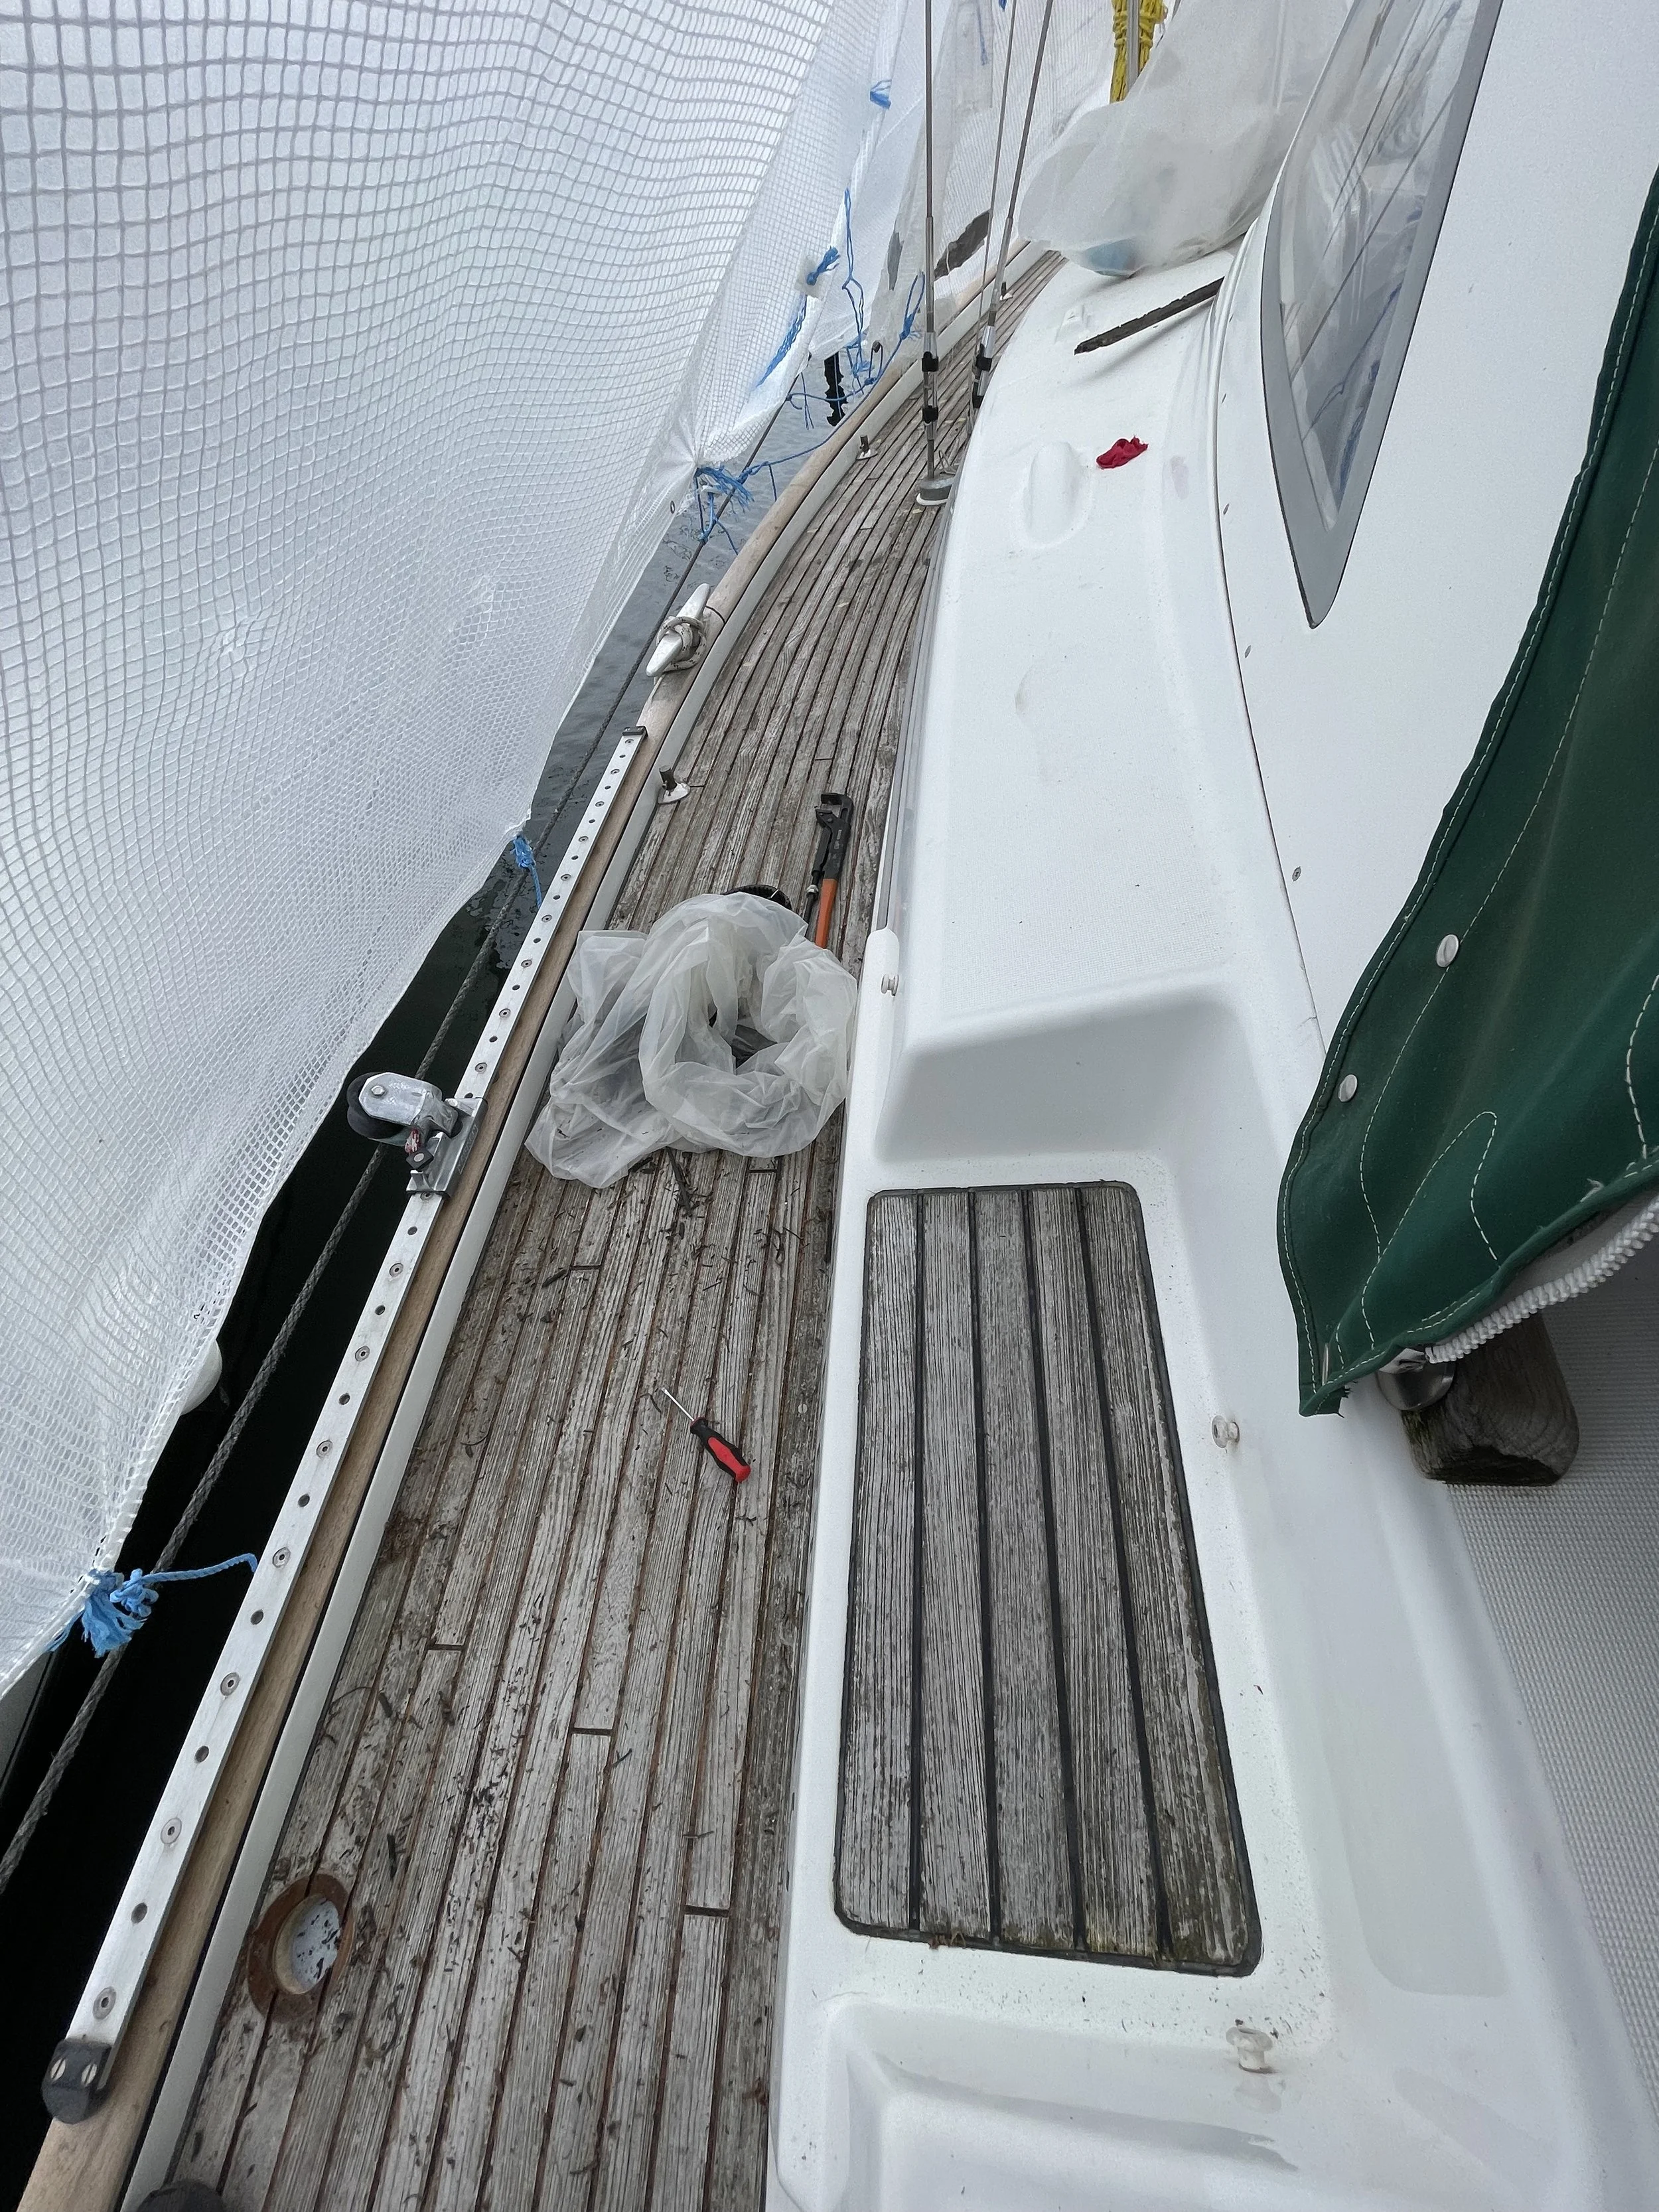
Sidedækkene, dækskister, agterdækket og badeplatformen fik alle deres tur, og til sidst føltes teaktræet så blødt som at gå på en sky ☁️.
Det var VIRKELIG hårdt arbejde, men hvert skridt bragte os nærmere det øjeblik, hvor vi endelig kan lægge os på vores “nye” dæk i Middelhavet, med solen i ansigtet og delfiner i det fjerne 🐬🌞.
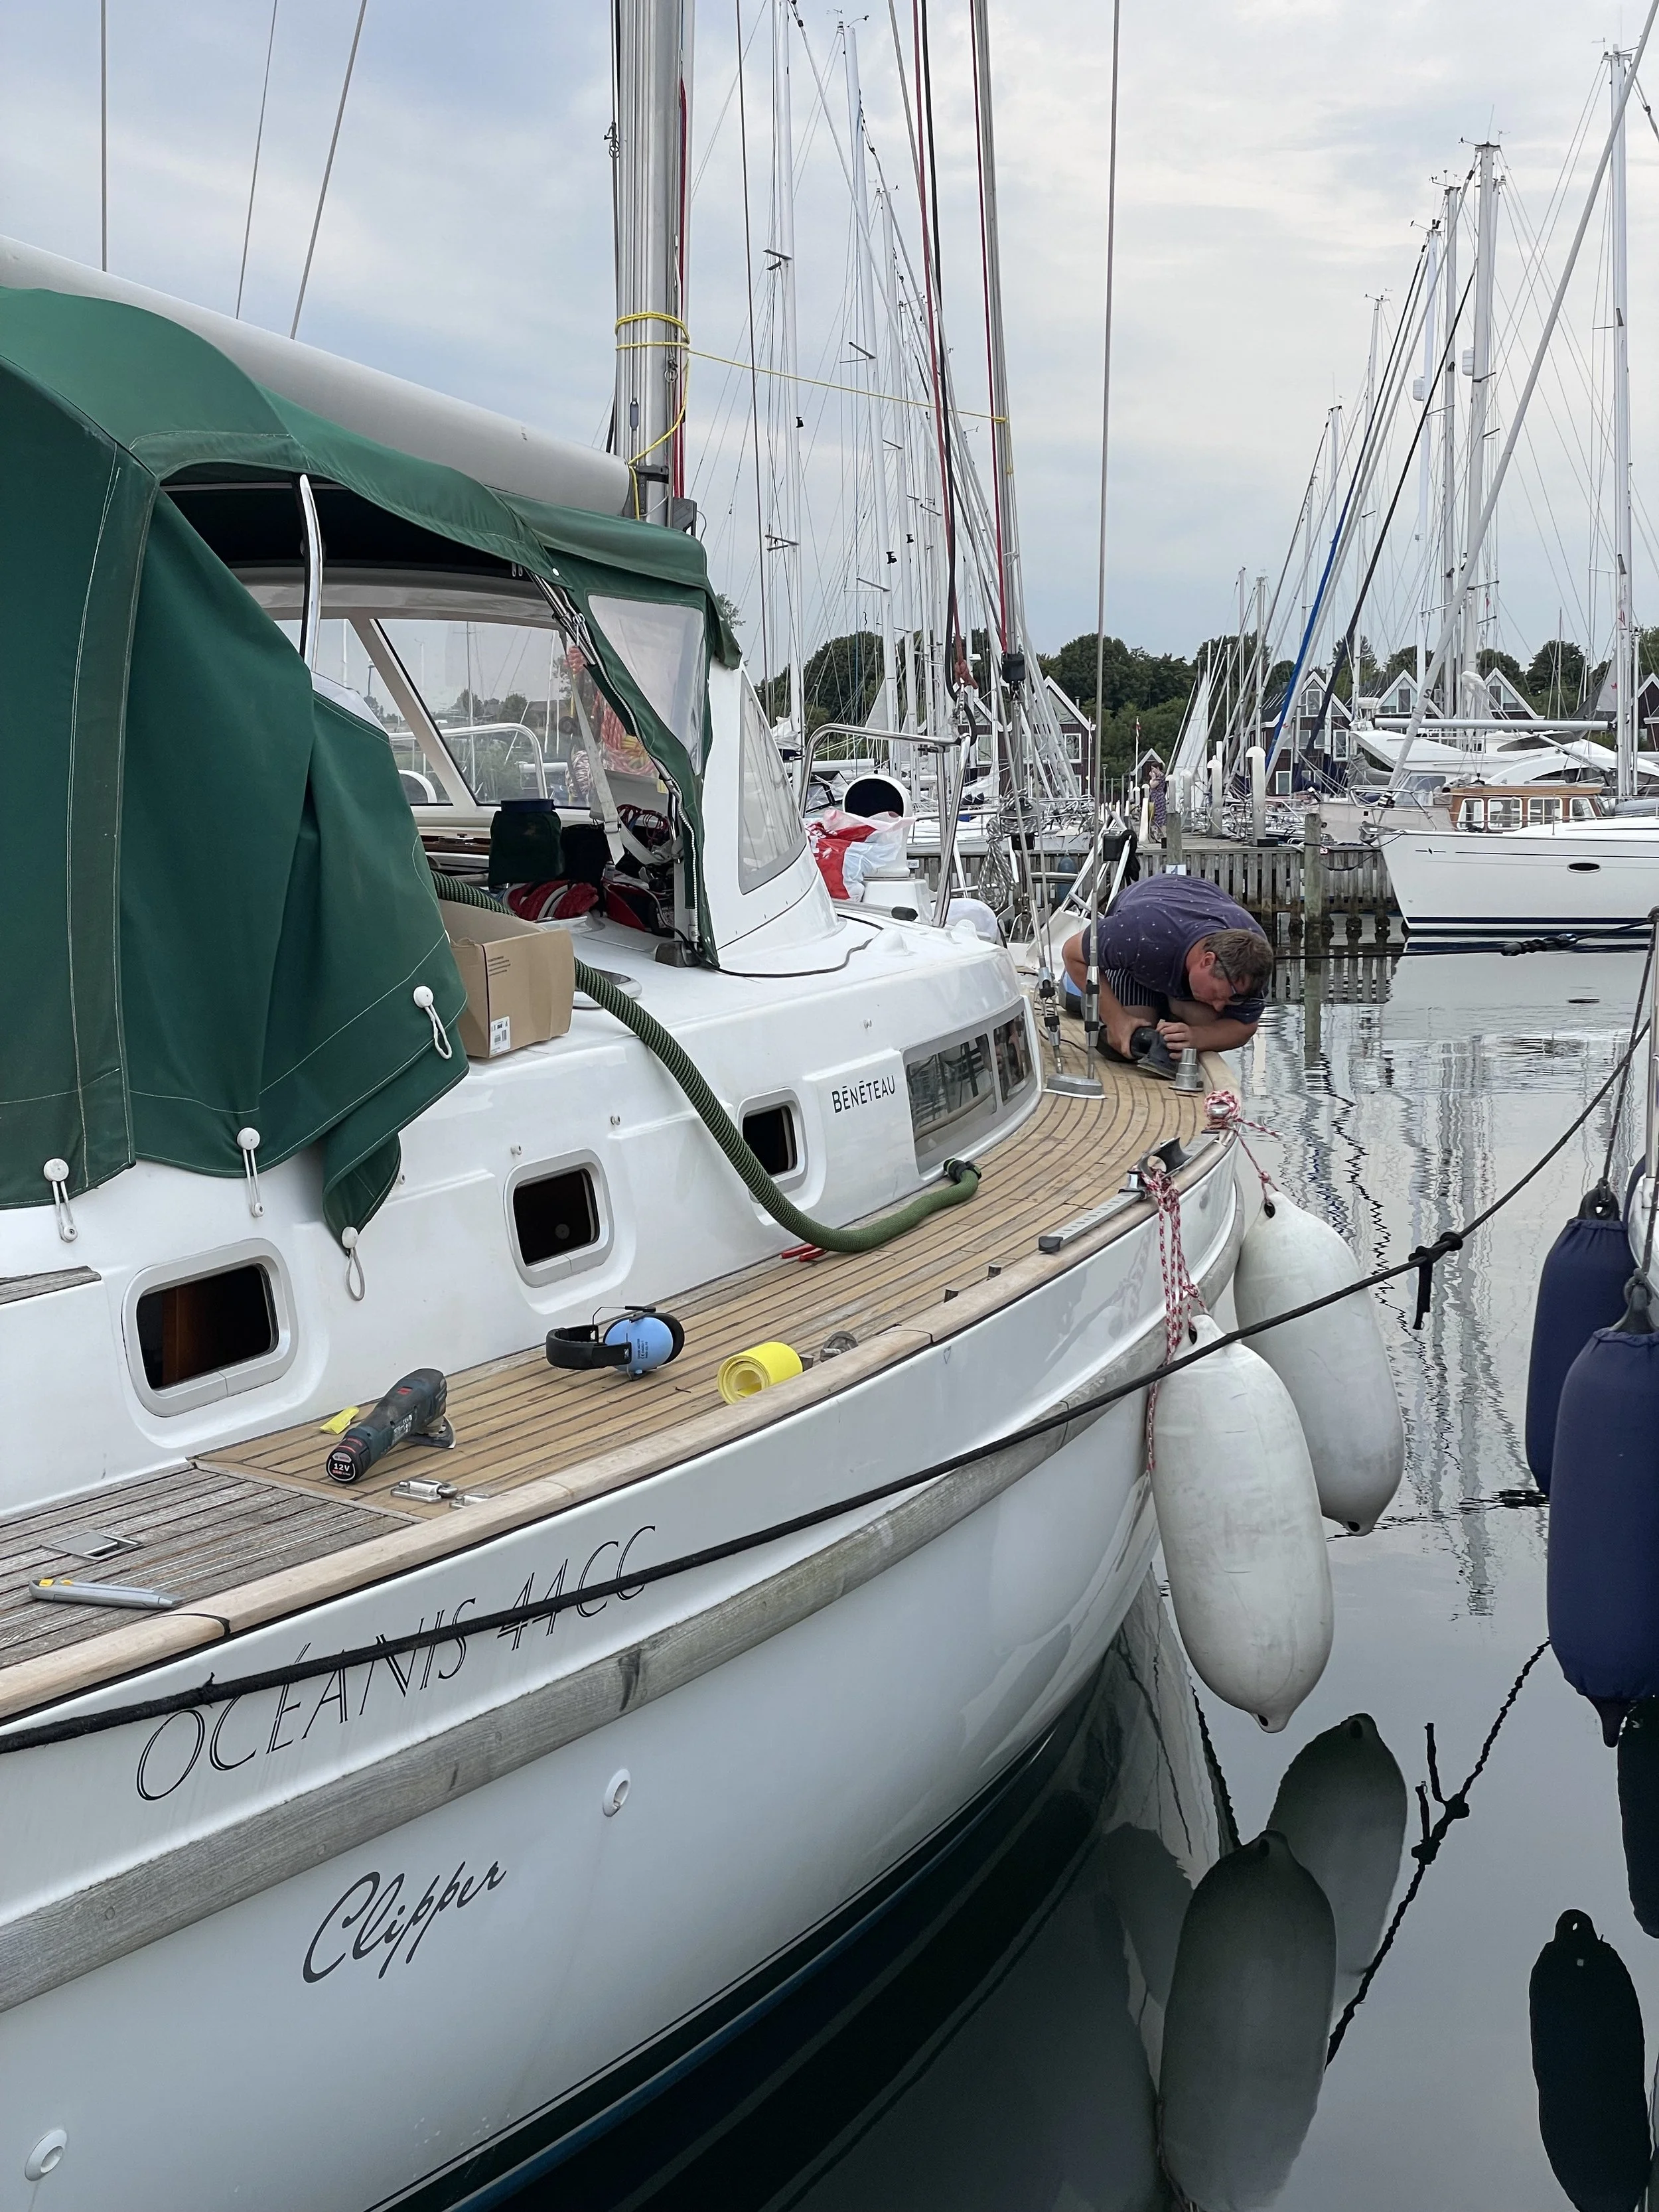
Vi sparede nok 400.000 DKK ved at gøre det selv! Her er vores fremgangsmåde trin for trin:
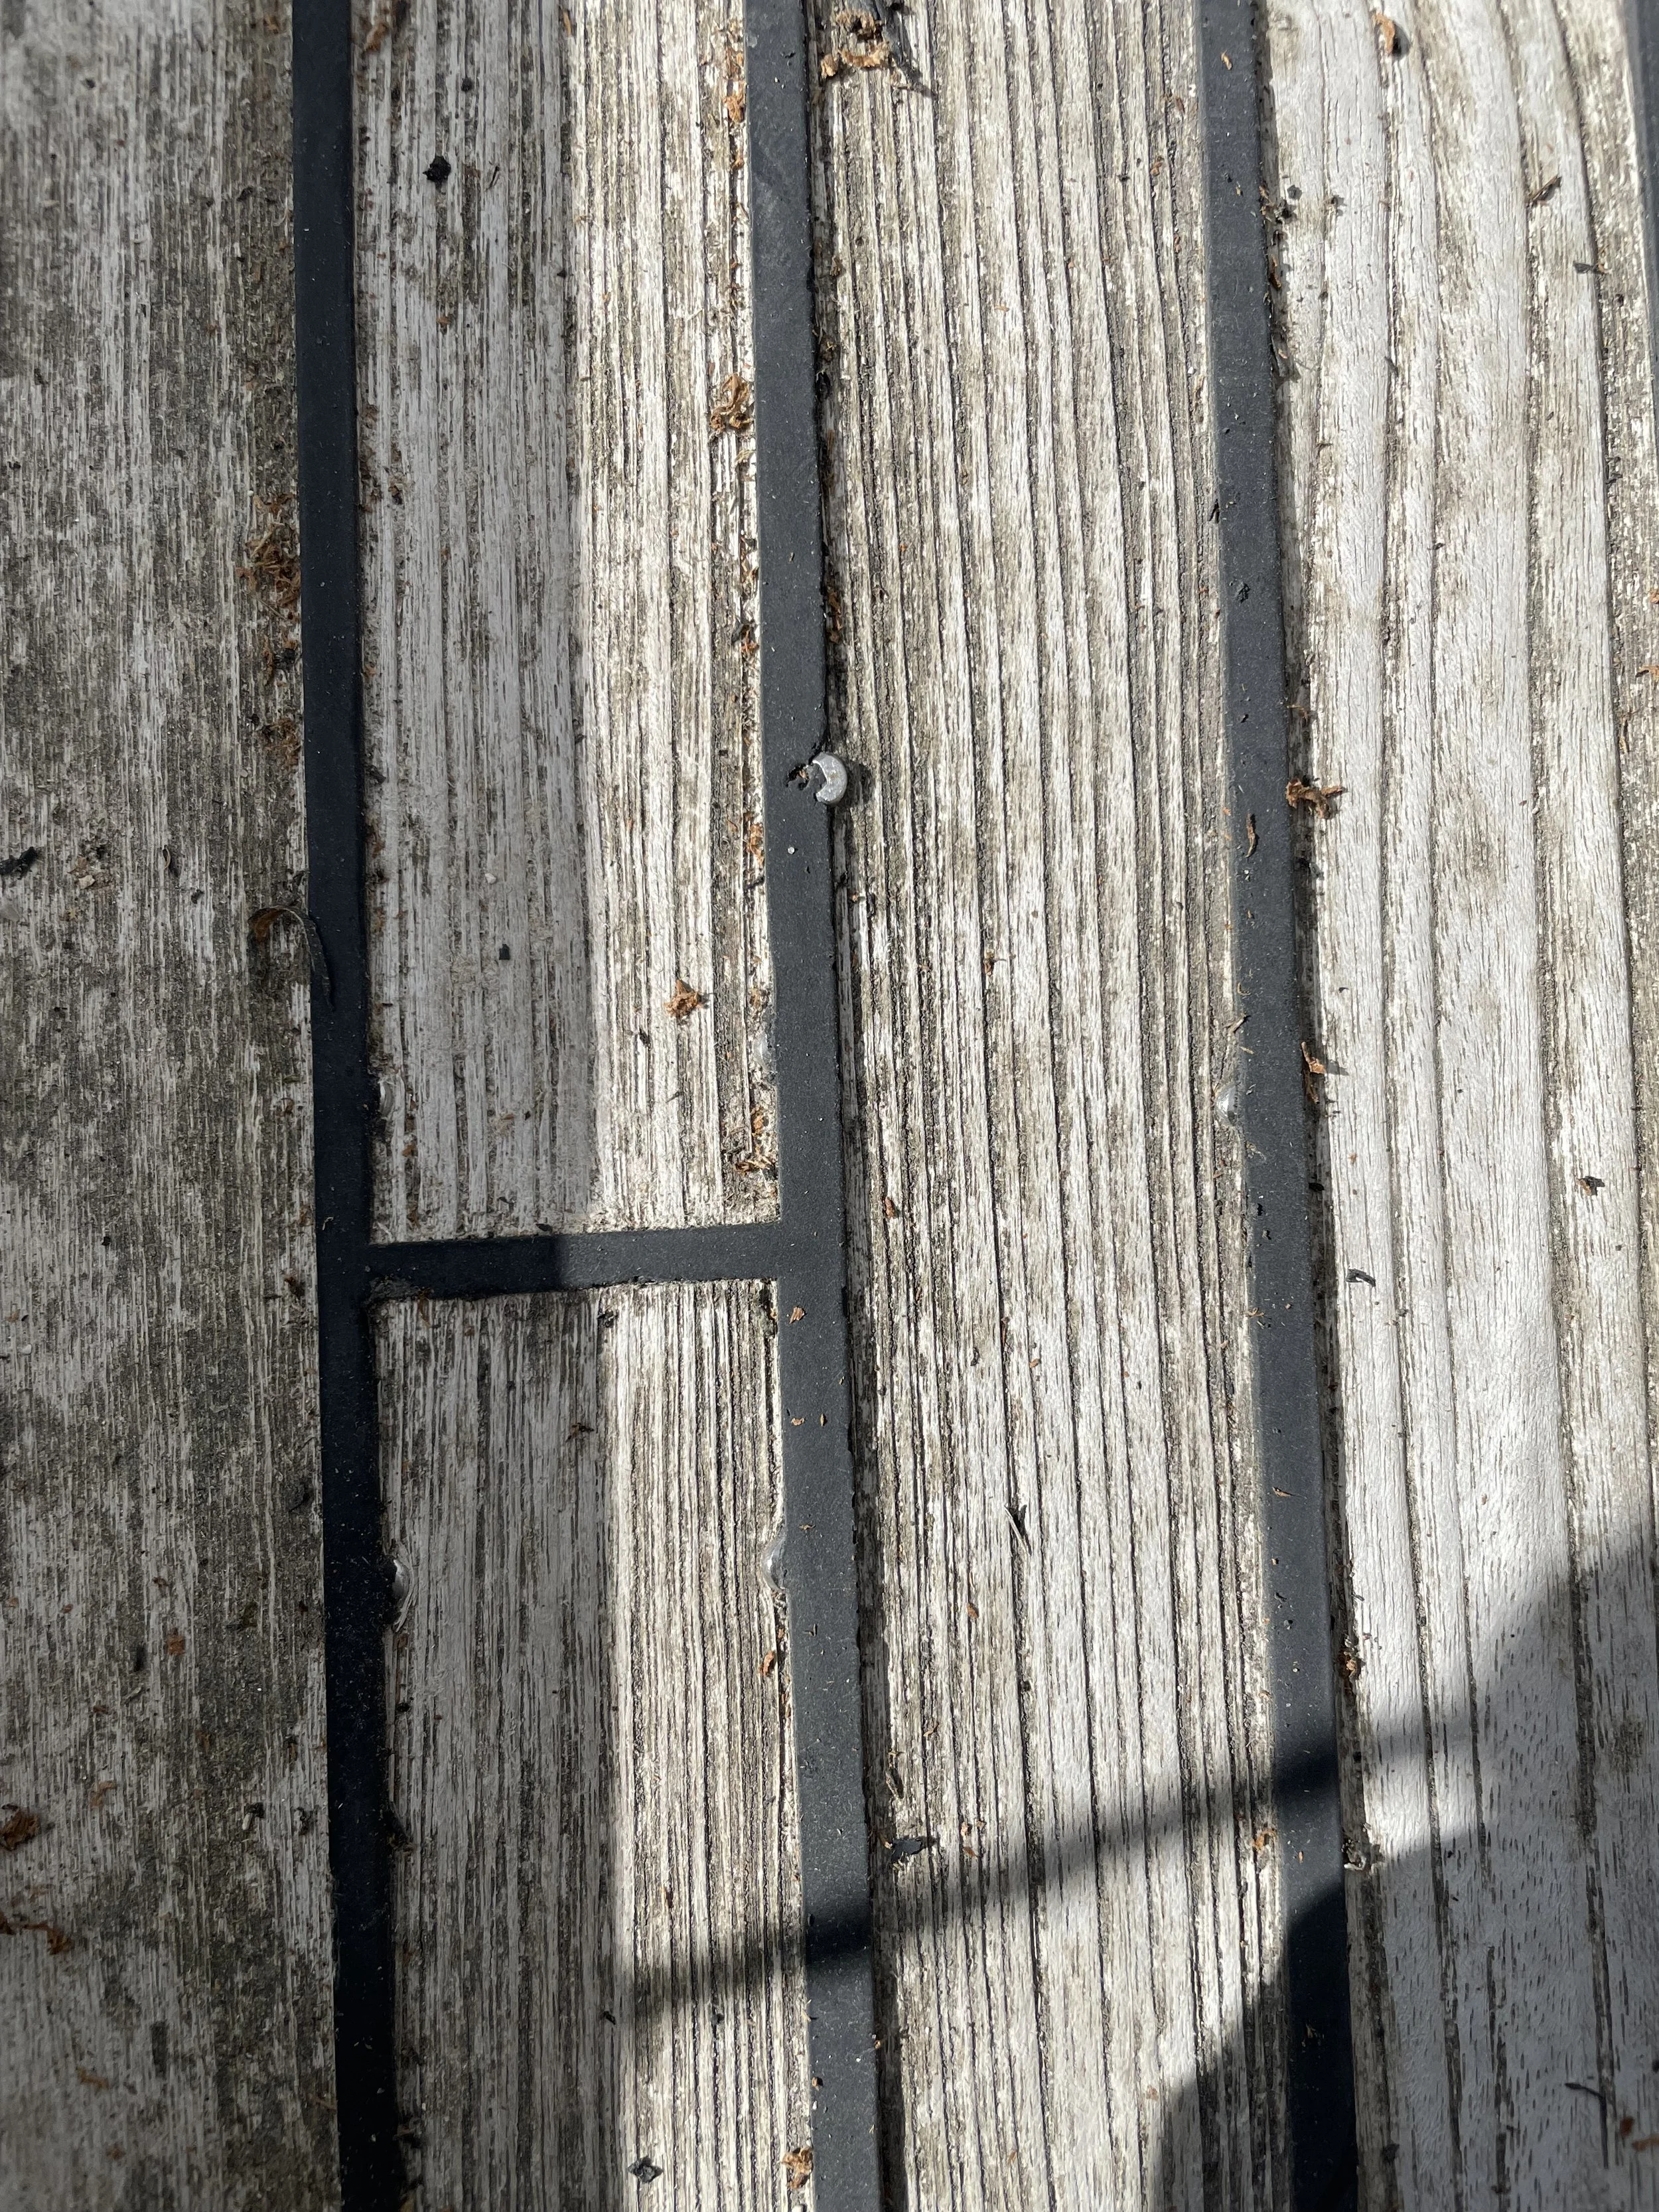
Fjern de gamle nåder/fuger. Vi bruger et specialværktøj fra @teakdeckingsystems - REEFING HOOK.
Hvis dit dæk både er skruet og limet, overvej at fjerne skruerne. Vi valgte at fjerne dem, da de kun skabte en mulighed for vand at trænge ind i kernekonstruktionen.
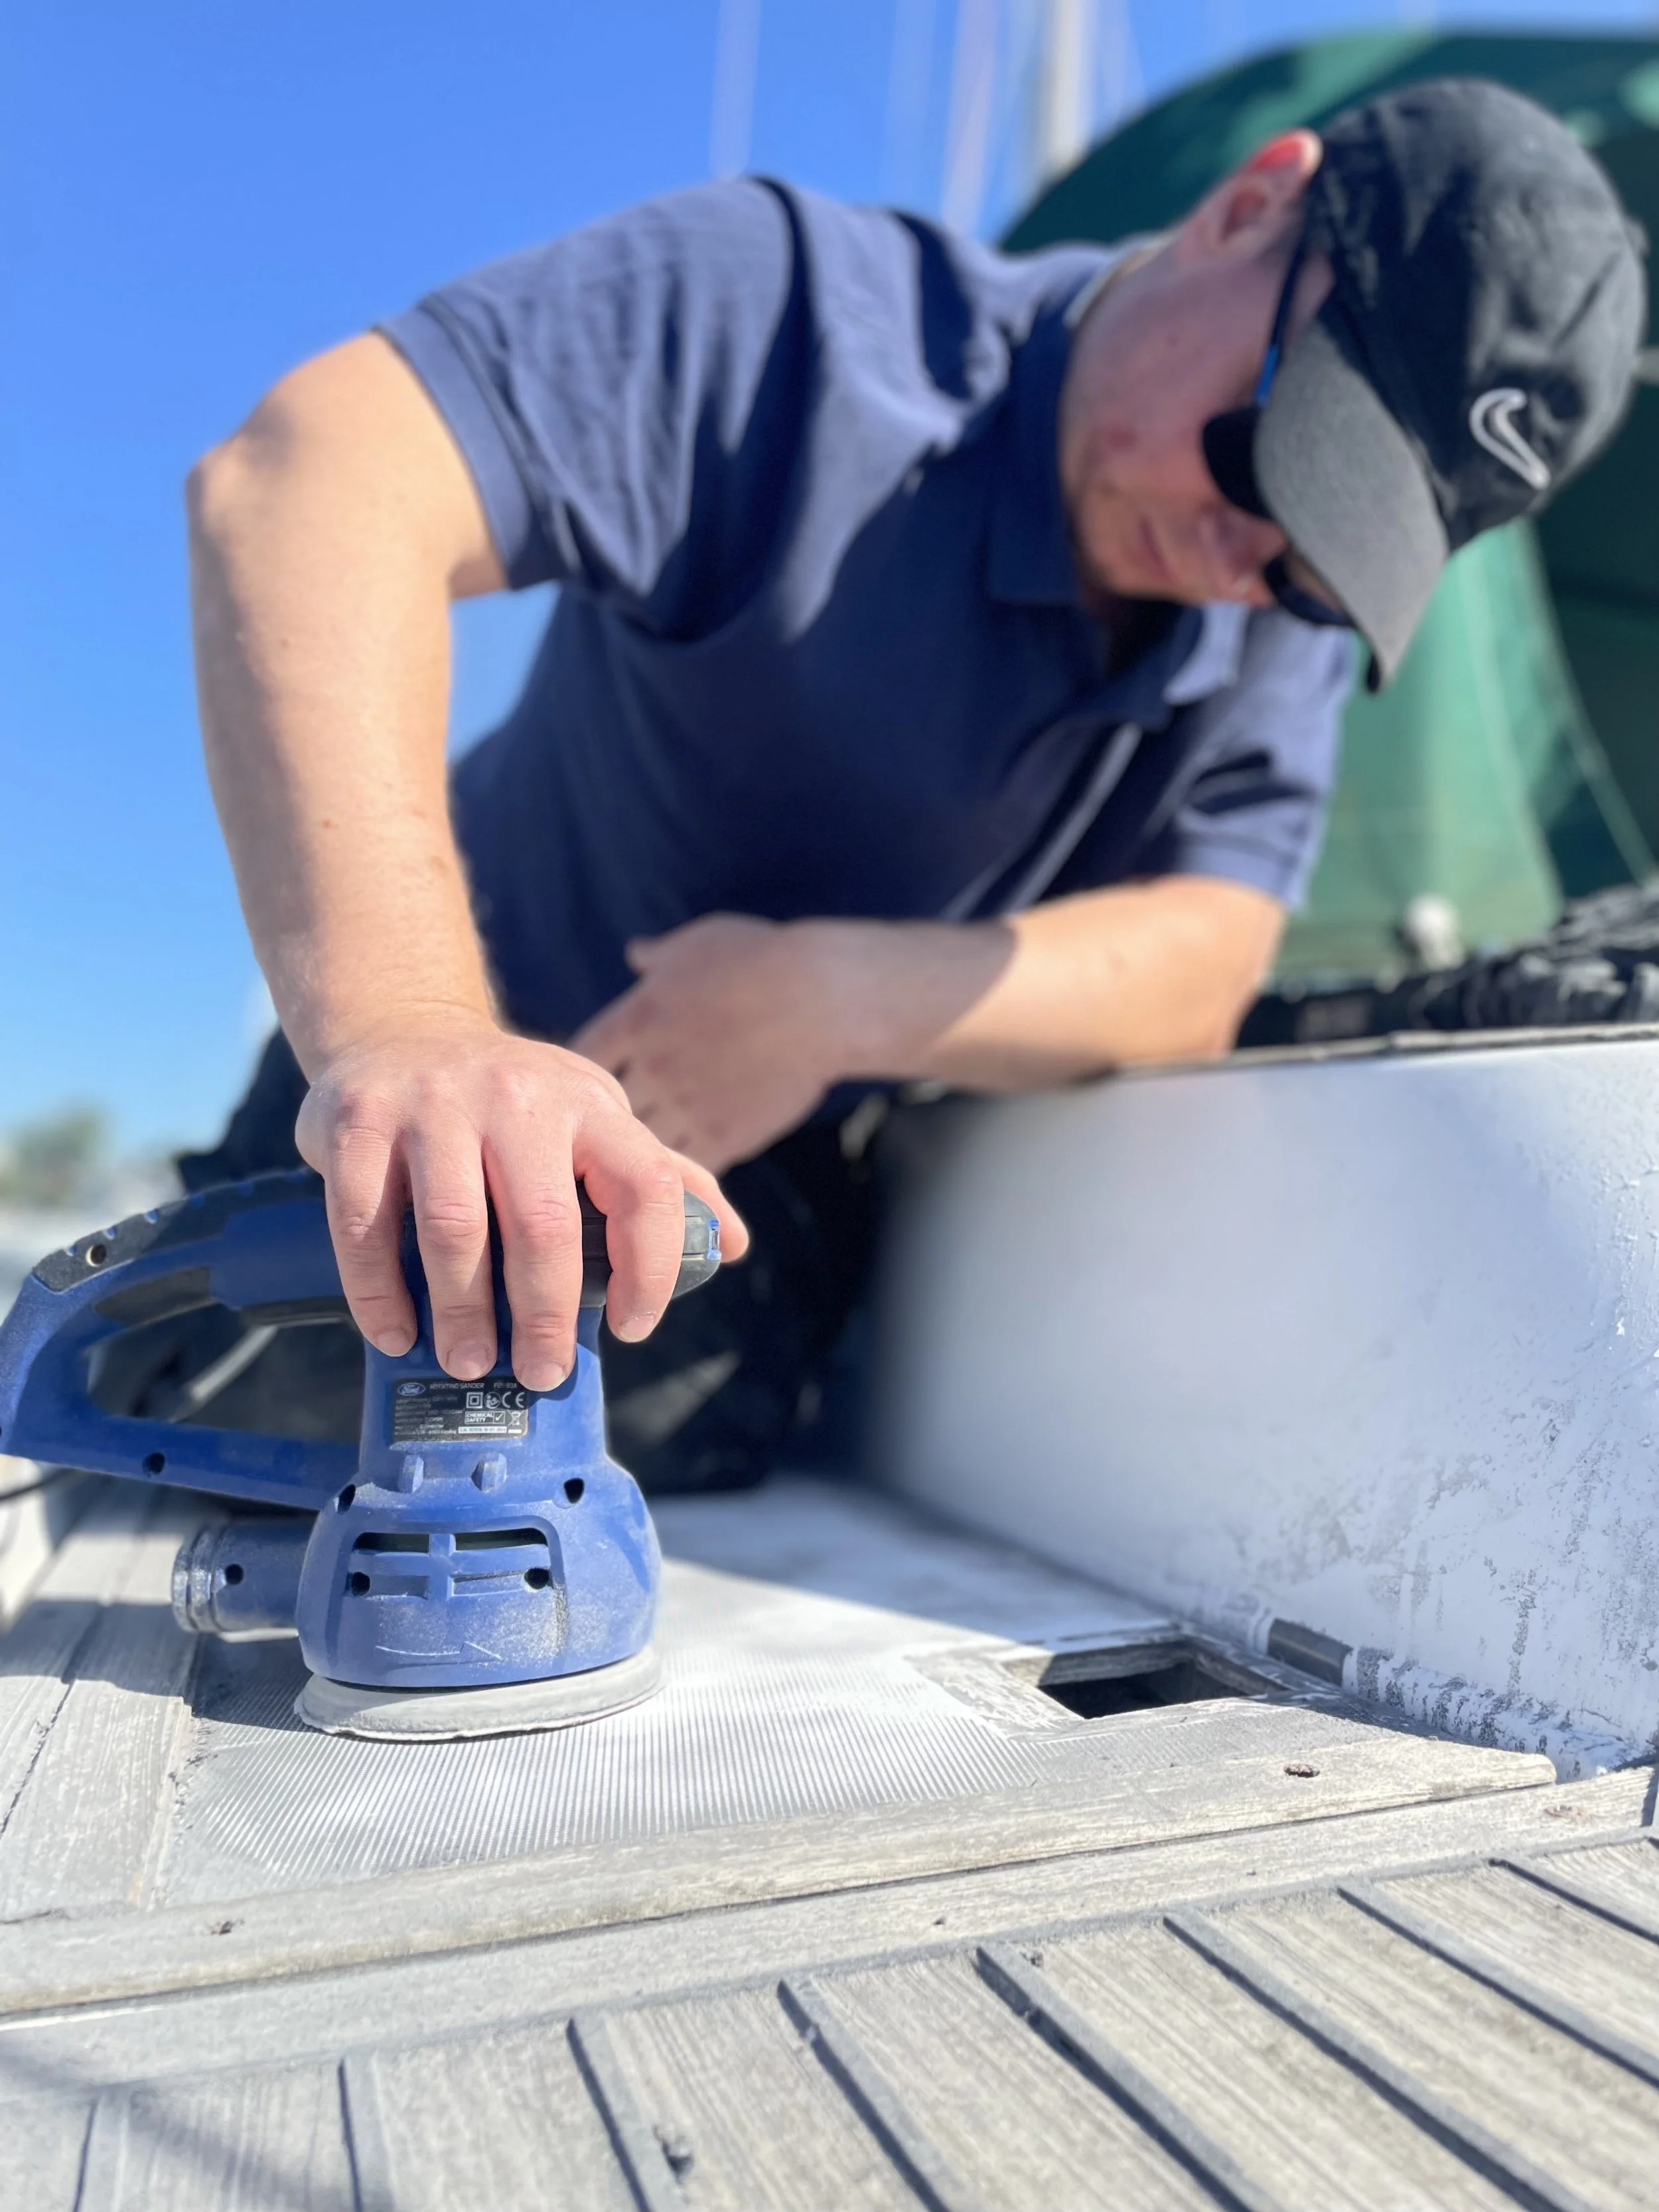
Slib dækket med korn 40, så får du en jævn overflade til at frese senere.
Så fyldte vi hvert et skruehul med epoxy. Under renoveringen lærte vi, at det er en god idé at fylde hullerne med epoxy så snart du fjerner skruerne for at sikre, at hvert enkelt hul bliver tætnet.
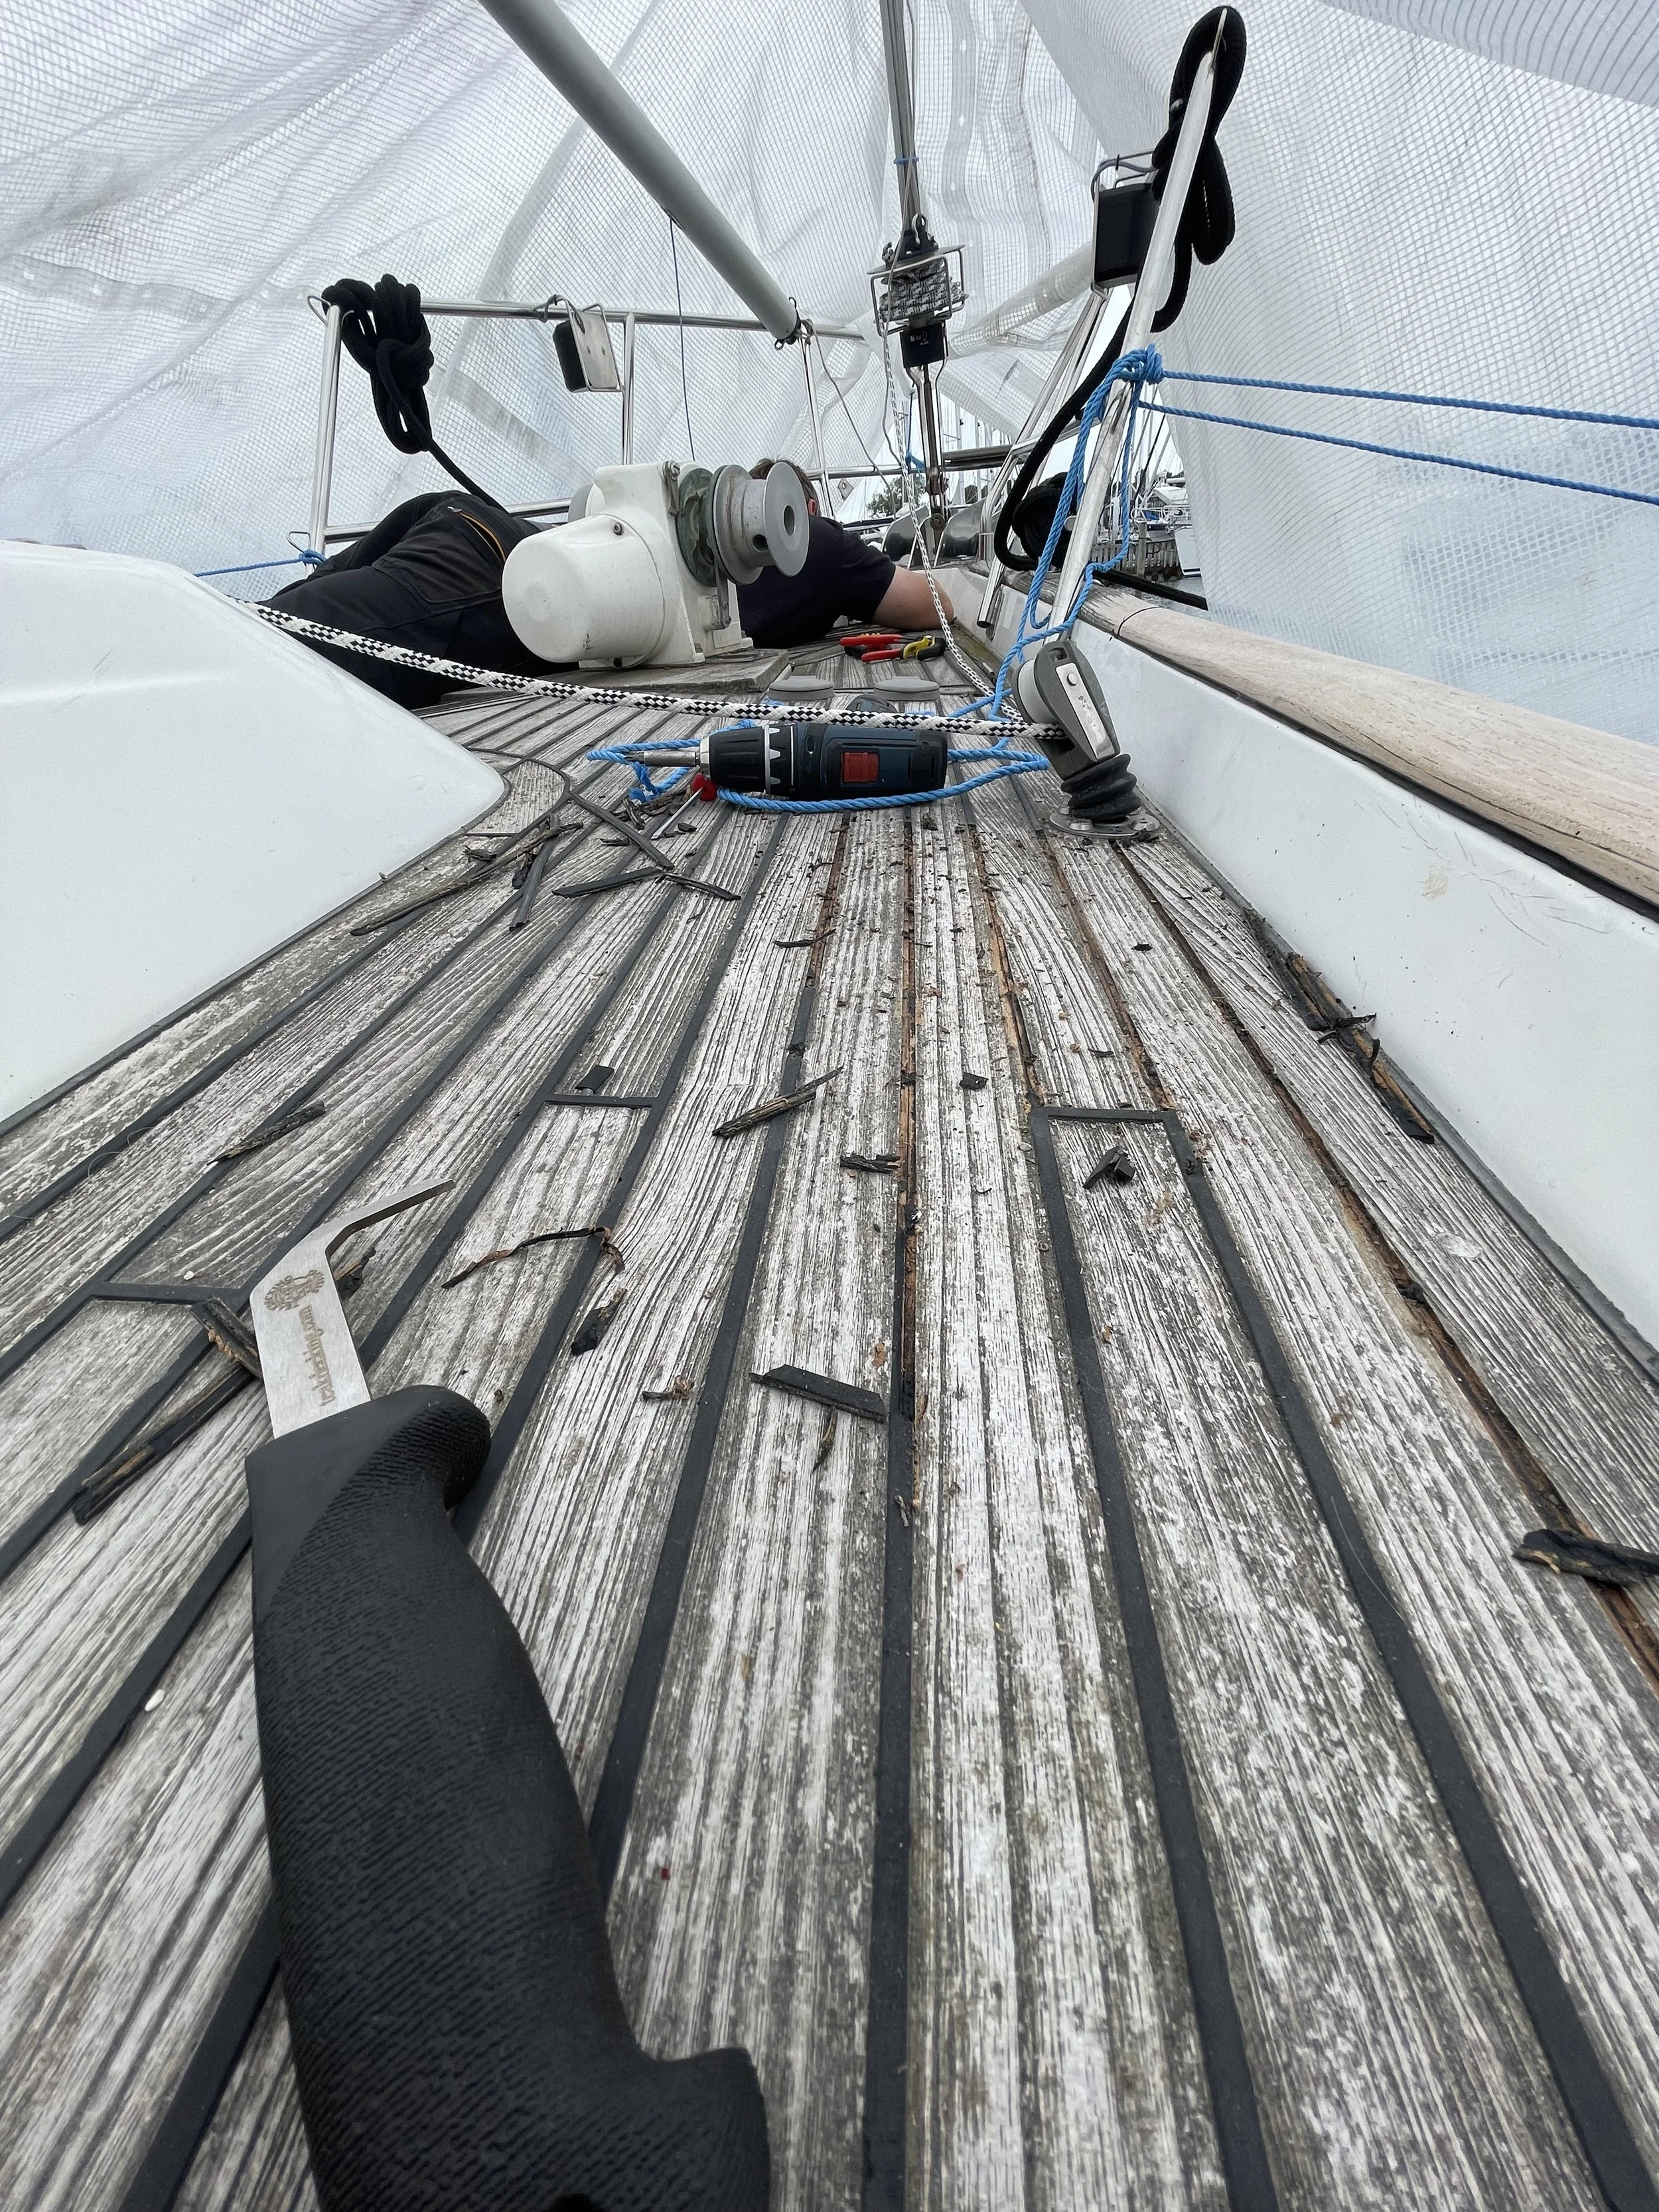
Vi fresede mellem alle teaklisterne. Vi freste helt ned til gelcoaten for at have så meget træ at arbejde med som muligt. Vi brugte en multicutter, hvor nåderne/fugerne gik på tværs.
Slibning hvor den nye fuge skulle ligge. Det hjælper med at fjerne rester af det gamle fuge og giver teak’en en frisk overflade til at binde til.
Afdækning af teaklisterne. Vi valgte at afdække træet for at reducere slibearbejdet senere, fordi vi vidste, at vores teak ikke var særlig tyk.
Dernæst rengøring med acetone. Det fjerner støv og giver den nye fuge de bedste betingelser for at hæfte til træet og hærde.
Ny begynder der at ske en forskel!
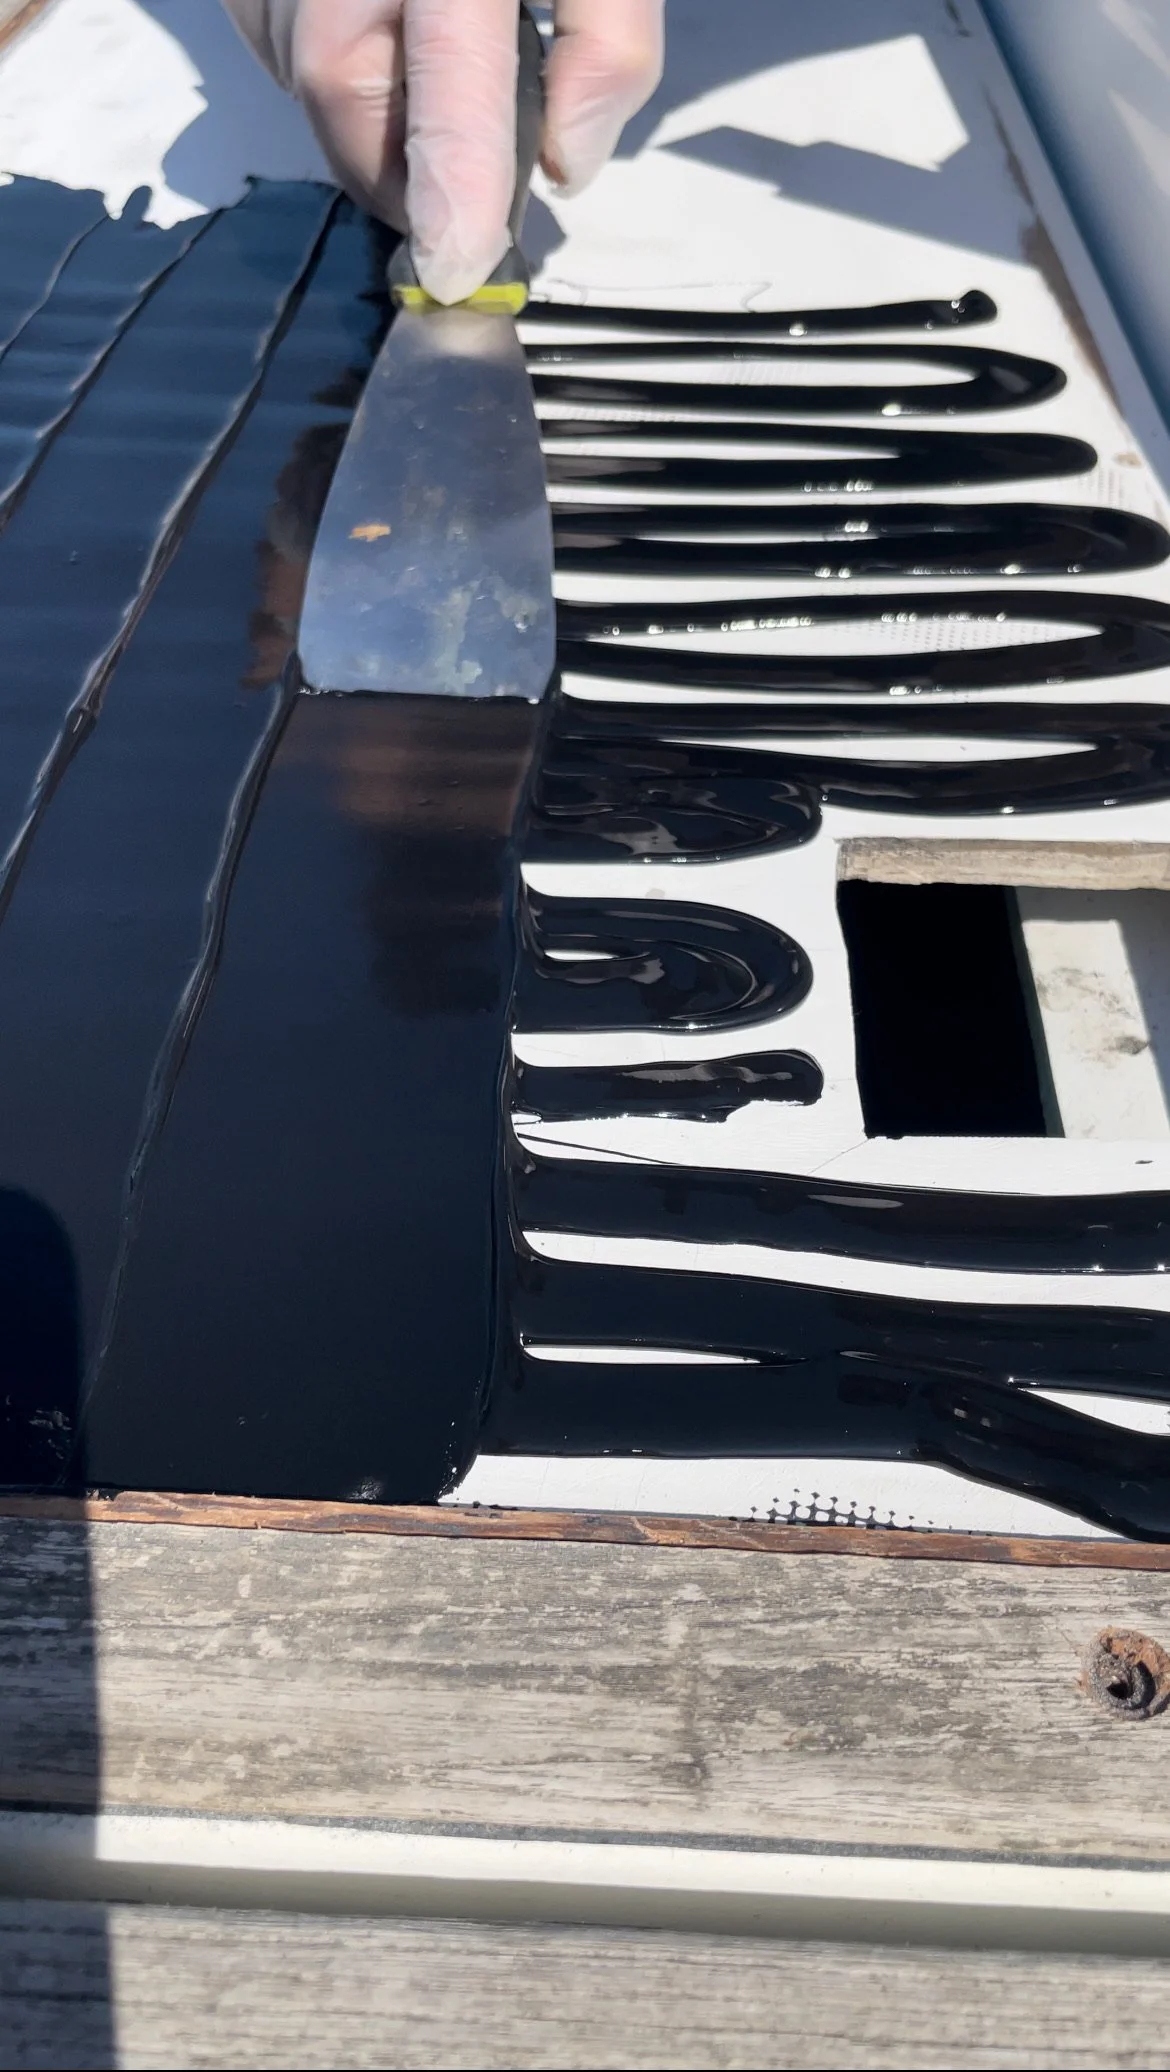
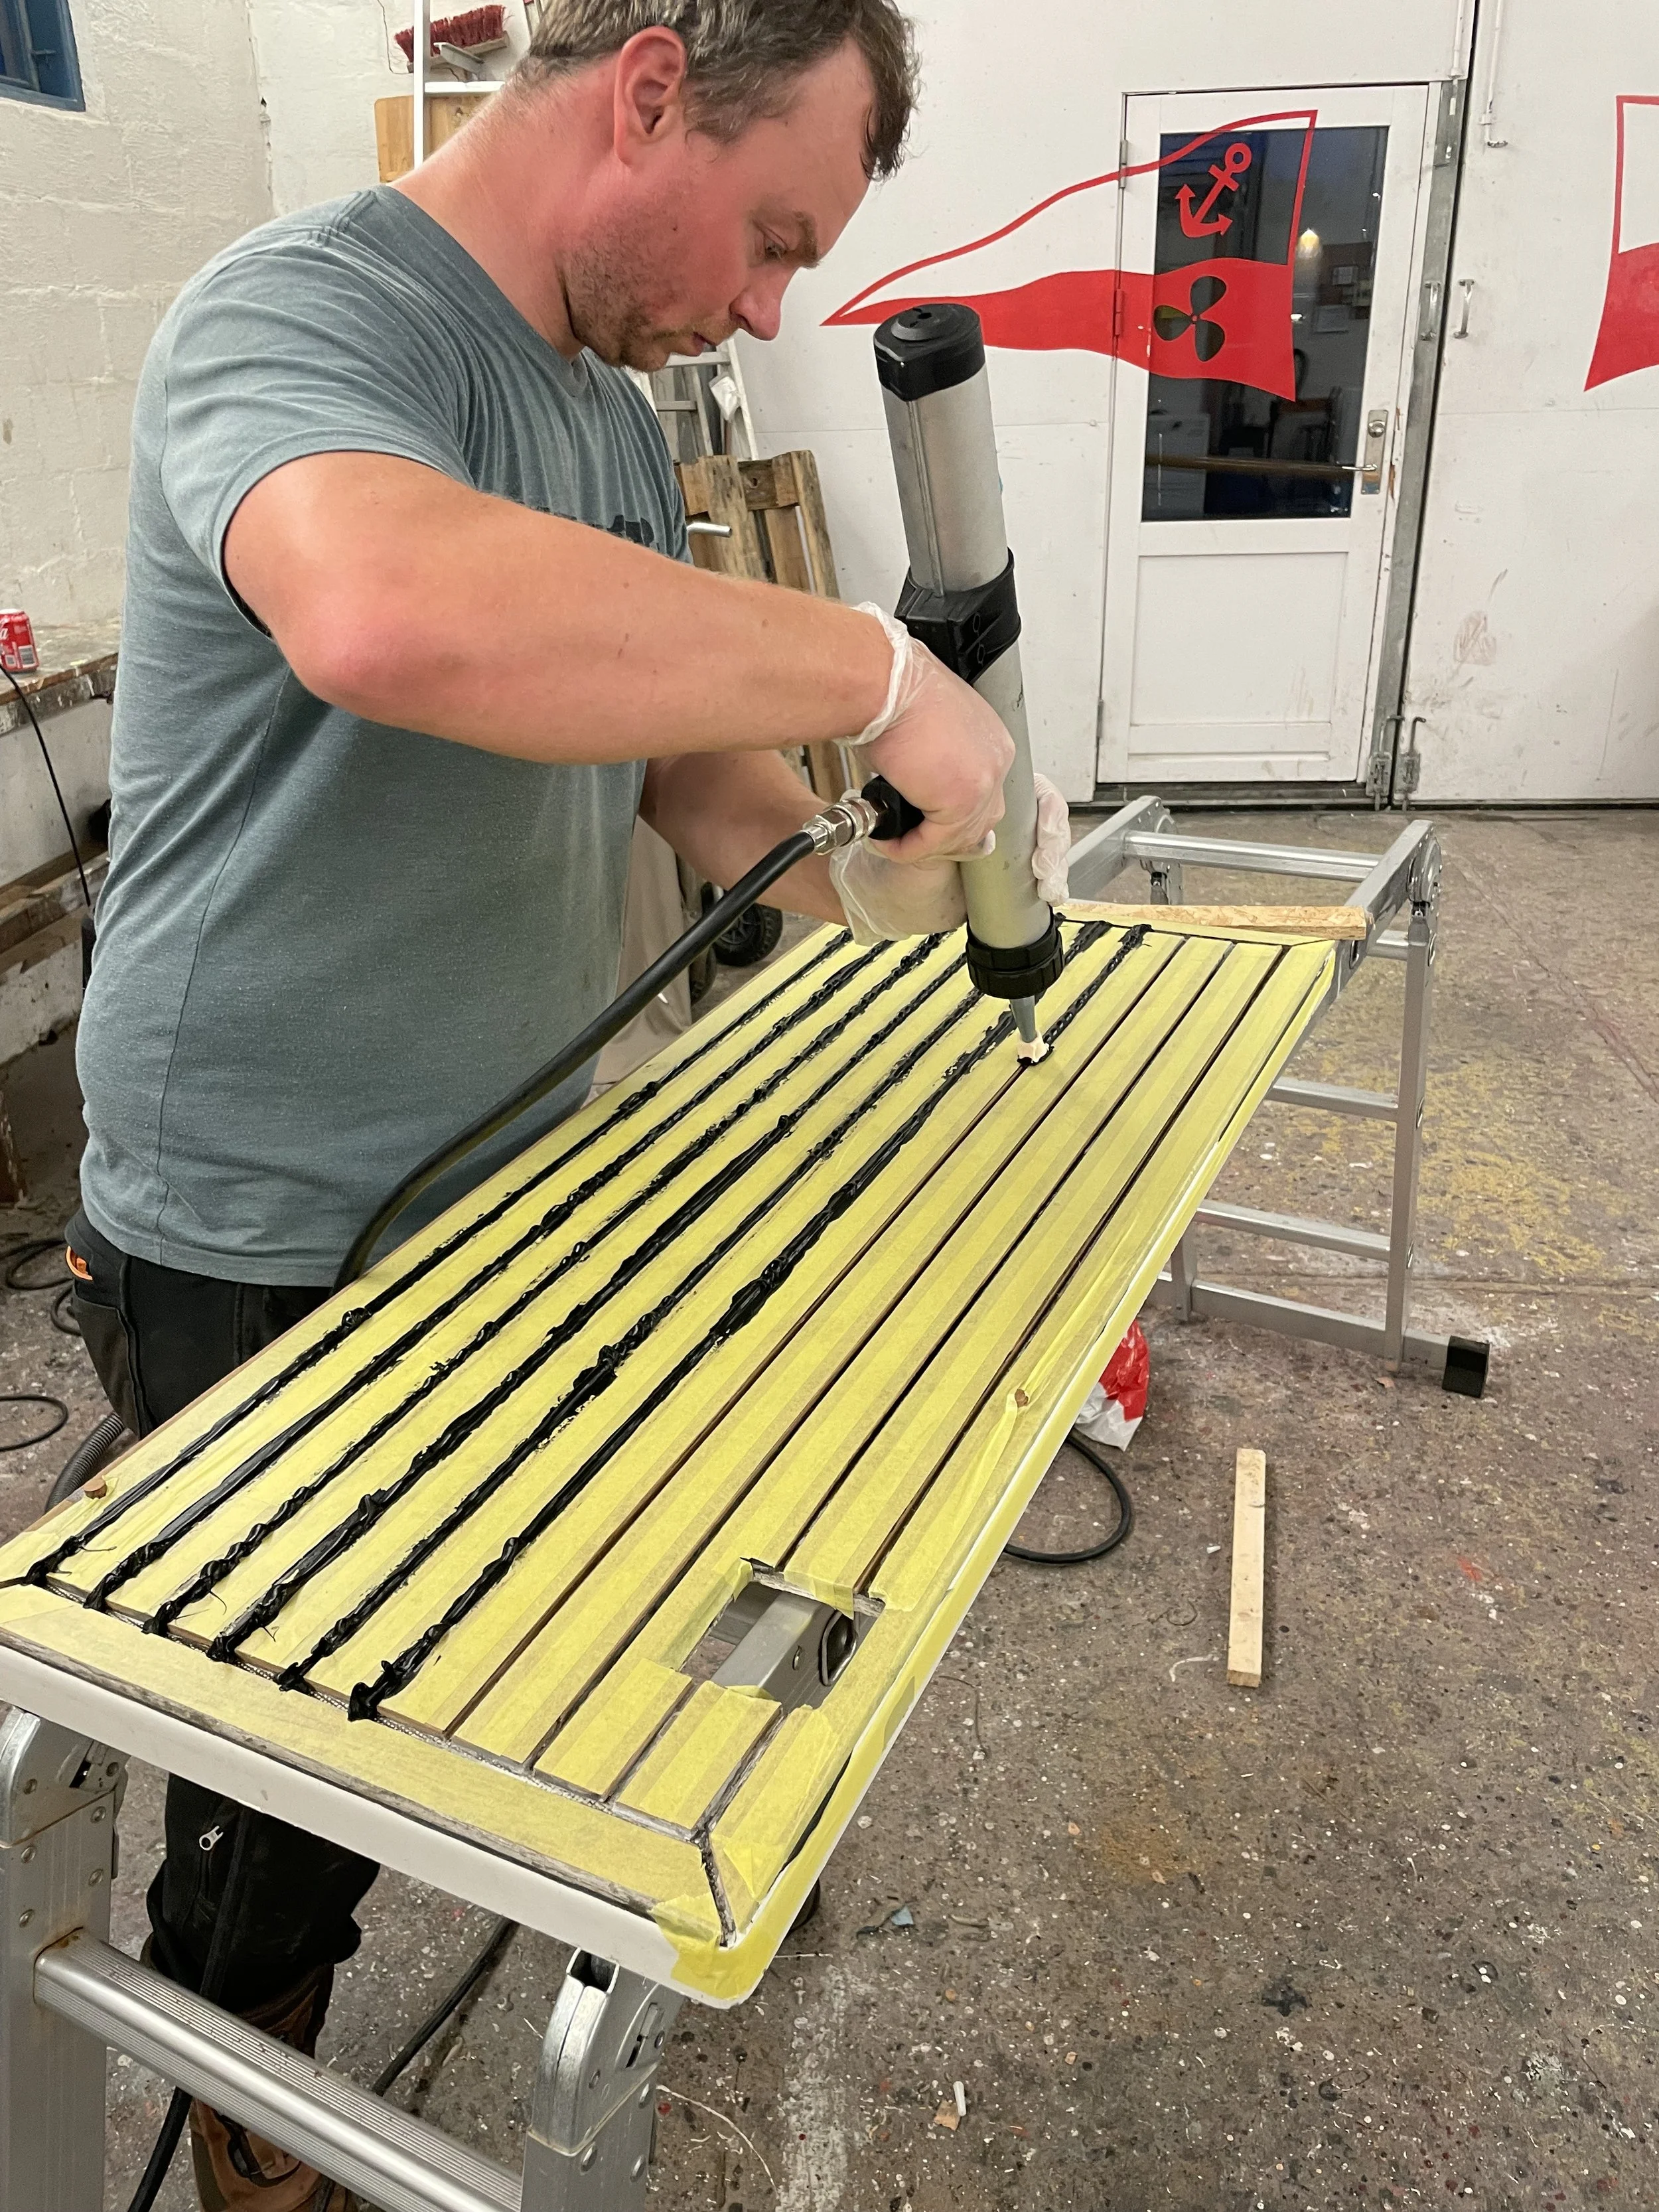
Begynd at fuge. Vi brugte en elektronisk fugepistol med trykkompressor. Det gør processen lettere for større flader, der skal fuges — vi brugte SIS 440 fra @teakdeckingsystems. Vi brugte også en 3D-printet påføreringsstuds til fugerne, hvilket minimerer spild af fugeproduktet, der bruges. Jeg kunne kun finde den på @hfindustrimarineaps hjemmeside.Pres fugemassen længere ned i fugerne. Vi brugte en fleksibel spartel til at glatte det ud.
Når fugen er presset i så fjernede vi maskeringstapen, fugen var altså stadig våd. Mens vi fjernede tapen, brugte vi sakse til at klippe lige før det område, der endnu ikke var fuget.
Når fugen så er hærdet skærer du toppen af, så det flugter med dækket. Vi brugte en skarp hobbykniv. Det gjorde vi for at minimere slibning, ligesom vi gjorde ved afdækning, fordi vi vidste vores teakplanker ville være meget tynde nogle steder.
Til sidst sleb vi med korn 80. Vi brugte igen mulicutteren, men med sit slibehoved, til alle kanter og en så en excentersliber til de større flader.
Sidebemærkning: Slibning med korn 40. Vi mener, det bedste er at slibe før fræsning for at jævne træet. Desværre havde vi mange steder, hvor træet var så slidt, at det ikke ville have været muligt at følge de gamle spor med fræseren efter slibning.